필요한 것
-
이 단계는 번역되지 않았습니다. 번역을 도와주십시오
-
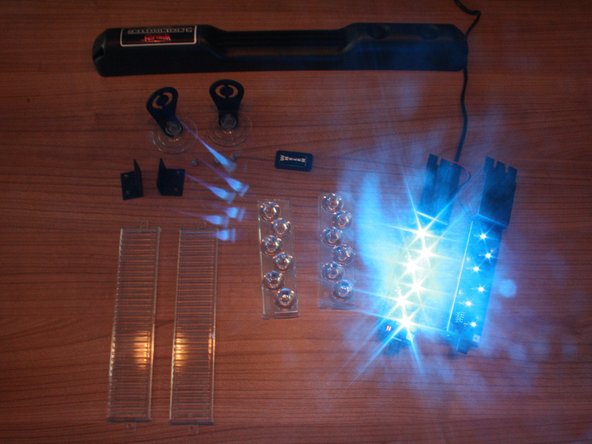
This is Whelen's second generation Slimlighter. Whilst the first generation had multiple 5mm LED's, this generation Slimlighter has 'only' 12 TIR6 style LED's.
-
Enough chatter, let's take it apart :)
-
-
이 단계는 번역되지 않았습니다. 번역을 도와주십시오
-
Optionally one can first take of the suctioncup brackets. They are held in place by two Philips screws.
-
Next you can take off the retaining brackets. They are held back by a little notch that has to be lifted with a spudger. Repeat this step for the other side.
-
Once the notch is lifted pull the bracket away from the light as shown.
-
-
이 단계는 번역되지 않았습니다. 번역을 도와주십시오
-
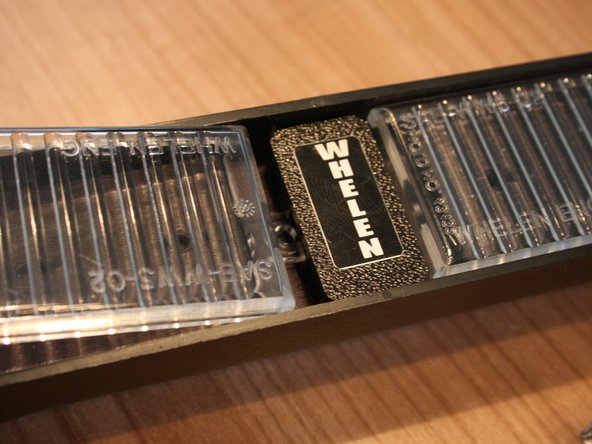
Once the brackets are released the light can easily be dissasembled. Begin by lifting the diffuser lens up as shown.
-
One can also have clear lenses here, the procedure is the same.
-
Note that the lens has a similar notch on the other side, underneath the Whelen logo. Carefully pull the lens out from underneath, don't force anything or it will break.
-
-
-
이 단계는 번역되지 않았습니다. 번역을 도와주십시오
-
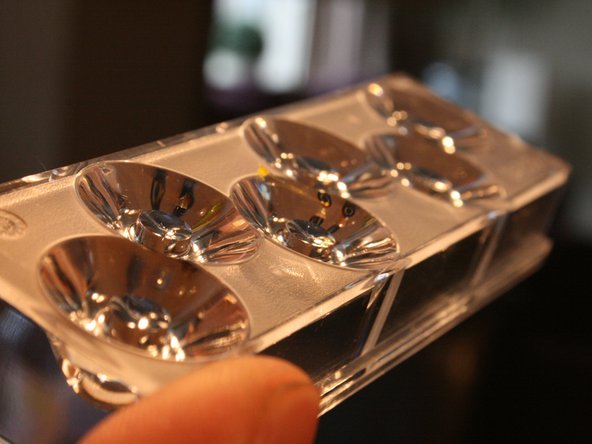
With the diffuser lenses removed the optics are exposed. They are not secured by anything so carefulle take them out as shown
-
Nifty little optics here, kudo's to Whelen.
-
Try activating the light now, see the differences with and without these optics
-
-
이 단계는 번역되지 않았습니다. 번역을 도와주십시오
-
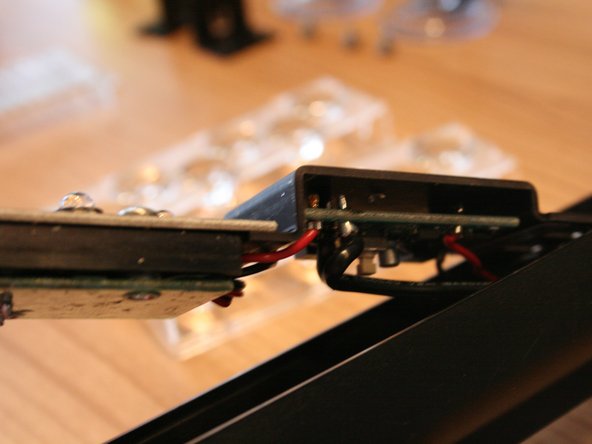
Now you can CAREFULLY take out the LED assembly. It's attached to a metal heat dissapating bracket. CAREFUL with the wiring. Note that the bracket is retained by the plastic housing. It might need some help before it gives way.
-
-
이 단계는 번역되지 않았습니다. 번역을 도와주십시오
-
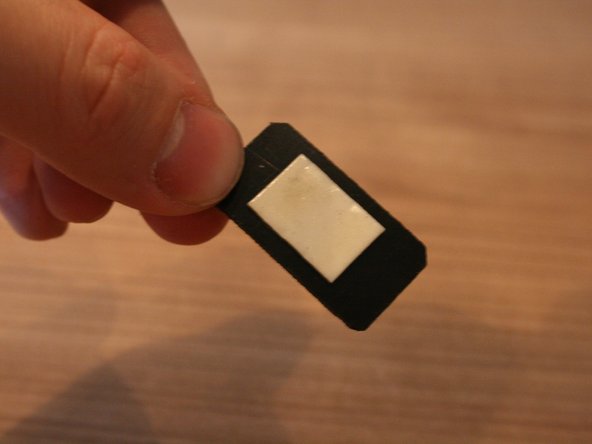
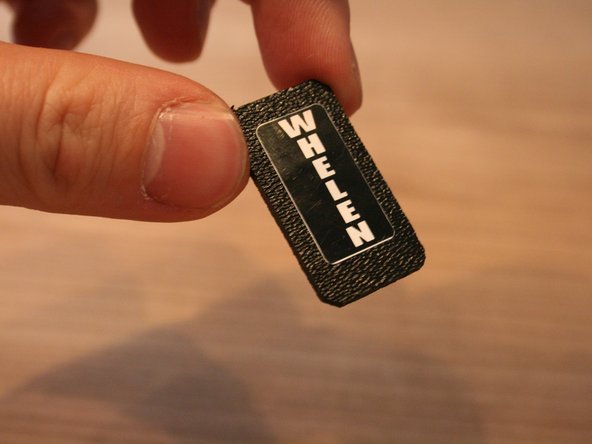
The wires are held back /retained by a stickon Whelen logo. The logo can easily be removed, just tear it off carefully.
-
-
이 단계는 번역되지 않았습니다. 번역을 도와주십시오
-
Once the Whelen logo tab is removed the light comes apart completley.
-
Take out the two metal brackets holding the light.
-
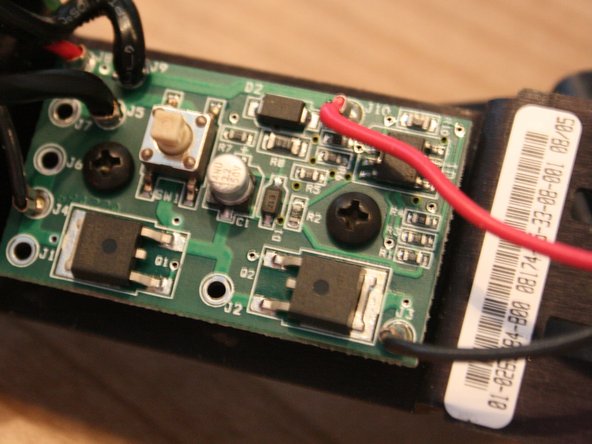
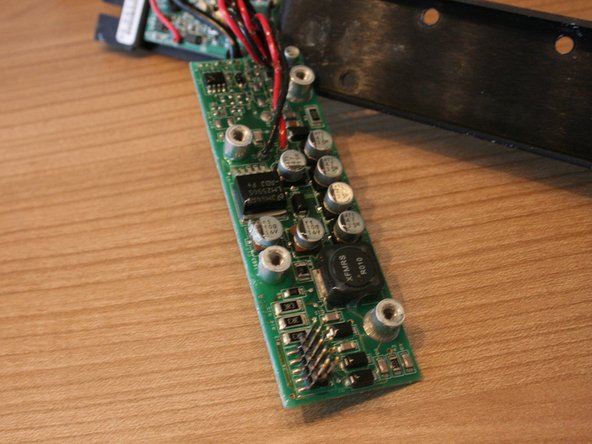
Note that one of the brackets holds (part of) the flasher assembly.
-
-
이 단계는 번역되지 않았습니다. 번역을 도와주십시오
-
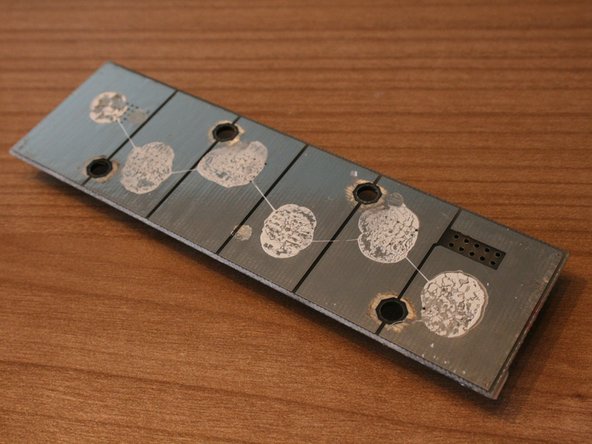
If desired, take out the six Philips screws to remove the LED circuit board from the bracket.
-
Note that the rear circuit board is held back by the same screws.
-
The LED board can easily be replaced by any other TIR6 board, any color (as far as I could check!)
-
Note that there is cooling paste between the LED board and the bracket. Make sure you replace it.
-