주요 콘텐츠로 건너뛰기

Wiko pulp 4g Touch screen Replacement

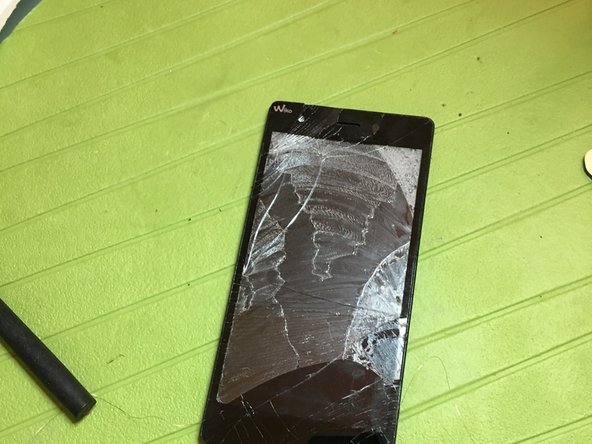
  1. Wiko pulp 4g Touch screen Replacement, Touch screen: 1 단계, 이미지 1/2 Wiko pulp 4g Touch screen Replacement, Touch screen: 1 단계, 이미지 2/2
    • Remove back cover

    • Remove battery

  2. Wiko pulp 4g Touch screen Replacement: 2 단계, 이미지 1/1
    • remove the screws marked, attention is covered by a white sticker

  3. Wiko pulp 4g Touch screen Replacement: 3 단계, 이미지 1/2 Wiko pulp 4g Touch screen Replacement: 3 단계, 이미지 2/2
    • using a thin tool separate the middle frame from the body display

  4. Wiko pulp 4g Touch screen Replacement: 4 단계, 이미지 1/2 Wiko pulp 4g Touch screen Replacement: 4 단계, 이미지 2/2
    • unhook touchscreen connector

  5. Wiko pulp 4g Touch screen Replacement: 5 단계, 이미지 1/3 Wiko pulp 4g Touch screen Replacement: 5 단계, 이미지 2/3 Wiko pulp 4g Touch screen Replacement: 5 단계, 이미지 3/3
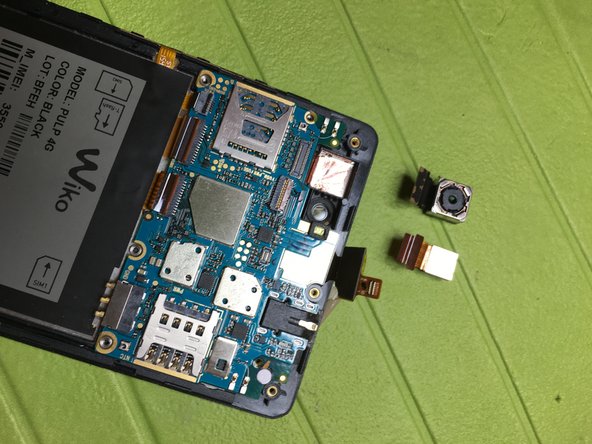
    • Remove 2 screws securing the motherboard

    • Unfasten the connectors

    • remove front and rear cameras

  6. Wiko pulp 4g Touch screen Replacement: 6 단계, 이미지 1/3 Wiko pulp 4g Touch screen Replacement: 6 단계, 이미지 2/3 Wiko pulp 4g Touch screen Replacement: 6 단계, 이미지 3/3
    • Unhook cable connection between top and bottom card

    • remove top motherboard

  7. Wiko pulp 4g Touch screen Replacement: 7 단계, 이미지 1/3 Wiko pulp 4g Touch screen Replacement: 7 단계, 이미지 2/3 Wiko pulp 4g Touch screen Replacement: 7 단계, 이미지 3/3
    • Heat the phone with a 80-degree plate or with an appropriate dryer

    • With the help of tools or special thin wire begin to separate from the touch glass display

    • Utmost care not to break the display, be sure to insert between the touch screen display instruments and not between glass and touch screen ..

    • There are no flat key is therefore the only attention to the display

  8. Wiko pulp 4g Touch screen Replacement: 8 단계, 이미지 1/2 Wiko pulp 4g Touch screen Replacement: 8 단계, 이미지 2/2
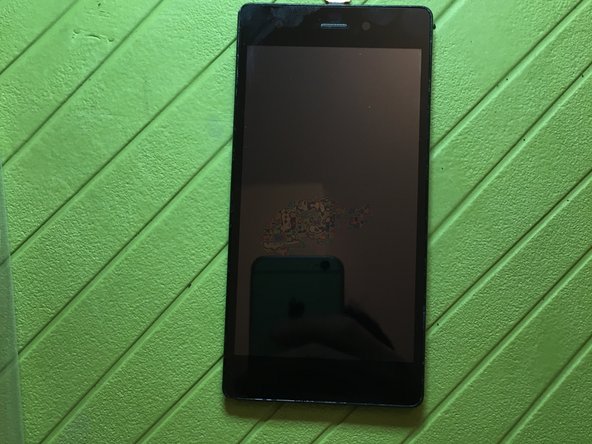
    • Clean the display from the sticky residue

    • applying adhesive on the edges and the new touchscreen glass

결론

To assemble the device, follow these instructions in reverse order.

다른 8명이 해당 안내서를 완성하였습니다.

다음 번역가들에게 특별히 감사 드립니다:

it en

100%

이 번역자 분들은 저희가 세상을 수리하는데 동참해 주시는 분입니다! 기여하시겠습니까?
번역 시작하기 ›

Smilzo

회원 가입일: 11/09/13

11,267 평판

안내서 39개 작성하였습니다

댓글 4개

I replaced a screen on a Acer Wiko Lenny 2 - was very simular to this one. I followed all these steps and it is working BUT the display does not respond as it should. Almost all touches on the outside border of the screen (for example, digit 1 on the left, digit 0 on the right) don't respond quickly, or don't respond at all. What could be wrong? If wonder if I didn't clean the digitizer properly enough...

Jan Oelbrandt - 답글

sorry for the delay.

I had some problem with the touch screen too much more intrusive than yours.

I have secured the edges well with scotch because it does not contact me.

But these Chinese touchscreens do not have good quality so I prefer to buy a screen mounted with touchscreen, so I save a lot of time and work is better and working

Smilzo - 답글

Ciao, come fai a rimuovere i residui di colla dal display, una volta tolto il vetro?

Roberto Oboe - 답글

Scaldando e con una spatolina ed anche con il puliscicontatti spray

Smilzo - 답글

댓글 쓰기

조회 통계:

24 시간 전: 1

7일 전: 1

30일 전: 10

전체 시간: 7,435