소개
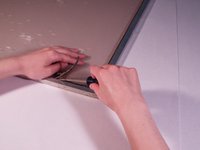
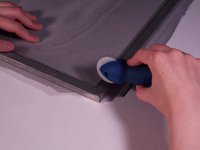
The purpose of a window screen is to prevent bugs, leaves, birds, etc., from getting into the house. However, when a screen has tears and holes in it, the screen is no longer helpful in keeping those things out. This guide provides instructions for replacing the screen mesh on the window screen frame so it will be as good as new and be a helpful protection to the inside of the house again.
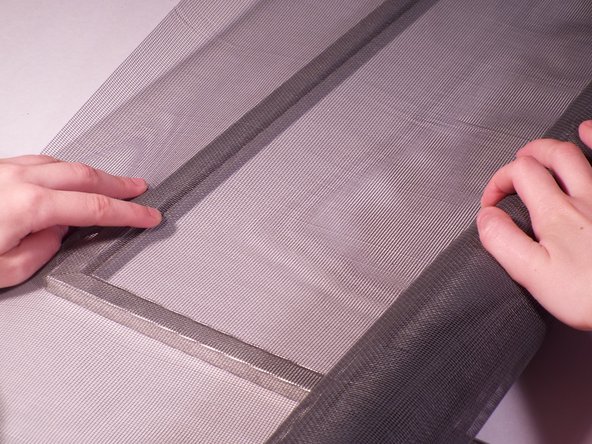
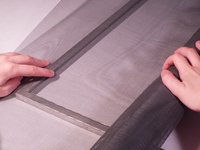
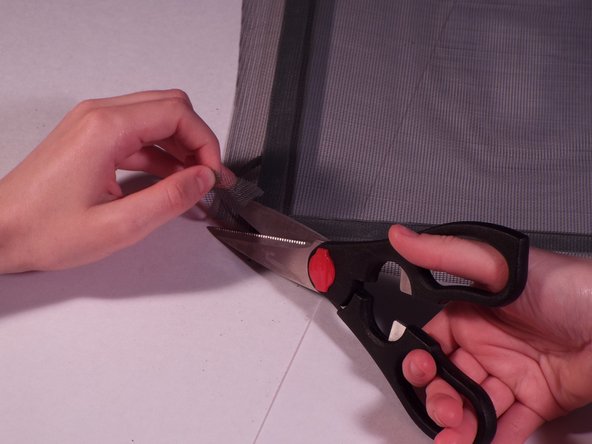
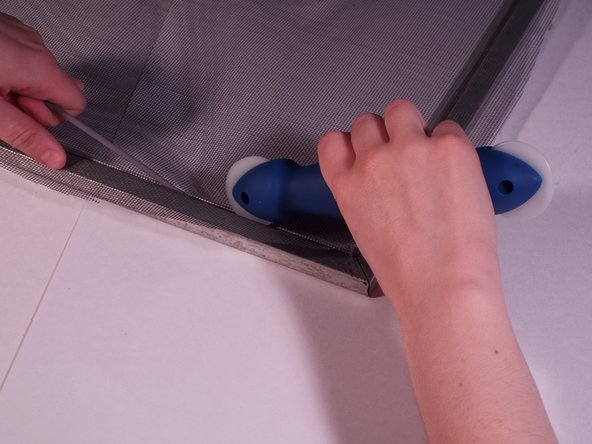
Before beginning this repair, make sure that the screen mesh is big enough to go over the whole frame. Also, this repair is best to do on a flat surface, like a table.
필요한 것


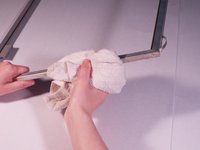


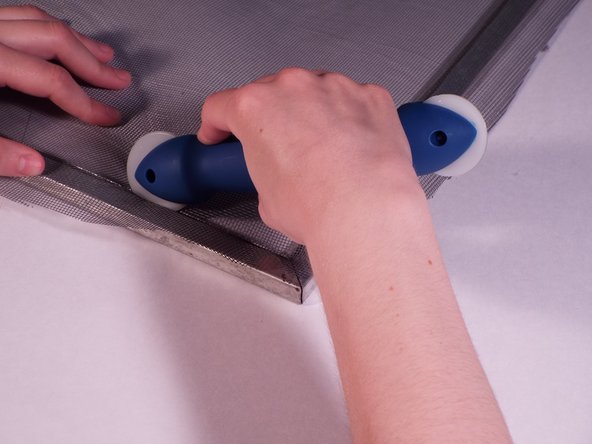


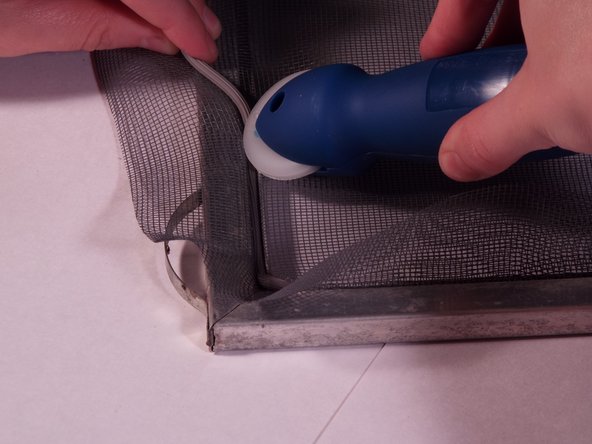


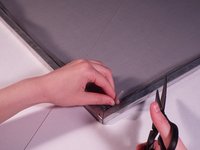


If the screen mesh isn't tight enough or there are other issues, return to the beginning of the steps and restart. You don't have to do all of the steps if you are doing a minor revision, however, like only taking the spline out in order to tighten the screen mesh and placing the spline back afterwards.
다른 2명이 해당 안내서를 완성하였습니다.

팀

Eastern Washington University, Team S2-G4, Crane Summer 2017 Eastern Washington University, Team S2-G4, Crane Summer 2017 회원
EWU-CRANE-SU17S2G4
2 회원들
안내서 2개를 작성함
2가이드 댓글
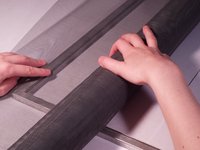
I think I tried too hard to get the mesh really taught. I was replacing the regular type screen with a thicker, stronger cat-resistent mesh. The two screens are so tight the mesh pulls the frame so that it doesn't lay flat but twists, making installation far more challenging than it needs to be.
One piece of advice is to bring a piece of the old spline with you to the hardware store when you buy the new spline so you can get the correct size. I didn’t realize how many sizes there are!