소개
The Wyze Cam Camera has a 110º wide angle lens, 8x digital zoom, and enhanced night vision. If your camera quality declines, or stops working you might need to replace it. This guide will walk you through getting your camera replaced.
필요한 것
-
-
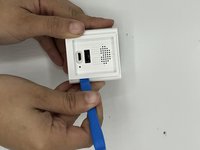
Open up the camera stand to expose the bottom plate of the camera.
-
Remove two 4 mm silver screws using the Phillips #0 screwdriver.
-
-
-
이 단계에 사용된 도구:Tweezers$3.99
-
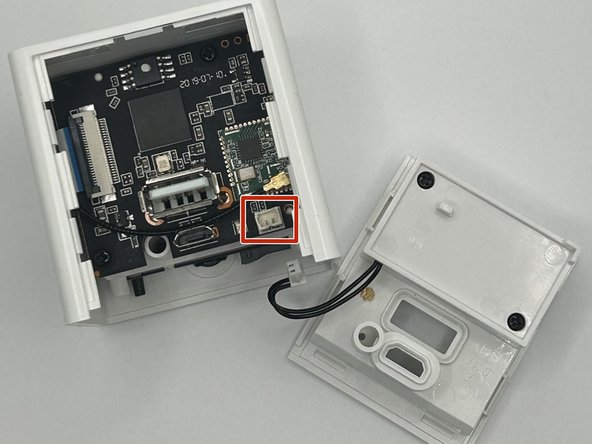
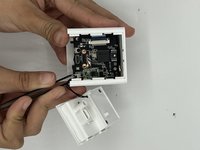
Using the angled slim tweezers, disconnect the cord and pull it gently off of the motherboard.
-
-
-
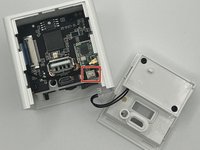
Remove the single 6 mm screw located deep inside the device using a Phillips #000 screwdriver.
-
Carefully remove the motherboard from the device.
-


To reassemble your device, follow these instructions in reverse order.

팀

University of North Texas, Team 4-10, Harold Fall 2023 University of North Texas, Team 4-10, Harold Fall 2023 회원
UNT-HAROLD-F23S4G10
3 회원들
안내서 5개를 작성함