소개
The main motherboard is the circuit board that controls all the main components such as storing electrical components and helps them communicate to each other. It is vital to have a working motherboard to use your device. This guide will walk you through replacing the main motherboard of the Wyze Cam V2.
필요한 것
-
-
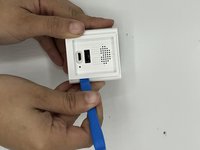
Open up the camera stand to expose the bottom plate of the camera.
-
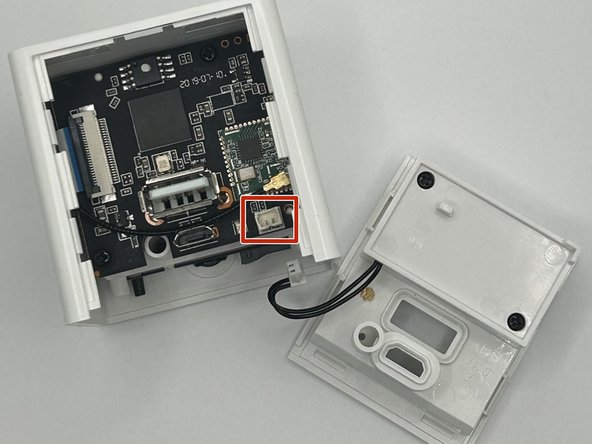
Remove two 4 mm silver screws using the Phillips #0 screwdriver.
-
-
-
이 단계에 사용된 도구:Tweezers$3.99
-
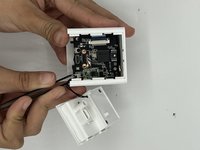
Using the angled slim tweezers, disconnect the cord and pull it gently off of the motherboard.
-
-
-
Remove the single 6 mm screw located deep inside the device using a Phillips #000 screwdriver.
-
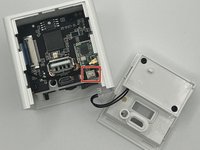
Carefully remove the motherboard from the device.
-


To reassemble your device, follow these instructions in reverse order.
팀

University of North Texas, Team 4-10, Harold Fall 2023 University of North Texas, Team 4-10, Harold Fall 2023 회원
UNT-HAROLD-F23S4G10
3 회원들
안내서 5개를 작성함