주요 콘텐츠로 건너뛰기

Xbox 360 Jammed CD Belt Replacement

보관된 가이드
해당 안내서는 단지 역사적인 목적으로 보관됩니다. 최신 버전 안내서를 사용하여 수리 하십시오.

필요한 것

  1. Xbox 360 Jammed CD Belt  Replacement, Jammed CD Belt: 1 단계, 이미지 1/1
    이 단계에 사용된 도구:
    Tweezers
    $4.99
    구매
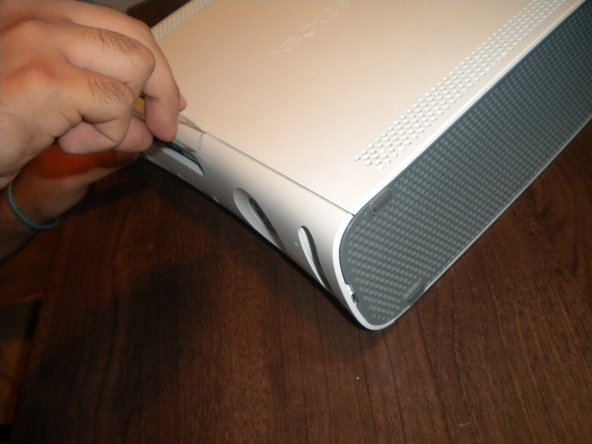
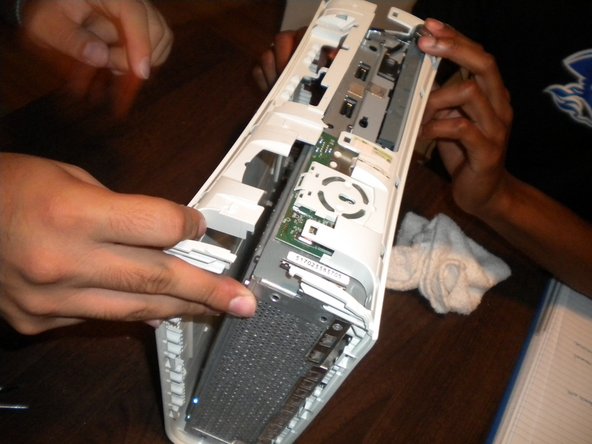
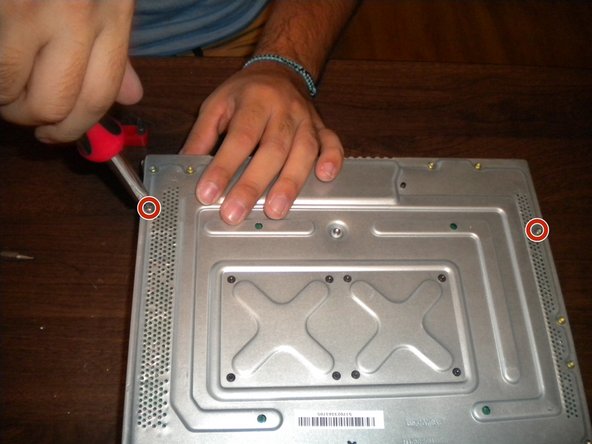
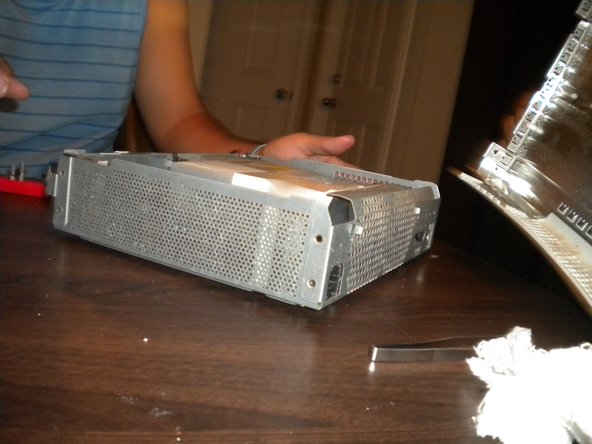
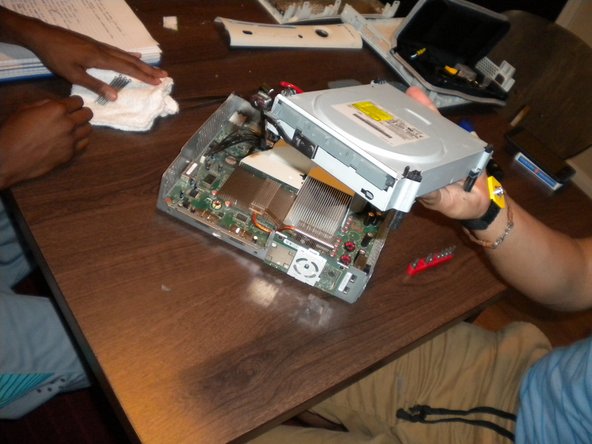
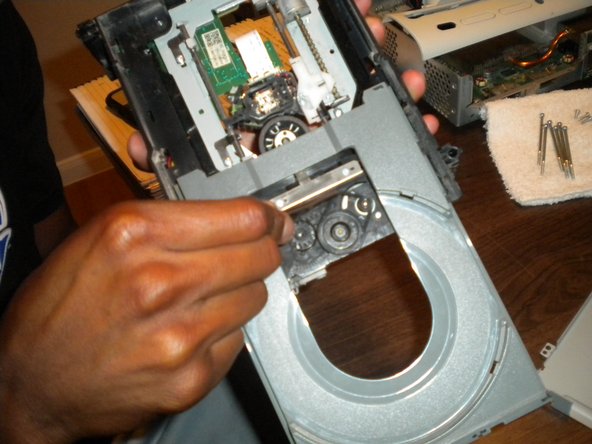
    • Remove the white plastic casing covering the Xbox.

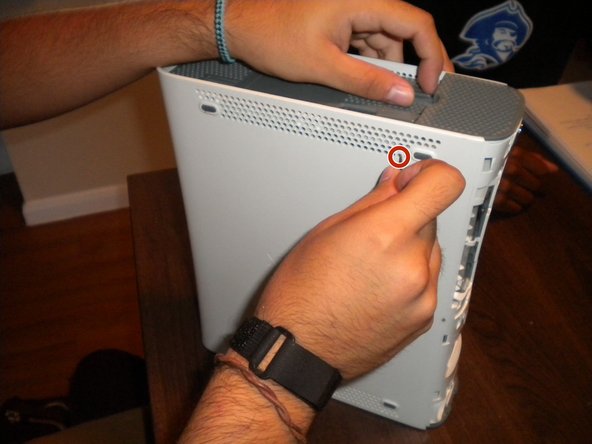
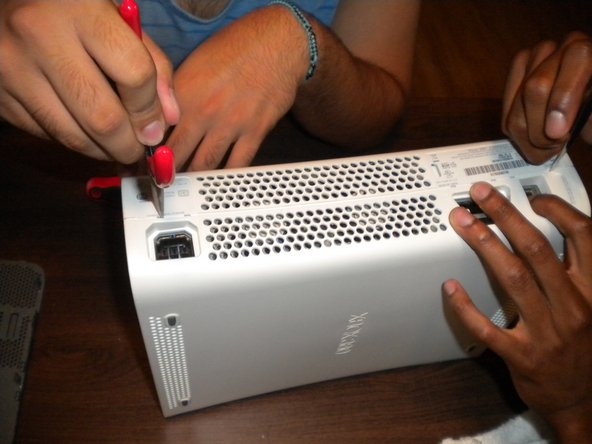
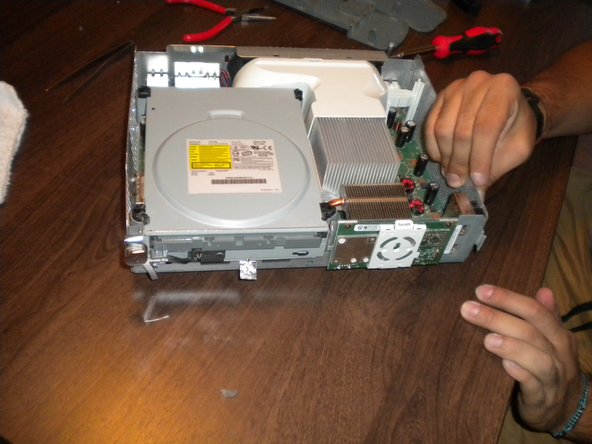
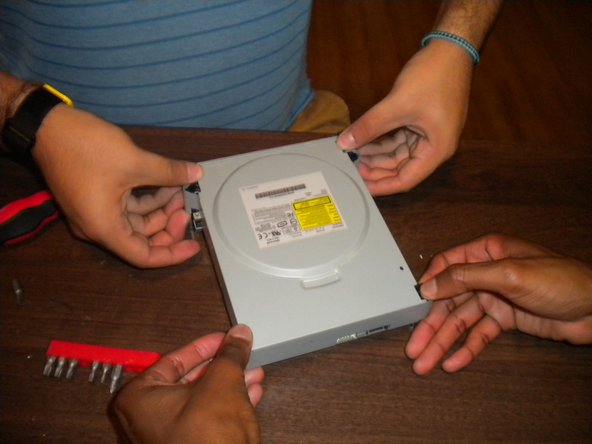
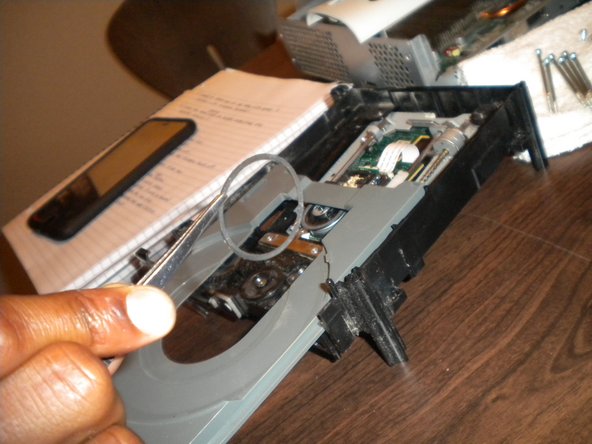
    • Place the Xbox with the front part of the console facing you. Use the flat surface of the tweezers to prop the top part of the casing to remove the front casing of the console.

  2. Xbox 360 Jammed CD Belt  Replacement: 2 단계, 이미지 1/3 Xbox 360 Jammed CD Belt  Replacement: 2 단계, 이미지 2/3 Xbox 360 Jammed CD Belt  Replacement: 2 단계, 이미지 3/3
    • Stand the Xbox up so the bottom part is facing up. Use your nail and poke at the second hole on the second row on the side of the Xbox.

    • The next hole is the twenty-first hole on the third row.

    • The final hole is the second to last hole on the fourth row. Repeat on each side, top and bottom.

  3. Xbox 360 Jammed CD Belt  Replacement: 3 단계, 이미지 1/3 Xbox 360 Jammed CD Belt  Replacement: 3 단계, 이미지 2/3 Xbox 360 Jammed CD Belt  Replacement: 3 단계, 이미지 3/3
    • Remove grey plastic piece and place the console with the front facing you.

    • You will see four clips. Take a multi-screwdriver and use the flat screw or a plastic spudger to unhook the clips.

    • Once unhooked, flip Xbox so the bottom of the console is facing you.

  4. Xbox 360 Jammed CD Belt  Replacement: 4 단계, 이미지 1/2 Xbox 360 Jammed CD Belt  Replacement: 4 단계, 이미지 2/2
    • Take the tweezers, or pliers, and poke the seven holes that are visible to you. Remove the cover.

  5. Xbox 360 Jammed CD Belt  Replacement: 5 단계, 이미지 1/2 Xbox 360 Jammed CD Belt  Replacement: 5 단계, 이미지 2/2
    • Place the console with the metal side facing you and take your multi-screwdriver (using the star head) and remove the six screws labeled in the picture below

  6. Xbox 360 Jammed CD Belt  Replacement: 6 단계, 이미지 1/1
    • Remove the other half of the white casing.

  7. Xbox 360 Jammed CD Belt  Replacement: 7 단계, 이미지 1/3 Xbox 360 Jammed CD Belt  Replacement: 7 단계, 이미지 2/3 Xbox 360 Jammed CD Belt  Replacement: 7 단계, 이미지 3/3
    • Flip the console with the hardware facing up. There will be a grey box that is connected to the console, with white and black wires exposed.

    • Disconnect both wires and remove half of the piece of silver electrical tape, careful to not remove the entire tape.

  8. Xbox 360 Jammed CD Belt  Replacement: 8 단계, 이미지 1/1
    • Place the box so the bottom is facing up. Remove the four screws labeled in the picture below with a multi-screwdriver with the five-point head.

  9. Xbox 360 Jammed CD Belt  Replacement: 9 단계, 이미지 1/3 Xbox 360 Jammed CD Belt  Replacement: 9 단계, 이미지 2/3 Xbox 360 Jammed CD Belt  Replacement: 9 단계, 이미지 3/3
    • Place pressure on black rods to remove the top casing of the drive.

    • Place the drive facing you. This should expose a small hole.

    • Take the nail and gently unwind the gear inside the hole. When finished, the tray should be out.

  10. Xbox 360 Jammed CD Belt  Replacement: 10 단계, 이미지 1/2 Xbox 360 Jammed CD Belt  Replacement: 10 단계, 이미지 2/2
    • Use your tweezers to remove the band.

  11. Xbox 360 Jammed CD Belt  Replacement: 11 단계, 이미지 1/1
    • Replace old band with new.

    • To reassemble, complete these steps in reverse order.

    • You may hear clicking sounds when re-attaching the pieces held together by clips. This is normal, and expected.

결론

To reassemble your device, follow these instructions in reverse order.

다른 2명이 해당 안내서를 완성하였습니다.

joey

회원 가입일: 09/11/15

242 평판

안내서 1개 작성함

Sam Houston State, Team 15-3, Nardone Fall 2015 Sam Houston State, Team 15-3, Nardone Fall 2015 회원

SHSU-NARDONE-F15S15G3

4 회원들

안내서 1개 작성하였습니다

댓글 한 개

Lol. Avoid drugs & alchohol or you could potentially make an err. Wow. Like the guide though! Thx.

Chris Fisher - 답글

댓글 쓰기

조회 통계:

24 시간 전: 0

7일 전: 4

30일 전: 11

전체 시간: 984