이 버전에는 잘못된 편집 사항이 있을 수 있습니다. 최신 확인된 스냅샷으로 전환하십시오.
필요한 것
-
이 단계는 번역되지 않았습니다. 번역을 도와주십시오
-
You can either remove the labels or simply feel for the screw holes through the labels and then cut or punch a hole through them.
-
-
이 단계는 번역되지 않았습니다. 번역을 도와주십시오
-
Remove the six T20 Torx screws securing the top cover to the bottom cover.
-
-
이 단계는 번역되지 않았습니다. 번역을 도와주십시오
-
Once the bottom and top shells are no longer attached, carefully turn the Xbox right-side-up, lift and remove the top cover.
-
-
-
이 단계는 번역되지 않았습니다. 번역을 도와주십시오
-
Free the hard drive power cable from the carrier for sufficient slack to lift the hard drive out.
-
Lift the plastic hard drive carrier out of the Xbox case.
-
-
이 단계는 번역되지 않았습니다. 번역을 도와주십시오
-
Remove the four 3.4 mm T15 Torx screws from the plastic hard drive carrier (two screws per side).
-
Carefully remove the hard drive from the plastic carrier. Gentle rocking will see the hard drive come out quite easily.
-
-
이 단계는 번역되지 않았습니다. 번역을 도와주십시오
-
Pull both the hard drive data ribbon cable and the power cable straight up from the hard drive.
-
-
이 단계는 번역되지 않았습니다. 번역을 도와주십시오
-
Remove the disk drive. It should come right out.
-
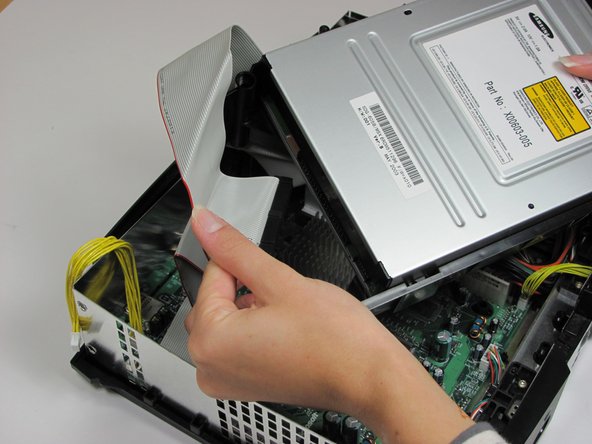
Unplug the ribbon cable and yellow cables from back of disk drive.
-
-
이 단계는 번역되지 않았습니다. 번역을 도와주십시오
-
Pry back the black plastic tabs around the disk drive in order to remove it from its housing. Once removed, set the drive aside.
-
-
이 단계는 번역되지 않았습니다. 번역을 도와주십시오
-
Remove 4 PH1 Screws
-
Once screws are removed, lift the bottom half of the case up and away from the drive.
-
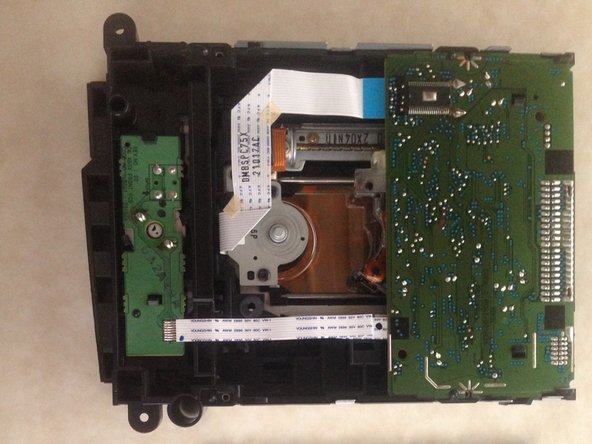
Flip the drive over and remove the top half of the case.
-
-
이 단계는 번역되지 않았습니다. 번역을 도와주십시오
-
Gently press back on the ribbon retention tab and pull back on the ribbon cable
-
-
이 단계는 번역되지 않았습니다. 번역을 도와주십시오
-
Press outwards on the 2 plastic retaining tabs
-
Gently lift PCB over tabs
-
Only remove these ribbon cables if you need to remove the entire PCB. These are friction fit ribbon cables. In my case, they have a piece of tape holding the ribbon to the connector
-
-
이 단계는 번역되지 않았습니다. 번역을 도와주십시오
-
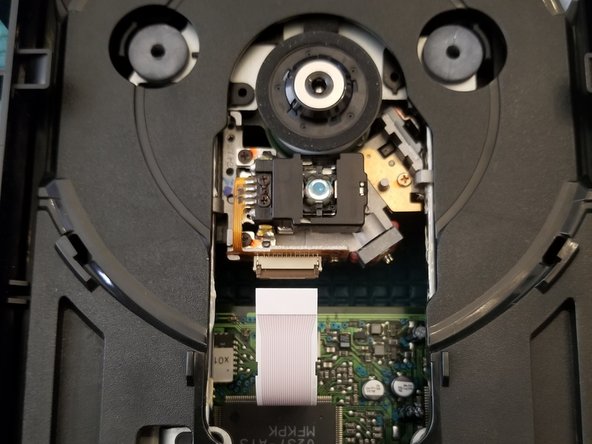
Using your screwdriver, or anything slim enough to fit, gently push the white lever back. Put your object on the right hand side of the lever, slightly pushing right as you push back.
-
The lens will drop down and your drive door will open about a quarter inch.
-
Gently pull the tray to its open position. If you have a game stuck in your drive, this would be the ideal time to remove it.
-
Remove the drive belt and replace it with a new one. Belts approximate location highlighted.
-


다른 6명이 해당 안내서를 완성하였습니다.
댓글 3개
What is the easiest way to clean the laser in the original xbox?
Hit it with a can of air duster. If further cleaning is required apply a small amount of rubbing alcohol on a Q-tip and gently clean the lens. I hope this helps.