소개
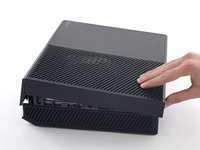
Follow this guide to remove the hard drive from your Xbox One, and follow it in reverse to install a new drive.
Depending on the firmware version of your Xbox One, your console may or may not be able to format the replacement hard drive for you. Older firmwares cannot format the hard drive, while newer firmwares can.
If your Xbox One console is not capable of formatting a replacement hard drive, before you install your replacement drive, you will need to reformat the drive in a computer and install the necessary software, following this technique:
필요한 것
동영상 개요
-
-
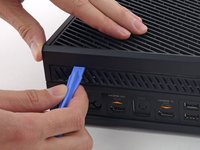
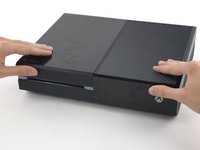
To open your Xbox, you're going to have to cut or peel up this tamper-evident tape. But don't worry—Microsoft can't legally void your warranty, as long as you don't damage anything. Have fun!
 FixBot에 문의하기
-
-
-
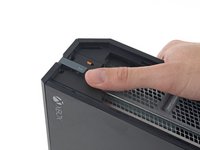
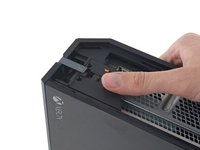
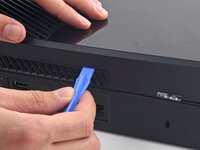
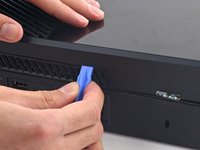
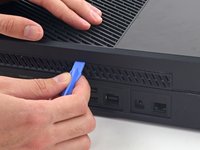
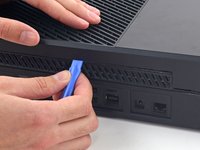
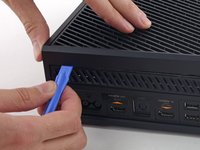
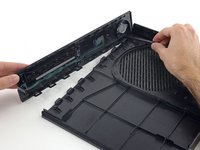
Use a plastic opening tool to pry up and remove the plastic vent that surrounds the side USB port.
-
The vent is fairly flexible, and held in place with weak plastic clips—start prying from the back and peel it out.
-
-
-
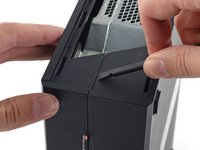
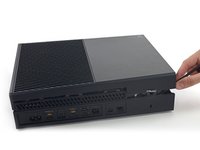
Insert the flat end of a spudger between the upper and lower case where they meet at the rear of the side vent opening.
-
-
-
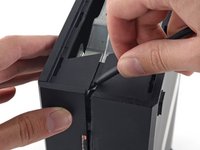
Insert a plastic opening tool between the upper and lower case to separate the clip over the rear vent.
-
-
-
Keep popping clips. It may help to slide the plastic opening tool across the clips.
-
-
-
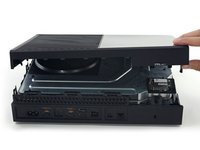
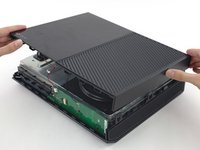
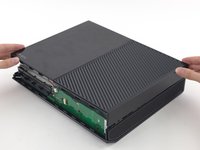
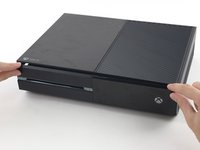
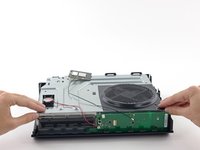
Starting with the spudger you left in the crack, pry the upper case up to free the last few clips.
-
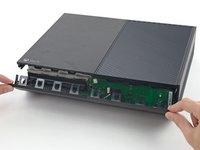
Lift the upper case slightly and shift it to give access to the front panel board.
-
-
-
이 단계에 사용된 도구:Tweezers$4.99
-
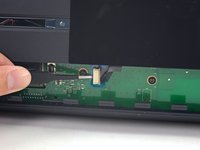
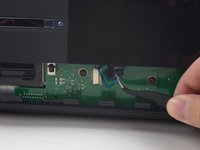
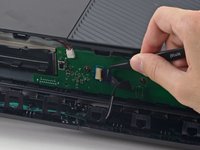
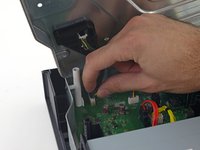
Use tweezers to lift the blue plastic retaining loop over the white connector on the board.
-
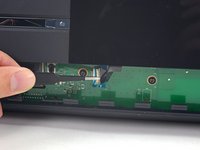
Use the tip of a spudger to push the connector's locking tab toward the cable to unlatch it.
-
-
-
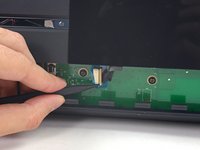
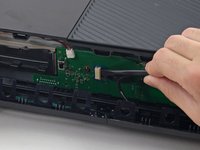
Use tweezers to pull the cable straight out of the connector on the board.
-
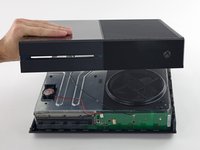
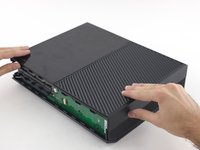
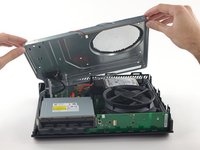
Remove the upper case.
-
-
-
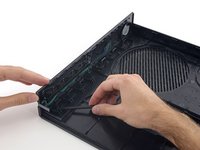
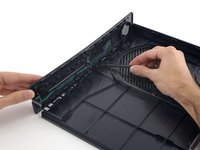
Use the flat end of a spudger to free the clips securing the front panel to the upper case.
-
Remove the front panel from the rest of the upper case.
-
-
-
Replace the top part of the upper case.
-
Line up the clips and press firmly to re-seat them around the perimeter.
-
-
-
Support the front panel near the front of the Xbox.
-
Use tweezers to replace the front button cable in its ZIF socket.
-
Use the flat end of a spudger to push the ZIF lock to the left to secure the cable.
-
-
-
With the front panel at a 45 degree angle, interlock its plastic hooks with those in the lower case.
-
Push the top of the front panel into the Xbox, like closing a mailbox. Press firmly so that the clips securing the front panel to the upper case lock securely.
-
-
-
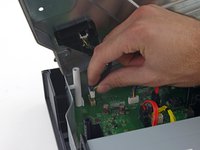
Gently pull up on the speaker cable connector to disconnect it from the front panel board.
-
Use the flat end of a spudger to disconnect the antenna cable from the front panel board.
-
-
-
Remove the two 9.5 mm T8 Torx screws from the WI-Fi board.
-
Lift the Wi-Fi board straight up from its socket in the upper metal case.
-
Leaving the Wi-Fi board antenna cable in place, move the Wi-Fi board aside, exposing the screw labeled "C3" that was beneath it.
-
-
-
Remove the eight 65 mm Torx T10 screws from the top of the upper metal case.
-
-
-
Disconnect the hard drive SATA power and data cables from the motherboard.
-
-
-
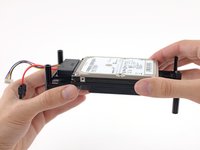
Remove the four 8.5 mm T10 Torx screws securing the hard drive assembly to the hard drive tray.
-


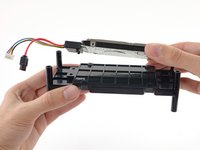

To reassemble your device, follow these instructions in reverse order.
다른 250명이 해당 안내서를 완성하였습니다.


91가이드 댓글
I've managed to open my Xbox one, tested the hard drive and it has failed (error scanned and it's 90% bad sectors). I've got a new harddrive for it, but can't find where to get the correct software for it/ how it needs to be formatted. You mention this info at the start of this repair but cant see a link to the software.
If there are no links, would cloning another xbox one harddrive work as a repair?
Ah, Sorted now. I managed to clone another hard drive. This doesn't work right off you still need to apply an update via a pend rive. But once this is done, the hard drive does pick up and work.
What Hard Drive did You Clone? My Hard Drive failed Aswell.
Please see my Xbox One HDD Replacement Wiki to solve your issue (scroll to very bottom): http://jw0914.github.io/Wikis/
I haven't done this yet but I, like most other people won't want to lose any saved games etc. How do I do an exact copy from the current HDD to the SSD I'm putting in? Thanks!
garion1992 - 답글 공유