주요 콘텐츠로 건너뛰기

Xbox One Kinect Infrared Blasters Replacement

필요한 것

  1. Xbox One Kinect Infrared Blasters Replacement, Outer Shell: 1 단계, 이미지 1/1
    • Remove the sticker on the underside of the device.

    • Remove the four 3.1x23.5 mm T10 screws underneath the sticker.

    • While you're at it, remove the four 3.1x7.5 mm T10 screws beneath the sticker. Make note of the sizes and locations of the screws.

  2. Xbox One Kinect Infrared Blasters Replacement: 2 단계, 이미지 1/3 Xbox One Kinect Infrared Blasters Replacement: 2 단계, 이미지 2/3 Xbox One Kinect Infrared Blasters Replacement: 2 단계, 이미지 3/3
    • Remove the back panel.

    • Remove the black panels on either side of the Kinect, and remove the 3.1x7.5mm T10 screws underneath them.

  3. Xbox One Kinect Infrared Blasters Replacement: 3 단계, 이미지 1/3 Xbox One Kinect Infrared Blasters Replacement: 3 단계, 이미지 2/3 Xbox One Kinect Infrared Blasters Replacement: 3 단계, 이미지 3/3
    • Using your thumbs, press firmly against the outer case on either side of the stand. This will disengage the internal assembly.

    • Lift the internal assembly with the spudger.

    • Remove the assembly from the case. You now have access to the inner shell of the kinect, along with the heat sink, microphone, and LED sensor.

  4. Xbox One Kinect Infrared Blasters Replacement, Heat Sink Assembly: 4 단계, 이미지 1/2 Xbox One Kinect Infrared Blasters Replacement, Heat Sink Assembly: 4 단계, 이미지 2/2
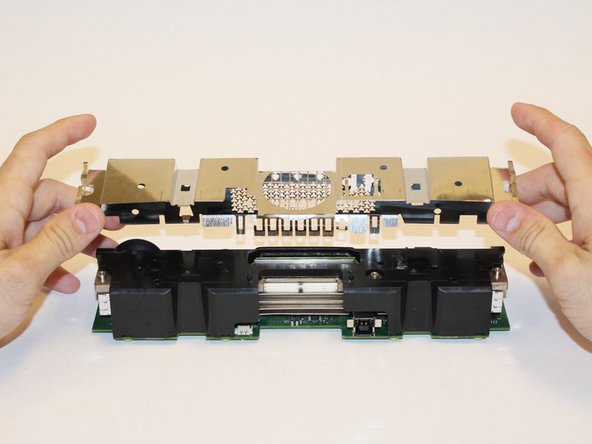
    • Remove the eight 2.9x7.6 mm T9 screws from the rear of the internal case.

    • Lift the internal metal case from the plastic shell enclosing the heat sink assembly.

  5. Xbox One Kinect Infrared Blasters Replacement: 5 단계, 이미지 1/3 Xbox One Kinect Infrared Blasters Replacement: 5 단계, 이미지 2/3 Xbox One Kinect Infrared Blasters Replacement: 5 단계, 이미지 3/3
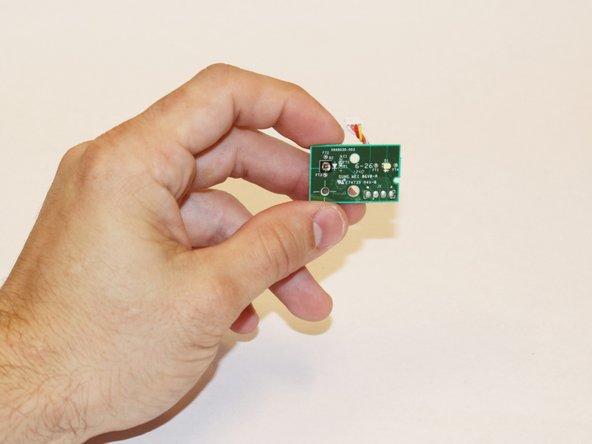
    • Disconnect the ribbon cable between the sensor driver board and the motherboard.

    • Remove the 3.0x7.5 mm T9 screw holding the sensor driver board to the heat sink.

    • Remove the infrared sensor board for the Kinect.

  6. Xbox One Kinect Infrared Blasters Replacement: 6 단계, 이미지 1/3 Xbox One Kinect Infrared Blasters Replacement: 6 단계, 이미지 2/3 Xbox One Kinect Infrared Blasters Replacement: 6 단계, 이미지 3/3
    • Detach the ribbon cable leading to the microphone with the tweezers.

    • Remove the four 3.1x7.7 mm T9 screws connecting the microphone to the heat sink assembly.

    • Remove the stand.

  7. Xbox One Kinect Infrared Blasters Replacement: 7 단계, 이미지 1/3 Xbox One Kinect Infrared Blasters Replacement: 7 단계, 이미지 2/3 Xbox One Kinect Infrared Blasters Replacement: 7 단계, 이미지 3/3
    • Remove the eight 3.0x7.6 mm T9 screws from the motherboard.

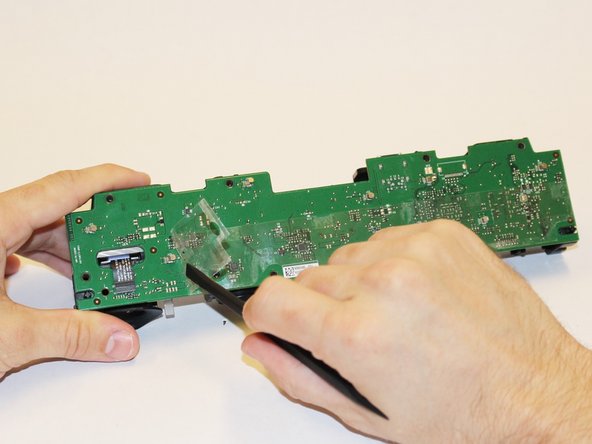
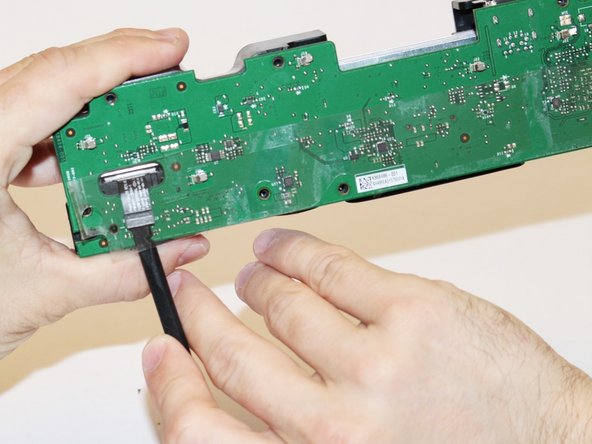
    • Peel away the plastic film from the motherboard using the spudger.

    • Detach the ribbon cable leading to the color camera using the spudger.

  8. Xbox One Kinect Infrared Blasters Replacement: 8 단계, 이미지 1/3 Xbox One Kinect Infrared Blasters Replacement: 8 단계, 이미지 2/3 Xbox One Kinect Infrared Blasters Replacement: 8 단계, 이미지 3/3
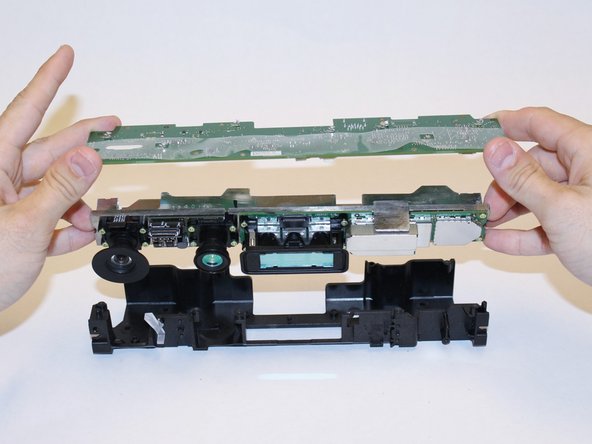
    • Lift the motherboard and the heat sink assembly from the plastic shell. The components attached to the heat sink are now accessible.

  9. Xbox One Kinect Infrared Blasters Replacement, Infrared Blasters: 9 단계, 이미지 1/3 Xbox One Kinect Infrared Blasters Replacement, Infrared Blasters: 9 단계, 이미지 2/3 Xbox One Kinect Infrared Blasters Replacement, Infrared Blasters: 9 단계, 이미지 3/3
    • Using a T5 torx driver, remove the four 1.9x10 mm screws on the corners of the blasters.

    • Remove the two 1.9x5.1 mm T5 screws on the right-hand side of the board.

  10. Xbox One Kinect Infrared Blasters Replacement: 10 단계, 이미지 1/2 Xbox One Kinect Infrared Blasters Replacement: 10 단계, 이미지 2/2
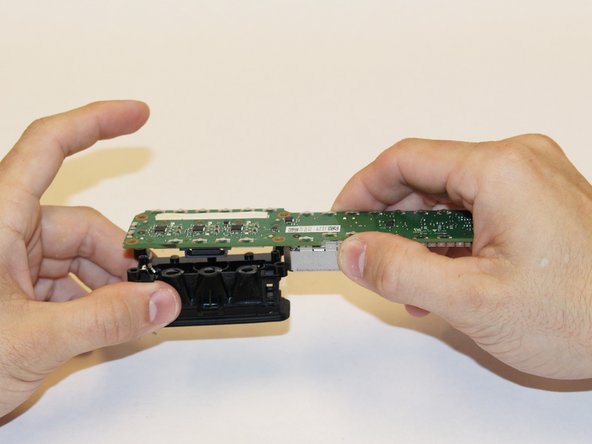
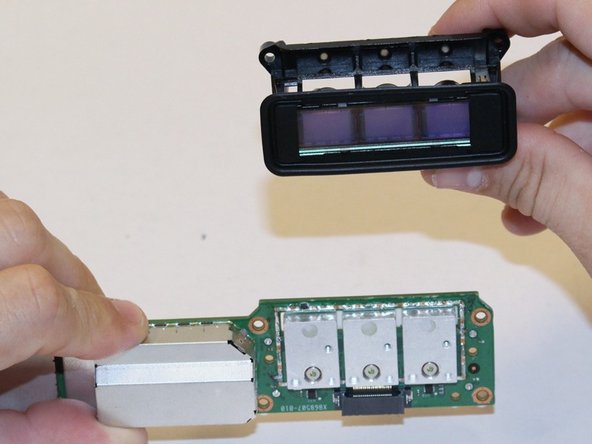
    • Using the spudger, detach the IR blaster board from the heatsink.

  11. Xbox One Kinect Infrared Blasters Replacement: 11 단계, 이미지 1/3 Xbox One Kinect Infrared Blasters Replacement: 11 단계, 이미지 2/3 Xbox One Kinect Infrared Blasters Replacement: 11 단계, 이미지 3/3
    • Remove the four 1.9x5.1 mm T5 screws from the back of the board.

    • Gently remove the IR blasters from the board.

    • Obtain replacement blasters.

결론

To reassemble your device, follow these instructions in reverse order.

Jonathan Samuelson

회원 가입일: 09/05/14

152 평판

안내서 1개 작성함

USF Tampa, Team 1-3, Hickman Fall 2014 USF Tampa, Team 1-3, Hickman Fall 2014 회원

USFT-HICKMAN-F14S1G3

4 회원들

안내서 7개 작성하였습니다

댓글 한 개

please where to buy those IR blasters ???

Michel Melek - 답글

댓글 쓰기

조회 통계:

24 시간 전: 1

7일 전: 2

30일 전: 6

전체 시간: 2,016