소개
The microphone is inside of the stand of the Kinect, and the stand is not able to be taken apart. You will need to find another Kinect with a working microphone to salvage a stand to replace the broken one.
필요한 것
-
-
Remove the sticker on the underside of the device.
-
Remove the four 3.1x23.5 mm T10 screws underneath the sticker.
-
While you're at it, remove the four 3.1x7.5 mm T10 screws beneath the sticker. Make note of the sizes and locations of the screws.
-
-
-
-
Using your thumbs, press firmly against the outer case on either side of the stand. This will disengage the internal assembly.
-
Lift the internal assembly with the spudger.
-
Remove the assembly from the case. You now have access to the inner shell of the kinect, along with the heat sink, microphone, and LED sensor.
-
-
-
Disconnect the cable connecting the infrared sensor to the motherboard.
-
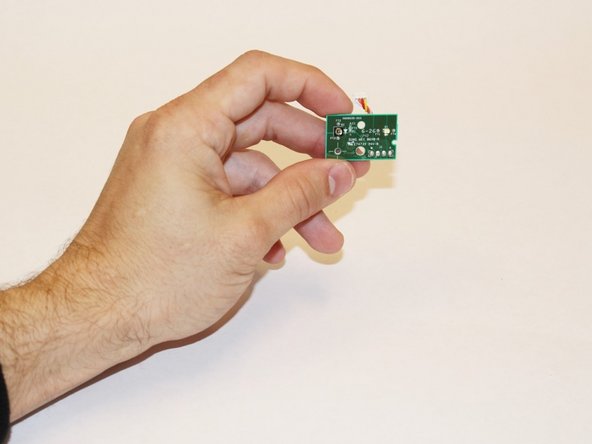
Remove the one 3.1x7.7 mm T9 screw from the infrared sensor.
-
Remove the infrared sensor board for the Kinect.
-
-
-
Remove the white ribbon cable from the motherboard using tweezers.
-
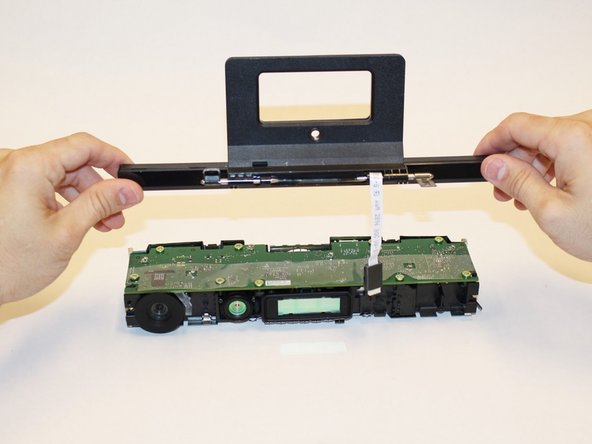
Remove the four 3.1x7.7 mm T9 screws holding the stand containing the microphone in place.
-
Unstick the black bracket holding the ribbon cable with a spudger, and remove the stand from the body of the Kinect.
-
Replace with a working stand from a different Xbox One Kinect.
-


To reassemble your device, follow these instructions in reverse order.
To reassemble your device, follow these instructions in reverse order.
팀

USF Tampa, Team 1-3, Hickman Fall 2014 USF Tampa, Team 1-3, Hickman Fall 2014 회원
USFT-HICKMAN-F14S1G3
4 회원들
안내서 7개 작성하였습니다
댓글 한 개
I love this guide, guys. Even having never seen an XBOX Kinect, I have a very clear image of how to approach this repair/ replacement. Your markup is great and clear, your action shots denote direction where it's needed, and your pictures show individual components in a way that leaves no confusion. Your steps are adequately descriptive as well. If I have to critique one thing, is it necessary to denote the bit type used on the driver when removing screws? I'm not sure if it is, but my group included this information. All in all, you did a great job with this one. Your guides are knowledgeable and concise.