소개
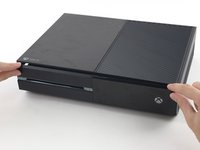
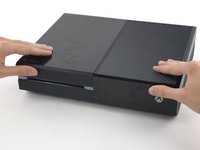
Follow this guide to replace a broken upper case, or just to remove your existing case for modding or painting.
필요한 것
-
-
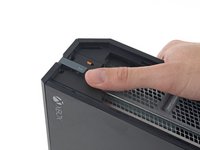
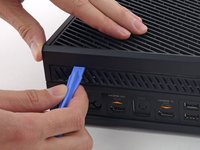
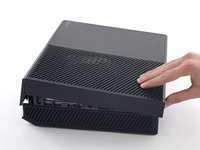
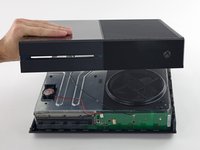
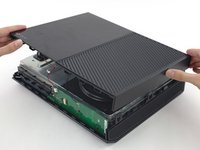
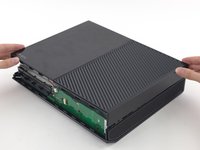
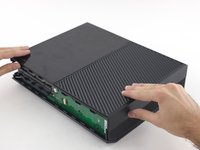
To open your Xbox, you're going to have to cut or peel up this tamper-evident tape. But don't worry—Microsoft can't legally void your warranty, as long as you don't damage anything. Have fun!
-
-
-
-
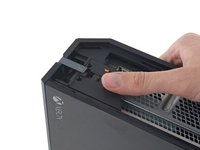
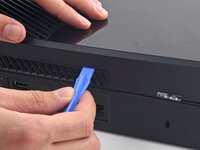
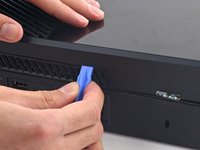
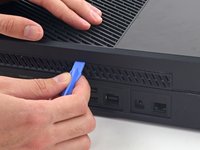
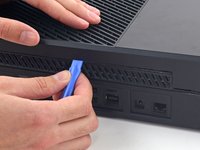
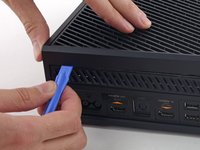
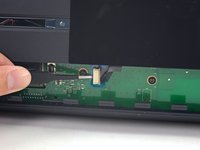
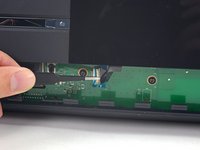
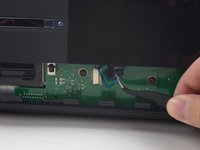
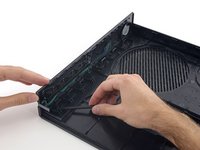
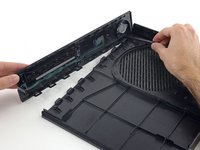
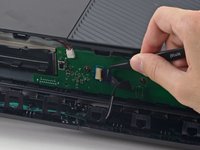
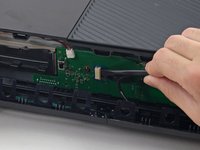
Use the flat end of a spudger to free the clips securing the front panel to the upper case.
-
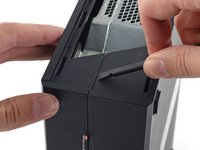
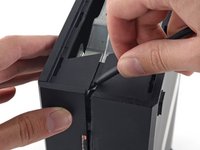
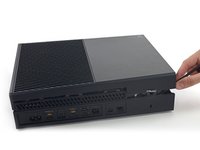
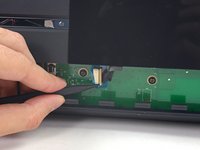
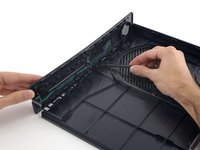
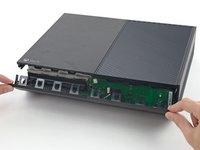
Remove the front panel from the rest of the upper case.
-


To reassemble your device, follow these instructions in reverse order.
다른 64명이 해당 안내서를 완성하였습니다.

4가이드 댓글
Are you planning to make a guide for replacing the lower half of the case?
Worked great after my xbox one fell. Helped reattach the front plate.
Thanks for this - worked like a charm
passt, genau