소개
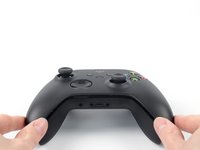
Use this guide to replace the damaged or worn-out thumbstick covers on your Xbox Series X|S Controller (model 1914).
Thumbstick covers are sometimes called joystick covers, joystick toppers or thumbstick toppers.
필요한 것
-
-
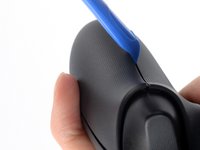
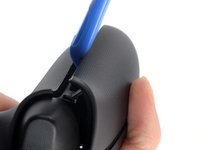
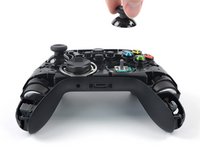
Insert an opening tool between the left handle cover and the bottom inner edge of the back housing.
-
-
-
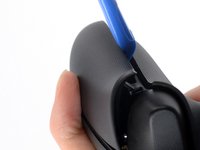
Slide the opening tool along the inner edge of the left handle cover and pry intermittently to release the plastic clips.
-
-
-
-
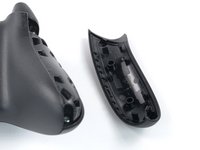
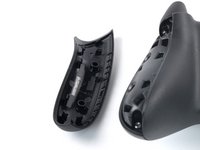
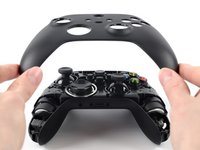
Pry up the middle inner edge of the handle cover with the opening tool to release the remaining clips.
-
Remove the left handle cover.
-
-
-
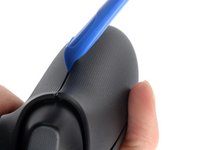
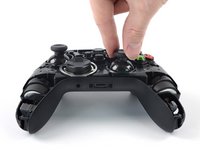
Insert an opening tool between the right handle cover and the bottom inner edge of the back housing.
-
-
-
Slide the opening tool along the inner edge of the right handle cover and pry intermittently to release the plastic clips.
-
-
-
Pry up the middle inner edge of the handle cover with the opening tool to release the remaining clips.
-
Remove the right handle cover.
-
-
이 단계에 사용된 도구:Tweezers$4.99
-
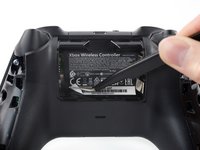
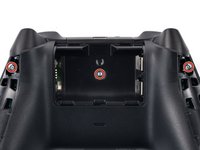
Use a pair of tweezers or your fingers to peel back the sticker to reveal the screw.
-
-
-
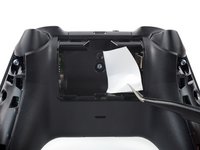
Use a T8R Torx Security driver to remove the five 9.3 mm-long screws securing the top housing, three near the top and two at the bottom.
-


To reassemble your device, follow these instructions in reverse order.
Repair didn’t go as planned? Try some basic troubleshooting, or ask our Answers community for help.
다른 21명이 해당 안내서를 완성하였습니다.


3가이드 댓글
This was really helpful in fixing my thumbsticks. The only suggestion I have is to remove the battery cover after you're removed the handle covers instead of before. It will be easier to grip the controller while using the pry tools when the battery cover is still on.
Replaced the right thumb stick after mine broke. 3d printed a new stick and seems to be working fine. Thanks
Thanks so much, I fix it first time by this tutorial