소개
Use this guide to replace the speaker in your Xiaomi Air 12.
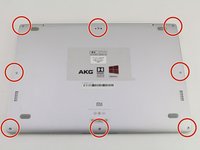
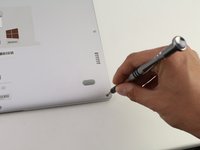
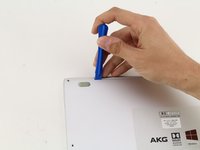
필요한 것
-
-
-
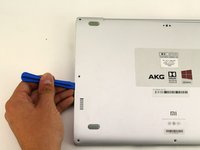
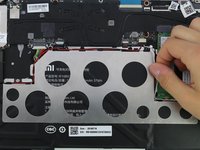
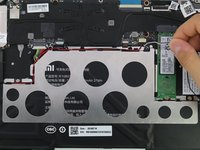
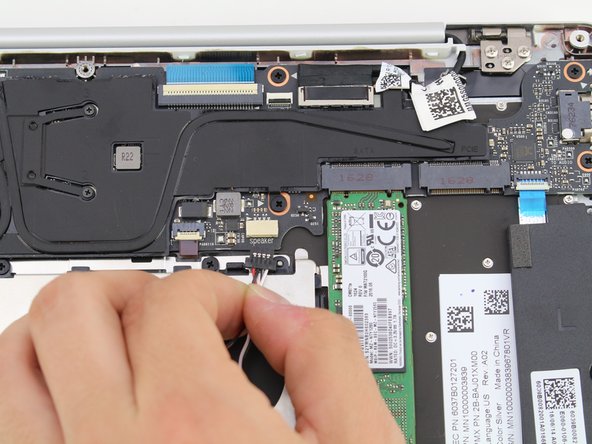
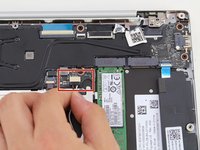
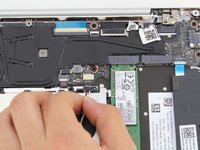
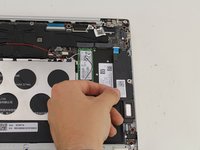
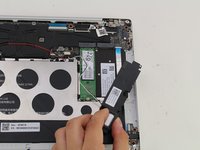
Remove the white and black speaker wires from the black tabs by pulling upwards from the device.
-


To reassemble your device, follow these instructions in reverse order.
To reassemble your device, follow these instructions in reverse order.
다른 2명이 해당 안내서를 완성하였습니다.

팀

Cal Poly, Team S18-G4, Livingston Spring 2018 Cal Poly, Team S18-G4, Livingston Spring 2018 회원
CPSU-LIVINGSTON-S18S18G4
4 회원들
안내서 20개를 작성함
댓글 6개
have you found them? i need those too
Hello, i love this laptop and its been my companion for almost 3 years think the audio input jack got grounded because i heard a creaking sound when i inserted a metallic headset jack, the device was charging when it happened. Now the audio output from the audio jack port is like a minus one or somewhat instrumental. Any suggestions what to do?