소개
Use this guide to replace the battery in your Xiaomi Mi 3 smartphone.
A phone’s battery stores the electricity the phone needs to operate. Recharging and using the battery causes the lithium-ion battery to degrade, decreasing the amount of charge it can hold and shortening its lifespan. If you notice you must recharge your phone more frequently, it may be a sign your battery is dying. Faulty, damaged, or improperly installed batteries can swell, overheat, or leak electrolytes which will cause damage to the phone.
Before beginning, make sure to power off your phone completely and disconnect from any external power source.
필요한 것
-
-
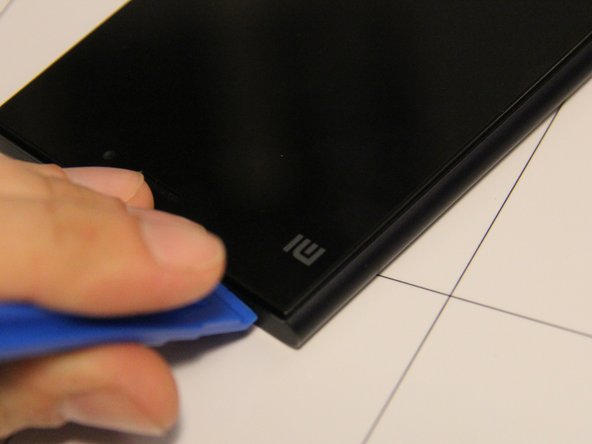
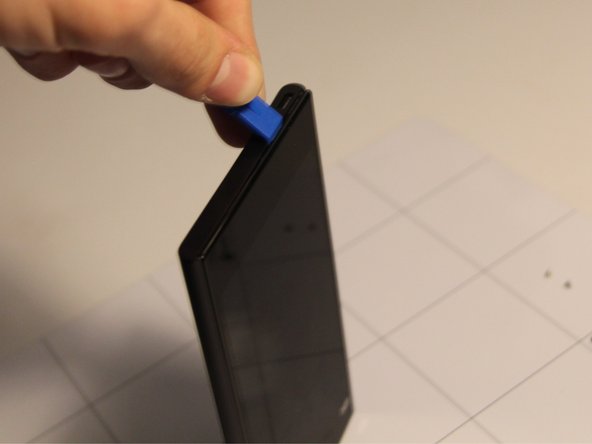
Firmly press the SIM card removal tool into the hole located at the top of the phone to eject the SIM card tray from the slot.
-
-
-
-
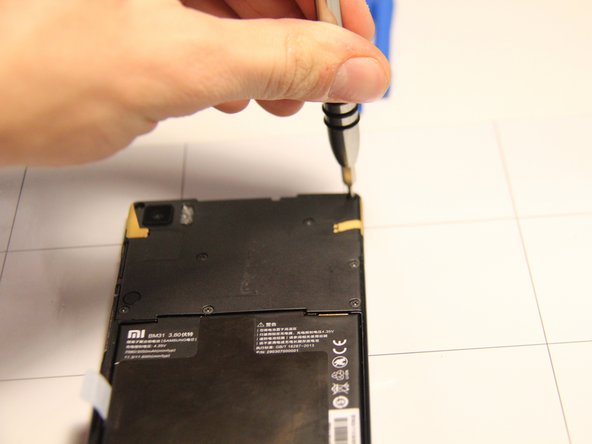
Place the front panel screen side down with the camera at the top.
-
Remove these six Phillips head screws located at the upper half of the phone.
-
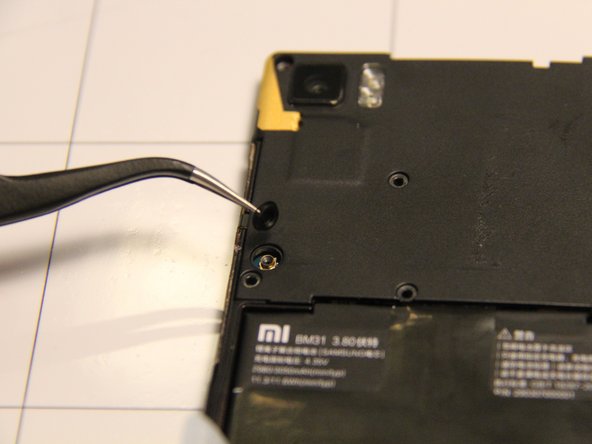
This screw is located under an orange sticker at the top right corner of the panel. The sticker can be removed with a pair of tweezers, then remove that Phillips head screw.
-


To reassemble your device, follow these instructions in reverse order.
Prior to reassembly of the phone, inspect the battery for any leaking electrolyte. Leaking electrolytes is a sign of overheating, which can further damage the motherboard or cause the phone to catch fire. Clean any electrolyte from the phone using a cotton swab that is slightly damp with vinegar or lemon juice.
다른 26명이 해당 안내서를 완성하였습니다.
팀

USF Tampa, Team 1-5, Remmell Fall 2015 USF Tampa, Team 1-5, Remmell Fall 2015 회원
USFT-REMMELL-F15S1G5
4 회원들
안내서 6개 작성하였습니다
댓글 8개
Fr where do I gotta find a new battery after the removal of the old one???
Mohit Soni - 답글
Easily available on Ebay. I am about to replace mine 2nd time, work's fine though the discharge seems to be higher after almost a year of replacement. Phone's still good to go for another year or so hopefully. No serious lags :)
Kiran G -
thank you very much; changed my battery for the first time for 3 years.
From where did you bought the battery for Mi 3
Hi I would like to know where can i find spare parts of Xiaomi MI3W. I have a MI3W whose internal USB Bus along with the USB port is damaged. Also touch is damaged, so need to purchase a display along with touch. So can anyone please guide me to a website where they sell spare parts of Xiaomi MI3W.