소개
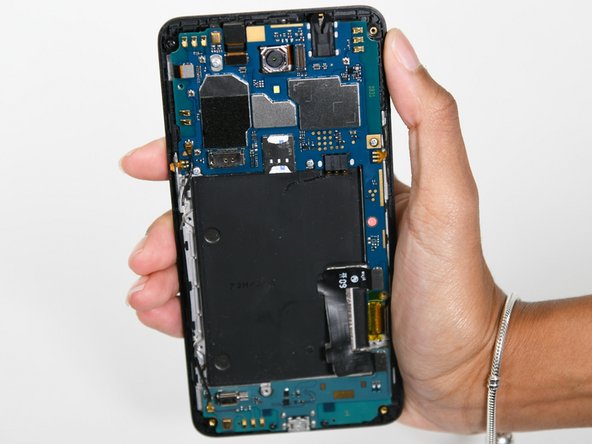
This guide will show you how to access and remove the midframe of your ZTE Maven 2 (Model Z831). The midframe sits on top of the motherboard and screen and protects these components from damage. You may need to remove the motherboard to access these components.
필요한 것
-
-
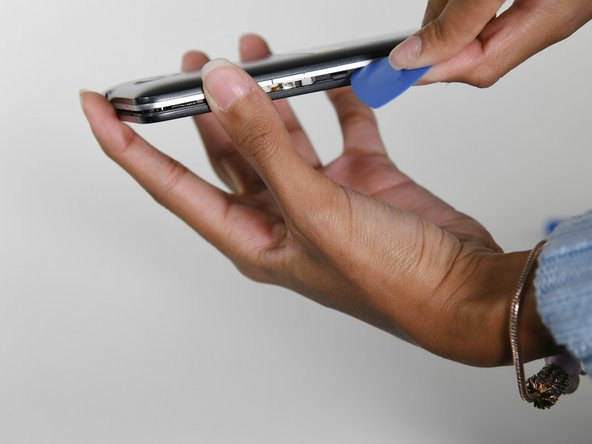
Pry off the back cover by inserting an opening tool into the small space on the bottom left between the phone's cover and body.
-
Work your way around the phone with an opening pick to loosen the rest of the back cover.
-
Remove the cover.
-
-
-
Push in and then up on the bottom of the battery to free it from its compartment.
-
Pull the battery out.
-
-
-
-
Using your fingers or blunt tweezers, carefully pull the memory card out of the slot.
-


To reassemble your device, follow these instructions in reverse order.
To reassemble your device, follow these instructions in reverse order.
다른 한 분이 해당 안내서를 완성하였습니다.

팀

University of Colorado Denver, Team 1-3, Campeau Fall 2022 University of Colorado Denver, Team 1-3, Campeau Fall 2022 회원
UCDENVER-CAMPEAU-F22S1G3
5 회원들
안내서 5개 작성하였습니다