소개
This is a general disassembly, mainly intended for replacement of the LCD / screen assembly. My first guide on iFixit so please be gentle. :) If you are looking for the LCD assembly, we have them available for sale, with fast shipping from California.
필요한 것
-
-
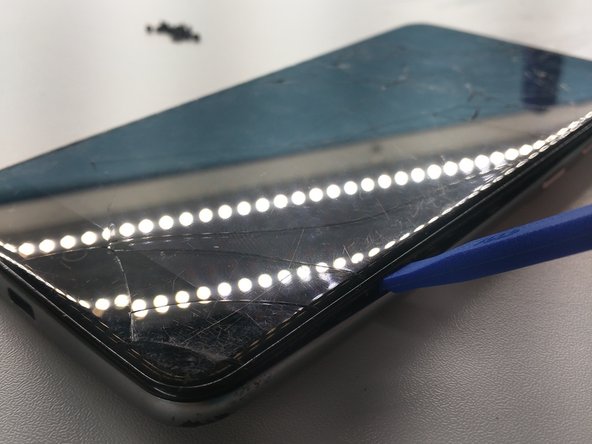
Pry rear cover off starting at the corner
-
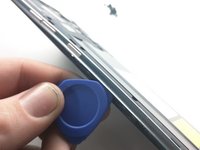
Continue down the side
-
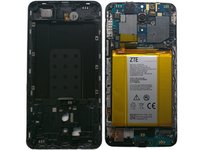
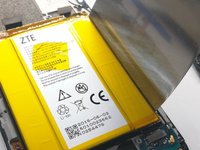
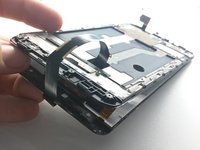
Lift rear cover off
-
-
-
Remove Kapton tape covering fingerprint scanner cover
-
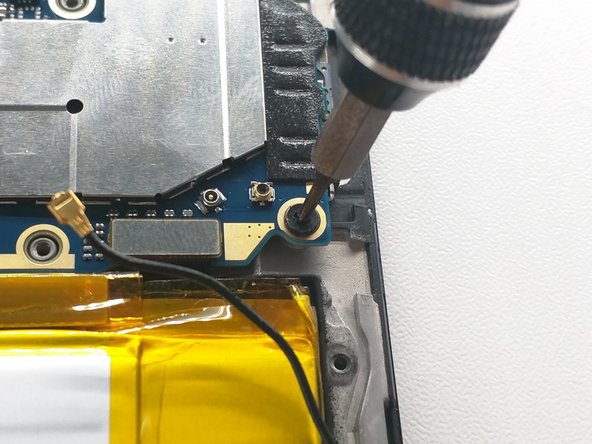
Unscrew two screws holding on fingerprint scanner flex cover
-
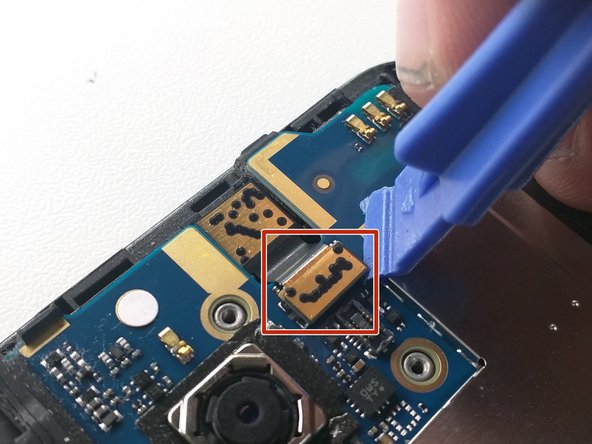
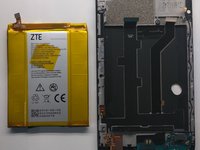
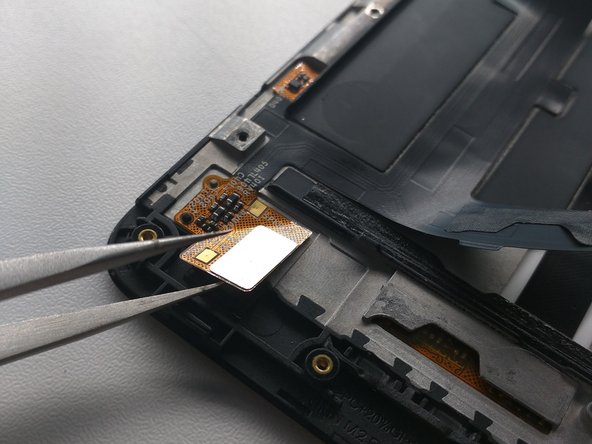
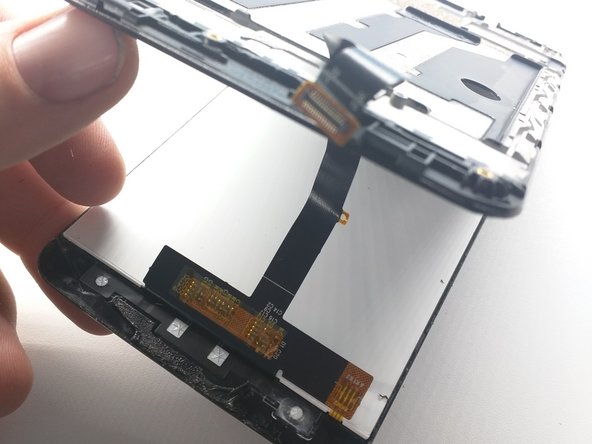
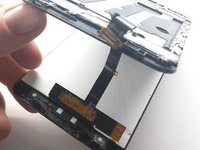
Disconnect fingerprint sensor flex cable and set rear cover aside.
-
-
-
-
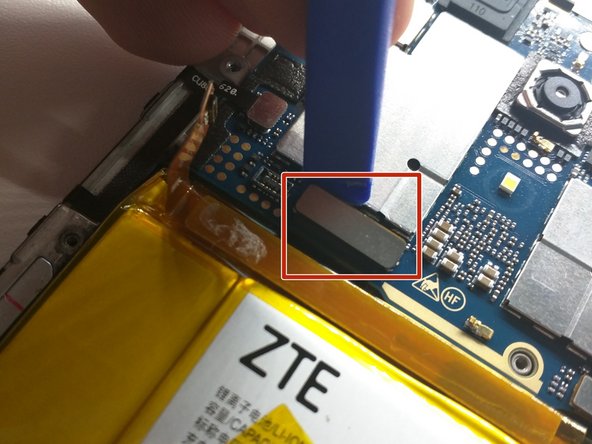
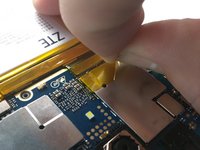
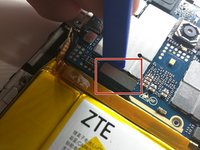
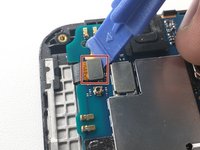
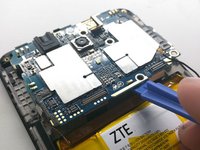
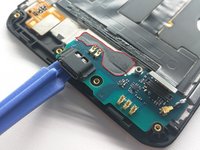
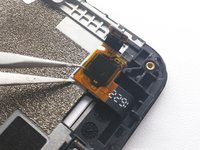
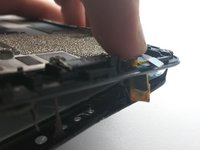
Remove tape holding charging board down (red outline)
-
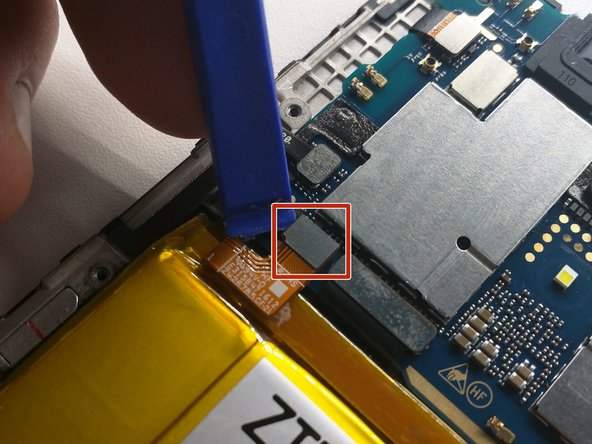
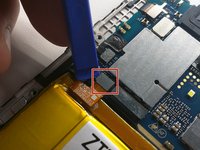
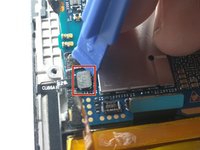
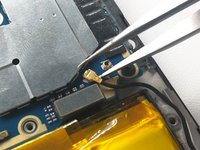
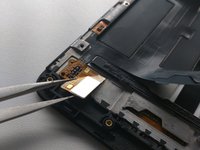
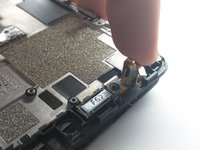
Pry up charging port / antenna daughterboard.
-
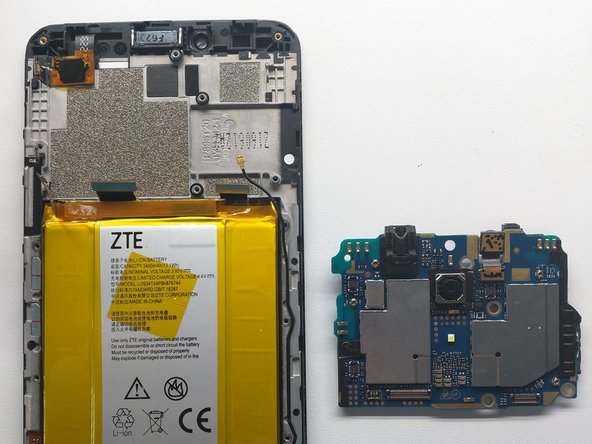
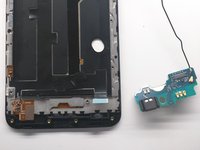
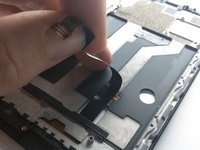
Remove from frame and set aside
-


To reassemble your device, follow these instructions in reverse order.
다른 92명이 해당 안내서를 완성하였습니다.
48가이드 댓글
Does the digitizer snap in? Or will I need adhesive to install my new digitizer?? Other phones that I have replaced the digitizer I needed adhesive, but I know some just snap in. I'm hoping this is one of those that just snap in.
With this phone, you would need new adhesive. I would recommend using the 2mm Tessa 61395 tape ( Tesa 61395 Tape )
So is it even possible to actually just replace the digitizer? Because it seems like in getting it out I took the lcd with it?? is that "always" the case???
The digitizer may be built into the LCD panel it self, it's not uncommon. If that's the case, no, it would not be possible to replace just the digitizer. And the cost to difficulty ratio would be rather low