주요 콘텐츠로 건너뛰기

이 버전에는 잘못된 편집 사항이 있을 수 있습니다. 최신 확인된 스냅샷으로 전환하십시오.

단지 전제 조건
이 안내서는 다른 가이드의 선행 작업으로 사용하기 위한 것입니다. 그 자체로는 불완전합니다.

필요한 것

  1. 이 단계는 번역되지 않았습니다. 번역을 도와주십시오

    : 1 단계, 이미지 1/1
    • Remove the following four screws securing the back cover of the camera housing:

    • two silver 8.5 mm screws,

    • two black 8.8 mm screws.

  2. 이 단계는 번역되지 않았습니다. 번역을 도와주십시오

    : 2 단계, 이미지 1/2 : 2 단계, 이미지 2/2
    • Peel the white sticker off the bottom of the camera housing.

  3. 이 단계는 번역되지 않았습니다. 번역을 도와주십시오

    : 3 단계, 이미지 1/3 : 3 단계, 이미지 2/3 : 3 단계, 이미지 3/3
    • Lift the back cover off the camera housing and remove it.

  4. 이 단계는 번역되지 않았습니다. 번역을 도와주십시오

    : 4 단계, 이미지 1/2 : 4 단계, 이미지 2/2
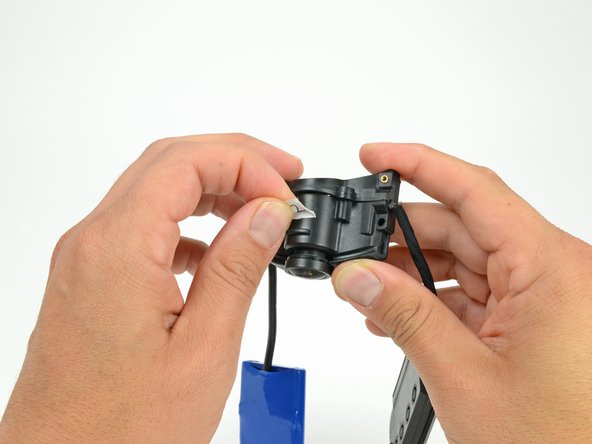
    • Use the tip of a spudger to pry up the retaining flap of the camera sensor cable ZIF connector on the motherboard.

    • Be sure that you are prying up on the hinged flap, not the connector itself.

  5. 이 단계는 번역되지 않았습니다. 번역을 도와주십시오

    : 5 단계, 이미지 1/2 : 5 단계, 이미지 2/2
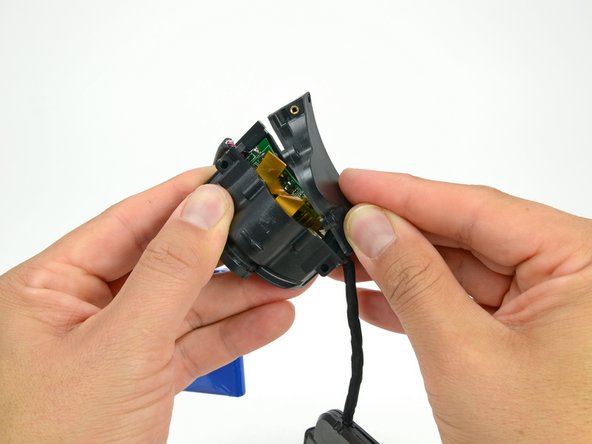
    • Pull the camera sensor ribbon cable straight out of its connector on the motherboard.

  6. 이 단계는 번역되지 않았습니다. 번역을 도와주십시오

    : 6 단계, 이미지 1/3 : 6 단계, 이미지 2/3 : 6 단계, 이미지 3/3
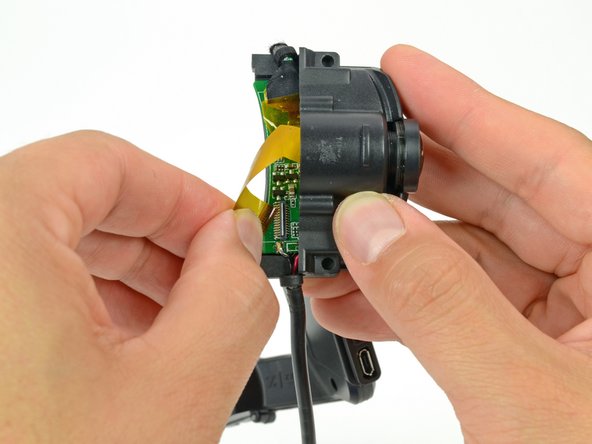
    • Grab the edge of the motherboard and gently slide it out of the camera housing.

    • There may be some resistance due to the foam pad along the bottom of the camera housing.

결승점

David Hodson

회원 가입일: 04/13/10

150,526 평판

안내서 127개 작성하였습니다

댓글 0개

댓글 쓰기

조회 통계:

24 시간 전: 0

7일 전: 1

30일 전: 1

전체 시간: 6,009