소개
This guide will go step by step showing you how to get to and replace the sensors inside the body of your Zoomer Show Pony. You will have to open up the pony's main chassis and disconnect the wires on the pony's motherboard. All of the triangle head screws in this guide are the same size, so no worries about keeping each screw separated.
필요한 것
-
-
Flip over your pony and find the screws marked in red.
-
Remove these screws with a 3.0 Triangle screw bit. Don't worry about keeping them seperated because they are all the same size.
-
-
-
-
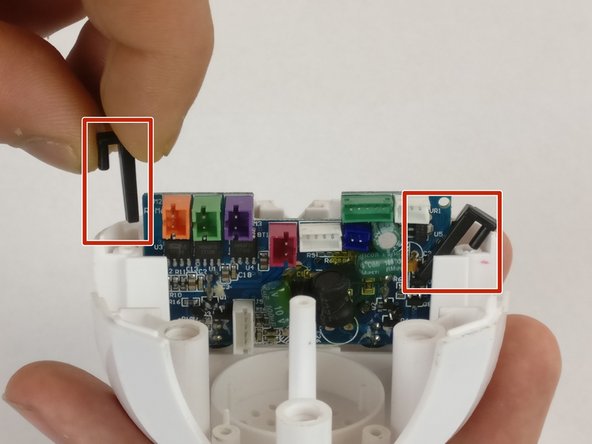
Remove the wires connecting the head and leg sections. We will disconnect all of the wire connections in this step and they will need to be re-connected at the end, so be careful when disconnecting.
-
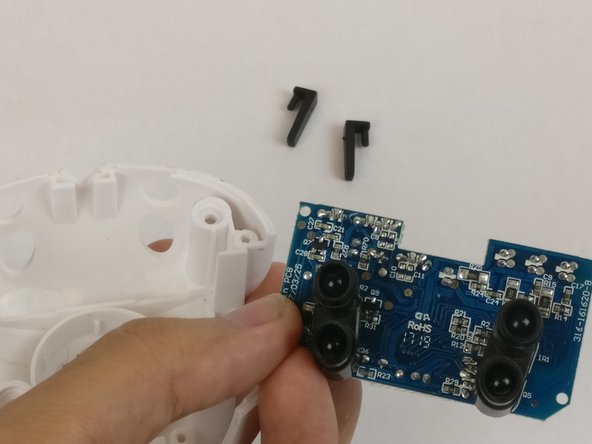
Now that the wires have been disconnected, the head and back legs should be free to place aside
-
Remove the black bar by unscrewing the two triangle screws marked in yellow. These screws are recessed into the black bar so you may need an extender for your triangle bit.
-


To reassemble your device, follow these instructions in reverse order.
To reassemble your device, follow these instructions in reverse order.
다른 한 분이 해당 안내서를 완성하였습니다.
팀

USF Tampa, Team S20-G5, Passmore Spring 2018 USF Tampa, Team S20-G5, Passmore Spring 2018 회원
USFT-PASSMORE-S18S20G5
4 회원들
안내서 10개 작성하였습니다