소개
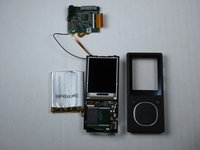
This will serve as a guide for the replacement of a Zune Flash 2nd Generation battery and memory board.
필요한 것
-
-
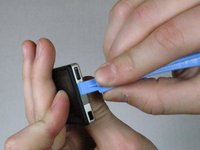
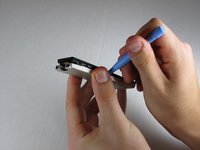
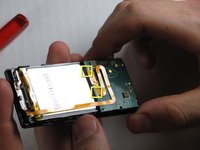
Prior to disassembly, verify the hold switch is engaged to ensure the device will not turn on during the procedure.
-
If the device turns on while it is being disassembled it could cause irreversible damage to the device.
-
-
-
-
Remove the three screws (5.5mm by 3mm) from the backside of the Zune using a Y00 Tri-Wing screwdriver.
-
Be sure to put this set of screws aside since they are a different size than any other screws in the device.
-
-
-
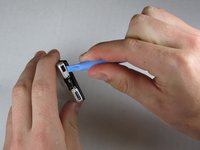
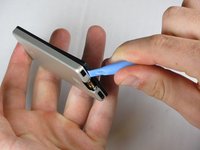
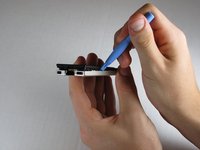
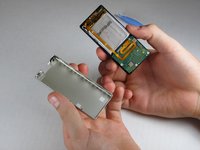
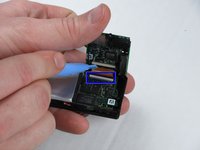
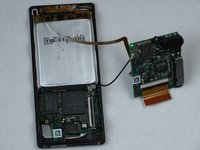
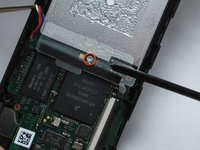
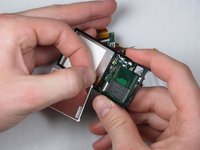
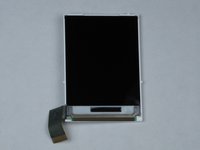
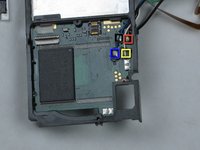
Release the LCD connector ribbon by flipping up the black switch. This will disconnect the LCD from the device.
-
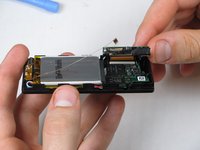
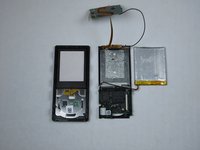
At this point the LCD screen should be easily separable from the device.
-
-
-
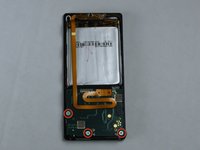
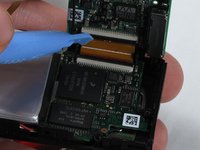
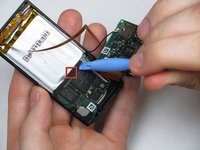
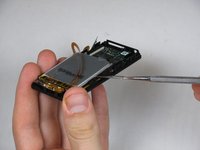
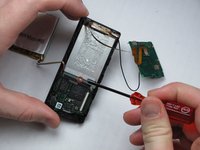
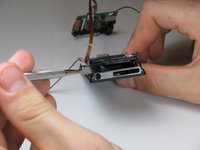
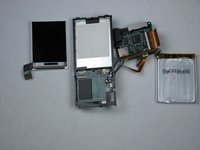
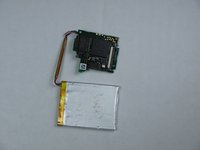
Detaching the memory board from the battery requires desoldering the 4 joints on the memory board.
-
It will be easiest to go in the order blue, yellow, black, red.
-


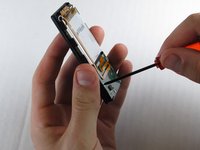


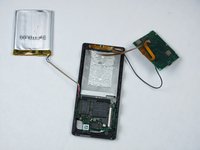


To reassemble your device, follow these instructions in reverse order.
다른 2명이 해당 안내서를 완성하였습니다.

팀

Cal Poly, Team 9-20, Regan Fall 2009 Cal Poly, Team 9-20, Regan Fall 2009 회원
CPSU-REGAN-F09S9G20
5 회원들
안내서 7개를 작성함
2가이드 댓글
Guide doesn’t mention that the display ribbon is sometimes held down by adhesive near the connector
Can the battery be replaced without removing the display? We need guides specific to each.