알림: 귀하는 선행 작업 안내서를 편집하고 계십니다. 변경된 사항들은 이 선행 작업 단계를 포함하는 안내서 3개에 영향을 미칩니다.
4 단계 번역중
4 단계


Left Side (Controller Board) Panel
-
On the back of the printer, remove the two screws on the right hand side (left-hand when viewed from the front.
-
Open the door on the front of the computer, and remove the one screw on the lower left-hand side.
-
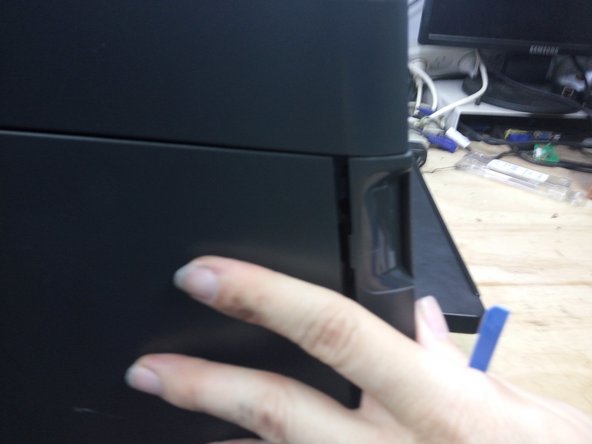
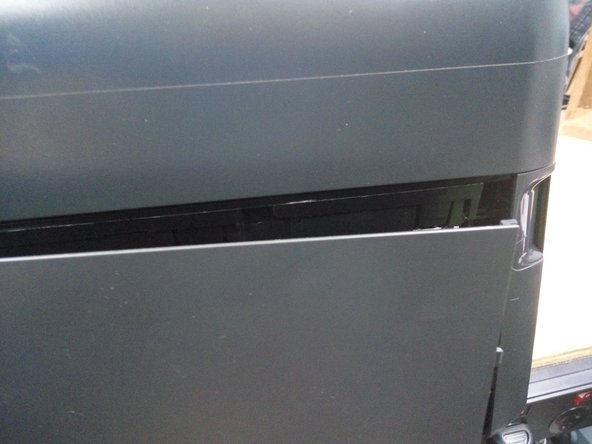
Using a spudger lever firmly outwards on the lower rear side of the panel.
-
With your other hand, push the panel backwards, It will slide half a centimeter backwards and come free.
귀하의 기여는 오픈 소스 Createive Commons 라이선스 하에 허가되었습니다.