주요 콘텐츠로 건너뛰기

Remove the cleaning station.

알림: 귀하는 선행 작업 안내서를 편집하고 계십니다. 변경된 사항들은 이 선행 작업 단계를 사용하는 안내서에 영향을 미칩니다.

1 단계 번역중

1 단계
Remove the cleaning station., Release the carriage support.: 0 단계, 이미지 3개 중 1개 Remove the cleaning station., Release the carriage support.: 0 단계, 이미지 3개 중 2개 Remove the cleaning station., Release the carriage support.: 0 단계, 이미지 3개 중 3개
Release the carriage support.
  • Remove the three screws from the bracket between the end of the carriage support and the case. Remove this bracket.

  • With clean hands or gloves, depress the sprung bracket on the right, and release the plastic sensor strip. Then undo it from the hook on the left side. Lay it over the print head, and secure it with a clean object.

  • It is essential that you do not crease, twist or soil this strip. Small amounts of ink can be removed with a mild solvent, such as isopropyl alcohol, but other solvents may remove the fine lines printed on it. It may be safer to remove it at this point, but it is hard to feed it back through the print head assembly.

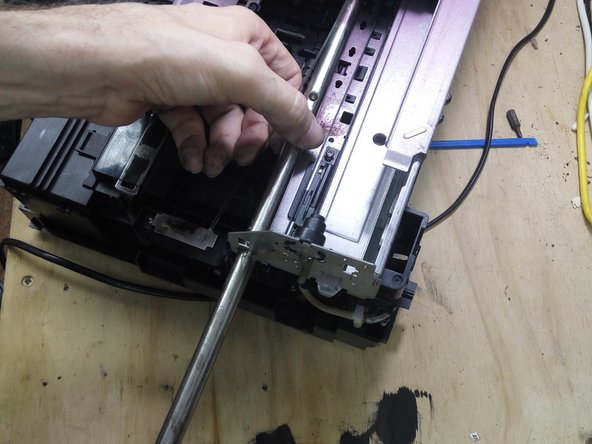
  • Remove the two bolts holding the steel rod to the chassis, and slide it out of the printer.

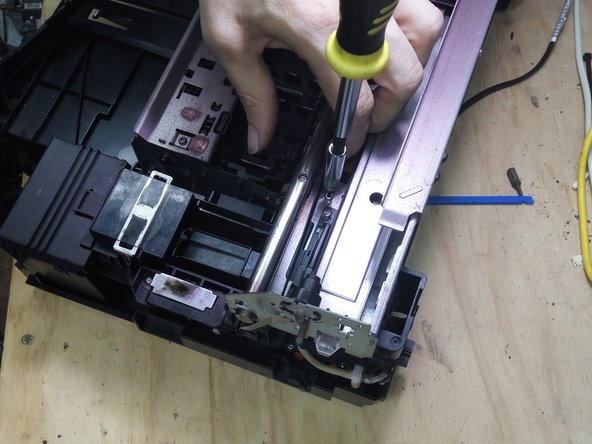
  • Undo the two bolts holding the right side of the carriage support.

  • The rear bolt is in a deep hole, so if you are using a bit set and handle, you will need to get creative!

여기에 번역 삽입

여기에 번역 삽입

여기에 번역 삽입

여기에 번역 삽입

여기에 번역 삽입

여기에 번역 삽입

귀하의 기여는 오픈 소스 Createive Commons 라이선스 하에 허가되었습니다.