주요 콘텐츠로 건너뛰기

Fix False Paper Jam Error.

3 단계
Fix False Paper Jam Error., Dissemble Sprung Cog Assembly: 0 단계, 이미지 3개 중 1개 Fix False Paper Jam Error., Dissemble Sprung Cog Assembly: 0 단계, 이미지 3개 중 2개 Fix False Paper Jam Error., Dissemble Sprung Cog Assembly: 0 단계, 이미지 3개 중 3개
Dissemble Sprung Cog Assembly
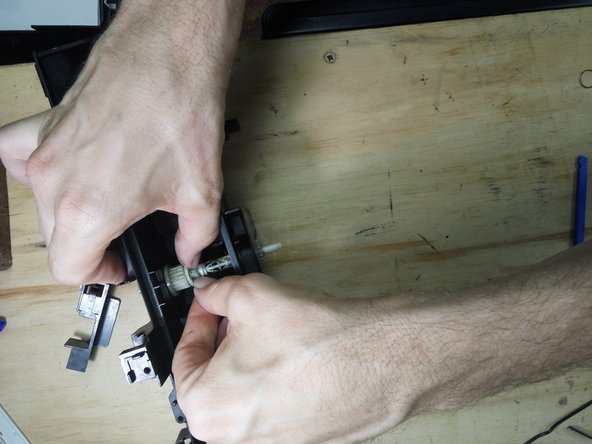
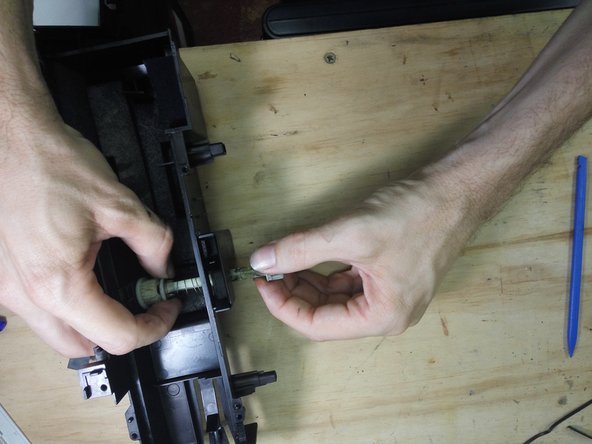
  • You should now be able to see, covered in lots of ink, the broken spring. My pictures were taken during reassembly, after I had given everything a thorough cleaning.

  • It is much nicer to work on this if you first give it a thorough cleaning. To do this you either need to remove the ink-soaked pads, (some of which are glued in), or wash the entire assembly with the pads in place, which means you will need to leave them a long time to dry.

  • My replacement spring, shown in these pictures, was wound from some fine music wire I had on hand, It is too flimsy, but seems to work OK. You should use a more substantial spring than this.

  • Open the clips on each side of the bar, allowing the spring retainer to move.

  • Slide the bar out the left hand side of the cleaning station, pulling the end cog and the spring retainer off the bar.

여기에 번역 삽입

여기에 번역 삽입

여기에 번역 삽입

여기에 번역 삽입

여기에 번역 삽입

귀하의 기여는 오픈 소스 Createive Commons 라이선스 하에 허가되었습니다.