6 단계 번역중
6 단계


Putting back the HeatSink
-
Congrats,you applied the new Thermal Paste.Now,to make this guide short,its just what we did,but in reverse.But here is the detailed assembly
-
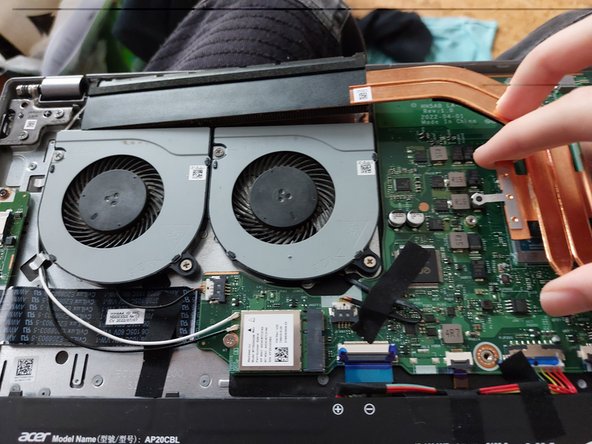
First,put the grid part of the heatsink in its designated place
-
Now,make sure the part of the heatsink that goes over the CPU is over the CPU and the Screw Places are aligned with the holes where the screws are placed
-
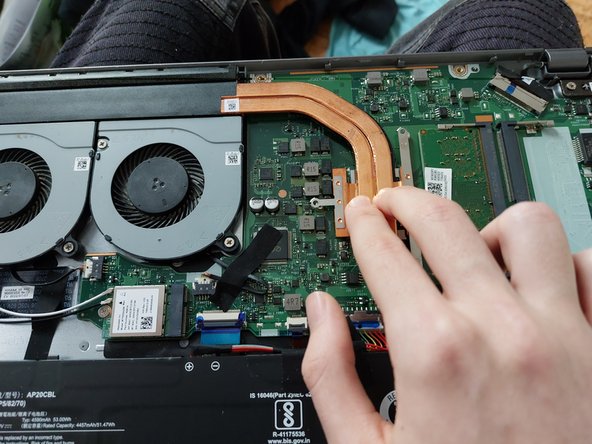
Make sure to apply a bit of pressure over the CPU so that the Thermal Paste can spread over the CPU (Like picture 3)
-
Now that you have done that,put the heatsink screws back in their place and tight them up so that the Heatsink wont get loose and create problems
귀하의 기여는 오픈 소스 Createive Commons 라이선스 하에 허가되었습니다.