알림: 귀하는 선행 작업 안내서를 편집하고 계십니다. 변경된 사항들은 이 선행 작업 단계를 사용하는 안내서에 영향을 미칩니다.
1 단계 번역중


-
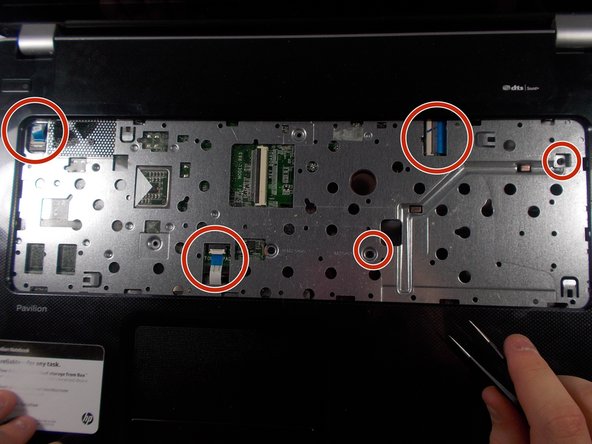
Using your tweezers, undo all ribbon cable you see where the keyboard was removed.
-
Remove all 9mm screws from the rear panel of your computer. They are marked red in the first picture.
-
Remove all 5mm screws from the rear panel of your computer. They are marked orange in the first picture.
-
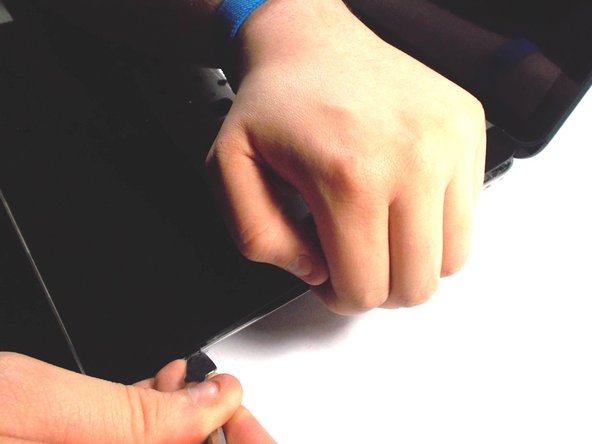
Using your fingers, push the bottom of the battery compartment out slightly, making a small gab in the face plate on the opposite side.
-
Using the spudger, undo all clips around the outer edge of the computer, popping the front face plate out of the enclosure. If you meet resistance, you most likely forgot to remove a screw, check for any that are still there, and remove them.
-
Once the front plate has been popped out, look close to make sure all connections are disconnected from it before pulling it away from the computer.
귀하의 기여는 오픈 소스 Createive Commons 라이선스 하에 허가되었습니다.