2 단계 번역중


-
The order in which you remove these cables is not particularly important.
-
1 - Gently lift up the black flap and remove the keyboard port ribbon cable.
-
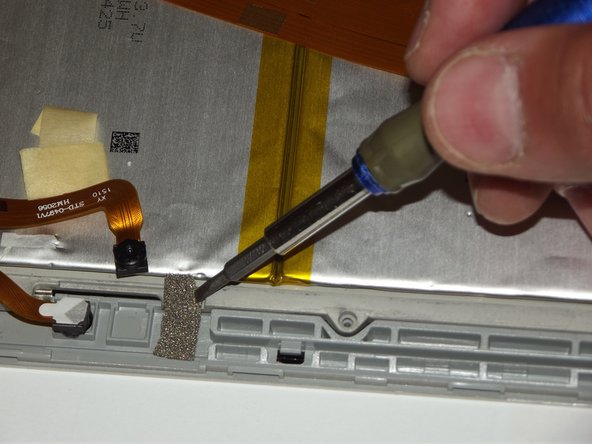
2 - Remove tape and gently pry up cameras. These are held on with an adhesive.
-
3 - Lift up tape. Gently lift up black tab and remove the ribbon cable that leads to the buttons.
-
4 - Gently lift away tape and remove speaker connector. Best to use a back and forth motion while gently pulling, or separate black from white with a flat screwdriver.
-
5 - Gently lift black tab and remove cable. This ribbon cable leads to the screen.
-
6 - You will need to carefully free one side of the silver foam that is under the tape by the cameras. This is shown in the second picture.
귀하의 기여는 오픈 소스 Createive Commons 라이선스 하에 허가되었습니다.