3 단계 번역중
3 단계


-
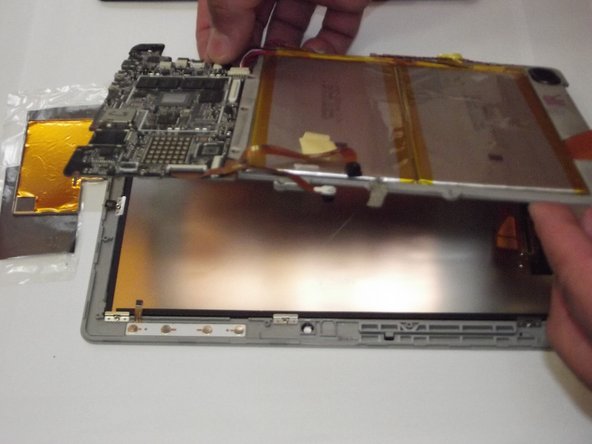
Once you have removed all of the screws and unhooked all of the cables, gently lift the board assembly away from the screen assemble, freeing any components that may get caught up. Ribbon cables frequently catch.
-
(We have removed some things that you do not need to in the second picture, so please disregard these. If you have followed the instructions so far, you should be fine.)
-
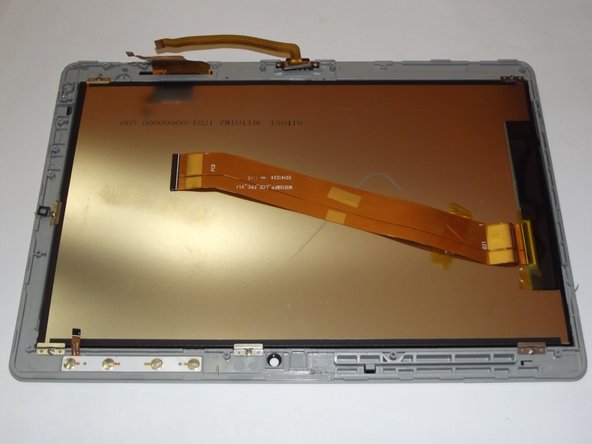
When the board assembly is removed, you should see what is shown in the third picture.
귀하의 기여는 오픈 소스 Createive Commons 라이선스 하에 허가되었습니다.