주요 콘텐츠로 건너뛰기

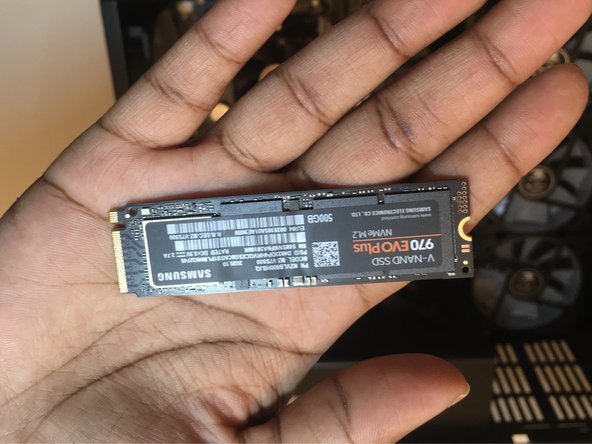
iBUYPOWER Trace 4 9310 M.2 NVMe Drive Replacement

필요한 것

  1. iBUYPOWER Trace 4 9310 M.2 NVMe Drive Replacement, M.2 NVMe Drive: 1 단계, 이미지 1/2 iBUYPOWER Trace 4 9310 M.2 NVMe Drive Replacement, M.2 NVMe Drive: 1 단계, 이미지 2/2
    • Lay the desktop on its side with the glass case facing up.

    • Remove the single screw.

  2. iBUYPOWER Trace 4 9310 M.2 NVMe Drive Replacement: 2 단계, 이미지 1/2 iBUYPOWER Trace 4 9310 M.2 NVMe Drive Replacement: 2 단계, 이미지 2/2
    • Remove the glass side by pivoting it up with the bottom side still seated in the notches.

    • Lift the glass side out of the notches and set it to the side.

  3. iBUYPOWER Trace 4 9310 M.2 NVMe Drive Replacement: 3 단계, 이미지 1/3 iBUYPOWER Trace 4 9310 M.2 NVMe Drive Replacement: 3 단계, 이미지 2/3 iBUYPOWER Trace 4 9310 M.2 NVMe Drive Replacement: 3 단계, 이미지 3/3
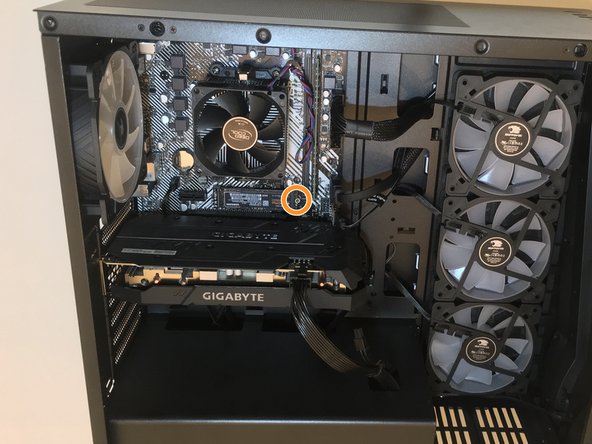
    • Locate the M.2 drive that is right above the CPU.

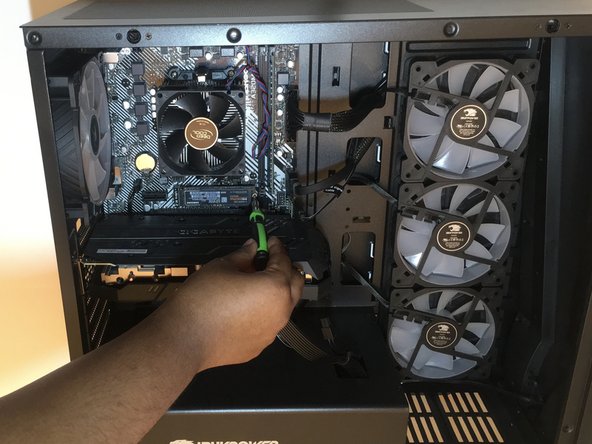
    • Remove the screw on the edge of the drive.

  4. iBUYPOWER Trace 4 9310 M.2 NVMe Drive Replacement: 4 단계, 이미지 1/2 iBUYPOWER Trace 4 9310 M.2 NVMe Drive Replacement: 4 단계, 이미지 2/2
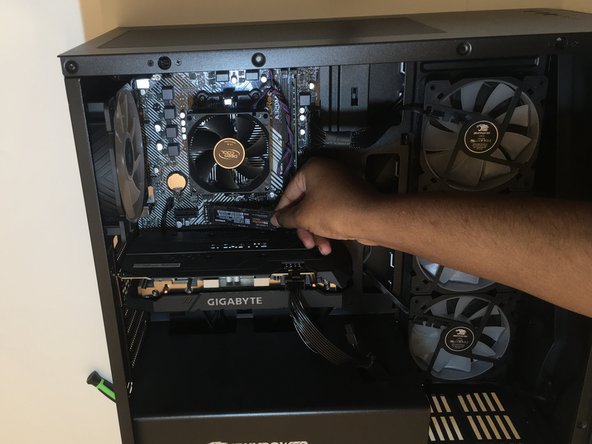
    • The drive should lift up on the edge where the screw was.

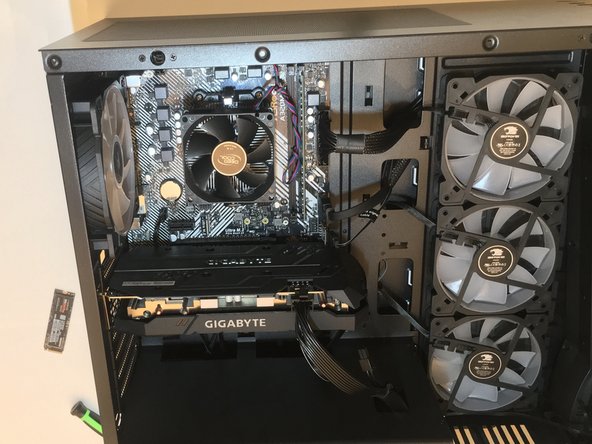
    • Pull the drive out at an angle from the motherboard.

  5. iBUYPOWER Trace 4 9310 M.2 NVMe Drive Replacement: 5 단계, 이미지 1/2 iBUYPOWER Trace 4 9310 M.2 NVMe Drive Replacement: 5 단계, 이미지 2/2
    • Line the new drive up with the slot and gently slide it in.

    • Use one finger to hold the drive down while you screw it back in.

결론

To reassemble your device, follow these instructions in reverse order.

다른 한 분이 해당 안내서를 완성하였습니다.

Kylie Facison

회원 가입일: 02/25/21

198 평판

안내서 1개 작성함

댓글 한 개

Thank you, Kilie, for the clear step-by-step instructions, together with pictures, for NVMe SSD installation.

George

George Meier - 답글

댓글 쓰기

조회 통계:

24 시간 전: 1

7일 전: 22

30일 전: 107

전체 시간: 1,322