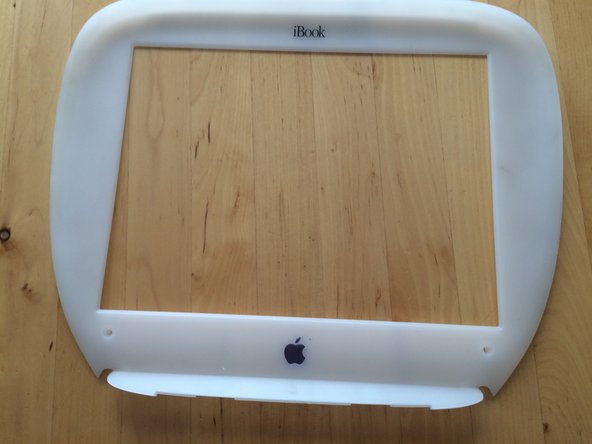
주요 콘텐츠로 건너뛰기

iBook G3 Clamshell LCD Bezel Replacement

필요한 것

  1. iBook G3 Clamshell LCD Bezel Replacement, Battery Cover: 1 단계, 이미지 1개 중 1개
    • Use a coin to unscrew the battery cover, and remove battery.

  2. iBook G3 Clamshell LCD Bezel Replacement, Back Cover: 2 단계, 이미지 2개 중 1개 iBook G3 Clamshell LCD Bezel Replacement, Back Cover: 2 단계, 이미지 2개 중 2개
    • Use a t8 Torx driver to unscrew the two screws holding in the back cover, then remove the cover.

  3. iBook G3 Clamshell LCD Bezel Replacement: 3 단계, 이미지 1개 중 1개
    • Open the screen, and remove the two t8 Torx screws holding the bezel in place.

  4. iBook G3 Clamshell LCD Bezel Replacement: 4 단계, 이미지 2개 중 1개 iBook G3 Clamshell LCD Bezel Replacement: 4 단계, 이미지 2개 중 2개
    • Use a flat tip screw driver to unsnap the bezel from its place.

    • When at the top rubberized area, pry the bezel down.

결론

To reassemble your device, follow these instructions in reverse order.

다른 한 분이 해당 안내서를 완성하였습니다.

작성자

1다른 기여자 명과 함께

aidan

회원 가입일: 02/26/16

101 평판

안내서 1개를 작성함

0가이드 댓글

댓글 쓰기

조회 통계:

지난 24시간: 0

지난 7일: 3

지난 30일: 25

전체 시간: 3,918