주요 콘텐츠로 건너뛰기

iDea USA CT702 Microphone Replacement

필요한 것

  1. iDea USA CT702 Microphone Replacement, Microphone: 1 단계, 이미지 1/1
    • Place the tablet face up with portholes facing you.

  2. iDea USA CT702 Microphone Replacement: 2 단계, 이미지 1/2 iDea USA CT702 Microphone Replacement: 2 단계, 이미지 2/2
    • Use a fingernail, or a plastic opening tool to gently pry the black panel around the portholes.

    • Be gentle and take your time. Excessive force could damage the device.

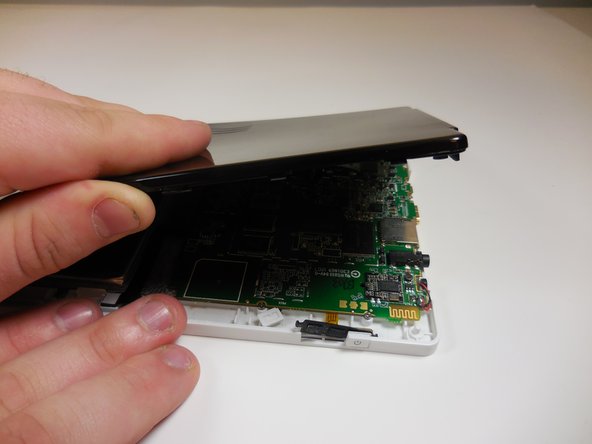
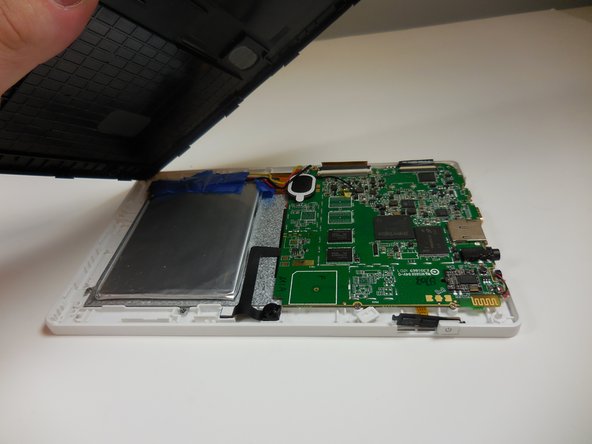
  3. iDea USA CT702 Microphone Replacement: 3 단계, 이미지 1/3 iDea USA CT702 Microphone Replacement: 3 단계, 이미지 2/3 iDea USA CT702 Microphone Replacement: 3 단계, 이미지 3/3
    • Use your fingers to pry the rest of the back off; slowly apply pressure from each side to break each clip connection.

  4. iDea USA CT702 Microphone Replacement: 4 단계, 이미지 1/1
    • Once the back is off, position the tablet as shown and be sure to warm your soldering iron.

  5. iDea USA CT702 Microphone Replacement: 5 단계, 이미지 1/1
    • Place tip of the soldering iron on the end of the wire to break connection.

    • Remember to use proper safety precautions when soldering.

  6. iDea USA CT702 Microphone Replacement: 6 단계, 이미지 1/1
    • Grip the new microphone with tweezers and place in the slot.

    • Solder the new connections while using tweezers to hold the speaker steady.

결론

To reassemble your device, follow these instructions in reverse order.

Benton Gray

회원 가입일: 03/11/15

201 평판

안내서 2개 작성하였습니다

Colorado Springs, Team 4-7, Panko Spring 2015 Colorado Springs, Team 4-7, Panko Spring 2015 회원

UCCS-PANKO-S15S4G7

3 회원들

안내서 10개 작성하였습니다

댓글 0개

댓글 쓰기

조회 통계:

24 시간 전: 1

7일 전: 1

30일 전: 1

전체 시간: 111