주요 콘텐츠로 건너뛰기

iDeaUSA CT8 Screen Replacement

필요한 것

  1. iDeaUSA CT8 Screen Replacement, Screen: 1 단계, 이미지 1/3 iDeaUSA CT8 Screen Replacement, Screen: 1 단계, 이미지 2/3 iDeaUSA CT8 Screen Replacement, Screen: 1 단계, 이미지 3/3
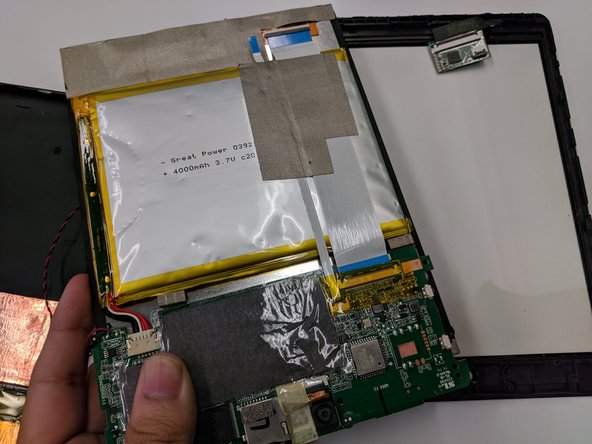
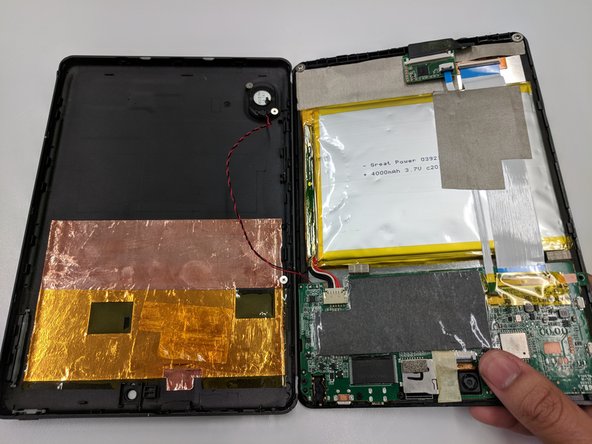
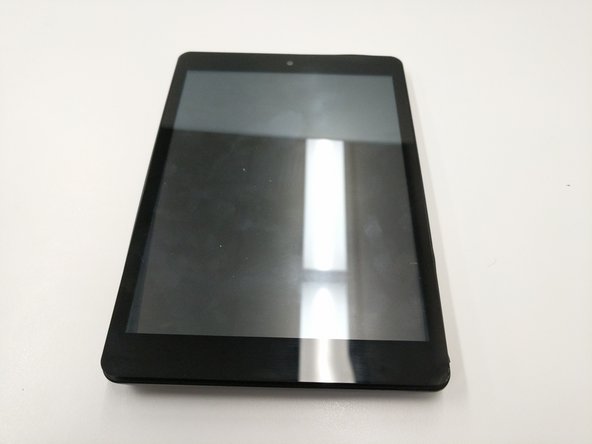
    • Place the tablet on a flat surface, facing upwards.

    • Starting from the portholes, use the plastic opening tools to remove the back cover of the tablet from the top half.

    • Being cautious of the wire connecting the speaker and the motherboard, place the front and back portion of the tablet close in proximity.

  2. iDeaUSA CT8 Screen Replacement: 2 단계, 이미지 1/3 iDeaUSA CT8 Screen Replacement: 2 단계, 이미지 2/3 iDeaUSA CT8 Screen Replacement: 2 단계, 이미지 3/3
    • With the screen facing down, locate the two 4 mm screws at the top of the tablet.

    • Use the #00 Phillips screwdriver to remove the screws and place them in a safe location.

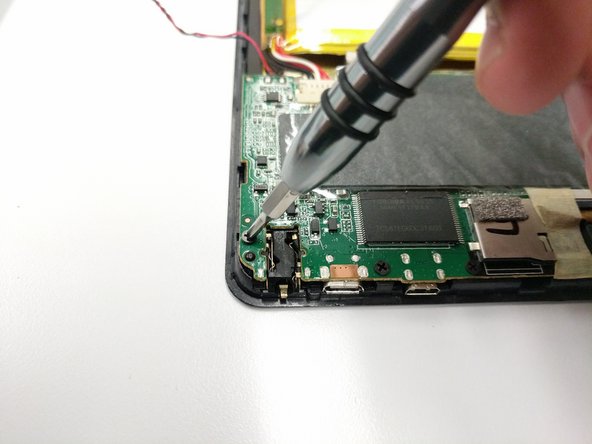
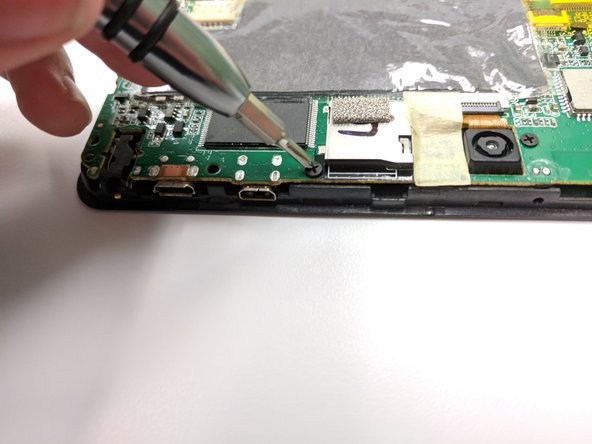
  3. iDeaUSA CT8 Screen Replacement: 3 단계, 이미지 1/3 iDeaUSA CT8 Screen Replacement: 3 단계, 이미지 2/3 iDeaUSA CT8 Screen Replacement: 3 단계, 이미지 3/3
    • Locate the five 3.5 mm black screws on the motherboard.

    • Use the #00 Phillips screwdriver to remove the screws, place them in an appropriate location.

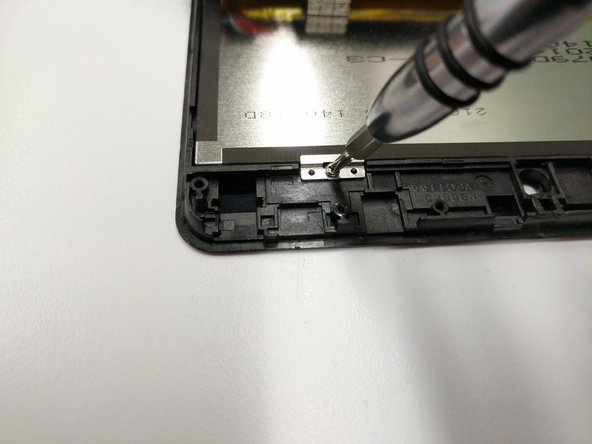
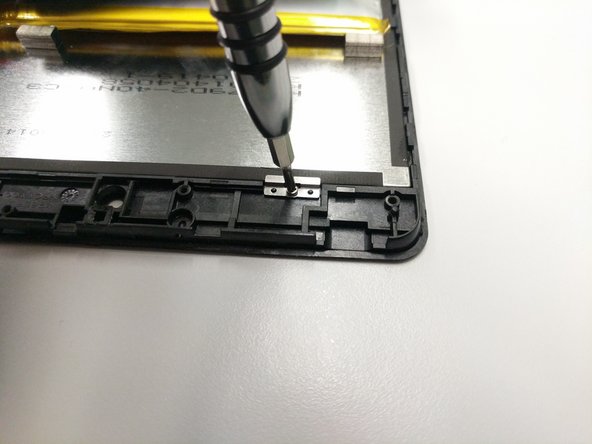
  4. iDeaUSA CT8 Screen Replacement: 4 단계, 이미지 1/3 iDeaUSA CT8 Screen Replacement: 4 단계, 이미지 2/3 iDeaUSA CT8 Screen Replacement: 4 단계, 이미지 3/3
    • After removing the 5 screws from the motherboard, carefully lift it up.

    • Upon lifting the motherboard, two metal plates that hold the touch sensor and the screen together can now be seen.

    • Once again, use the #00 Phillips screwdriver to remove the two 3 mm screws and plates.

  5. iDeaUSA CT8 Screen Replacement: 5 단계, 이미지 1/1
    • Gently pull the thin blue ribbon connecting the screen's chip and the motherboard.

  6. iDeaUSA CT8 Screen Replacement: 6 단계, 이미지 1/2 iDeaUSA CT8 Screen Replacement: 6 단계, 이미지 2/2
    • Safely separate the screen from the rest of the tablet's component by using the plastic opening tool.

    • Using the metal spudger from the right side of the tablet should be enough to pry the screen out. Use your fingers to remove the screen's frame.

  7. iDeaUSA CT8 Screen Replacement: 7 단계, 이미지 1/3 iDeaUSA CT8 Screen Replacement: 7 단계, 이미지 2/3 iDeaUSA CT8 Screen Replacement: 7 단계, 이미지 3/3
    • Upon separating the tablet's components from the screen's frame, the screen should now be isolated.

    • To reassemble your device, follow these instructions in reverse order.

결론

To reassemble your device, follow these instructions in reverse order.

다른 2명이 해당 안내서를 완성하였습니다.

Francisco Mora

회원 가입일: 09/20/17

110 평판

안내서 1개 작성함

댓글 0개

댓글 쓰기

조회 통계:

24 시간 전: 3

7일 전: 6

30일 전: 8

전체 시간: 248