소개
In cases where no audio is being produced, this guide will help you replace the speaker.
필요한 것
-
-
Place the tablet on a flat surface, facing upwards.
-
Starting from the portholes, use the plastic opening tools to remove the back cover of the tablet from the top half.
-
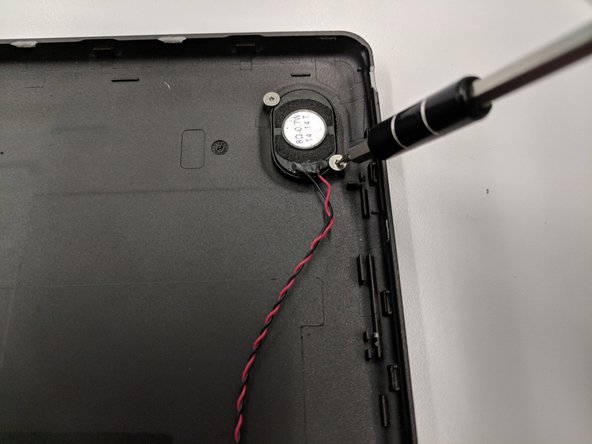
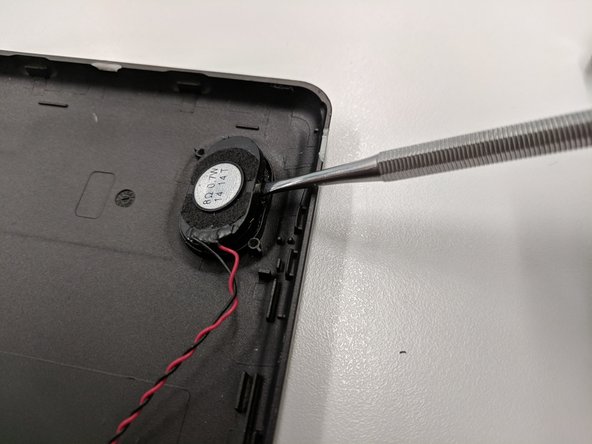
Place the front and back portion of the tablet close in proximity and have both of them face upwards while being cautious of the wire connecting the speaker to the motherboard.
-
-


To reassemble your device, follow these instructions in reverse order. A soldering kit will be required to ensure a connection between the speaker and motherboard after the replacement is complete.
To reassemble your device, follow these instructions in reverse order. A soldering kit will be required to ensure a connection between the speaker and motherboard after the replacement is complete.
다른 한 분이 해당 안내서를 완성하였습니다.
팀

University of North Texas, Team S7-G5, Thomas Fall 2017 University of North Texas, Team S7-G5, Thomas Fall 2017 회원
UNT-THOMAS-F17S7G5
3 회원들
안내서 8개 작성하였습니다