주요 콘텐츠로 건너뛰기

iHome iH3L Clock Buttons Replacement

필요한 것

  1. iHome iH3L Clock Buttons Replacement, Speakers: 1 단계, 이미지 1/3 iHome iH3L Clock Buttons Replacement, Speakers: 1 단계, 이미지 2/3 iHome iH3L Clock Buttons Replacement, Speakers: 1 단계, 이미지 3/3
    • Locate all screws on the back of the iHome. Each screw can be located by the arrows on the iHome.

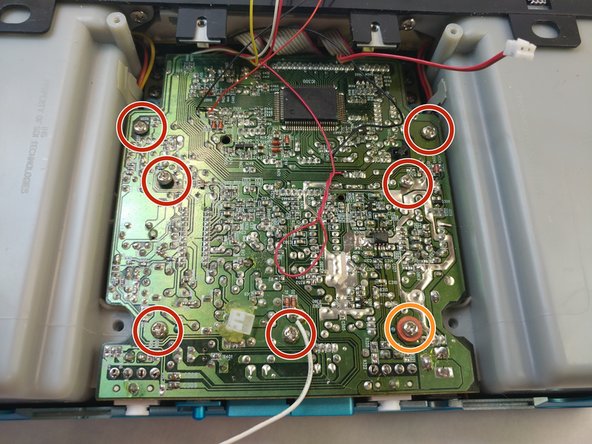
    • Two Countersunk 9.7 mm Phillips #2 screws in the middle.

    • Two 15.9 mm Phillips #2 screws.

    • Six 13.9 mm Phillips #2 screws.

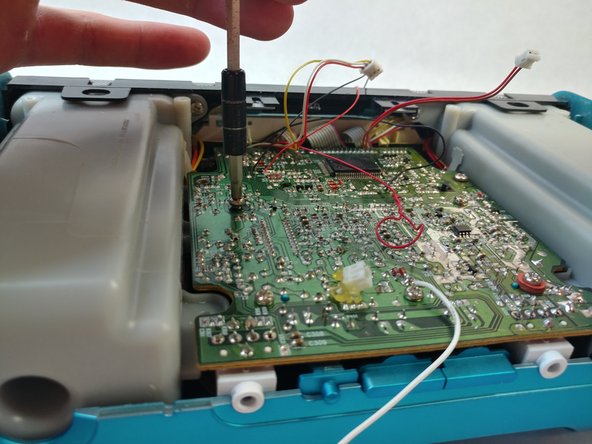
    • Some screws are located under the black sticky pads. Gently remove the black sticky pads and it will expose the screws.

    • Two 11.8 mm Phillips #2 screws.

  2. iHome iH3L Clock Buttons Replacement: 2 단계, 이미지 1/2 iHome iH3L Clock Buttons Replacement: 2 단계, 이미지 2/2
    • Remove all screws indicated in the previous step.

  3. iHome iH3L Clock Buttons Replacement: 3 단계, 이미지 1/3 iHome iH3L Clock Buttons Replacement: 3 단계, 이미지 2/3 iHome iH3L Clock Buttons Replacement: 3 단계, 이미지 3/3
    • Slowly tilt the bottom cover of the iHome up.

    • Do not yank the cover off, there is a wire connecting the cover to the circuit board.

    • Disconnect the wire just by pulling on the connector gently.

  4. iHome iH3L Clock Buttons Replacement: 4 단계, 이미지 1/2 iHome iH3L Clock Buttons Replacement: 4 단계, 이미지 2/2
    • Disconnect the next connector pin after slowly opening the lid more.

  5. iHome iH3L Clock Buttons Replacement: 5 단계, 이미지 1/3 iHome iH3L Clock Buttons Replacement: 5 단계, 이미지 2/3 iHome iH3L Clock Buttons Replacement: 5 단계, 이미지 3/3
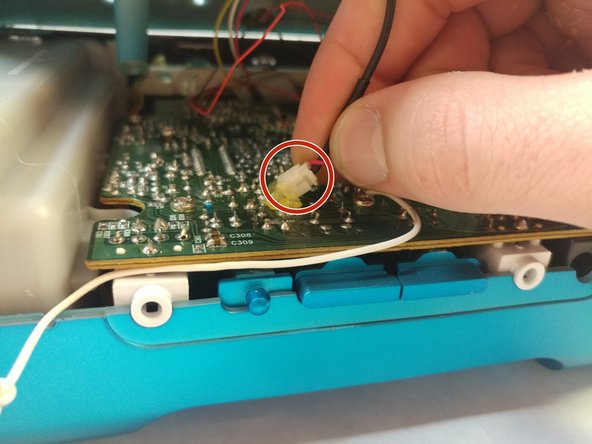
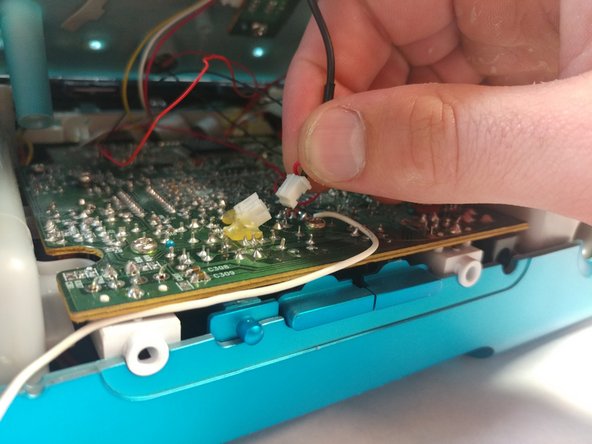
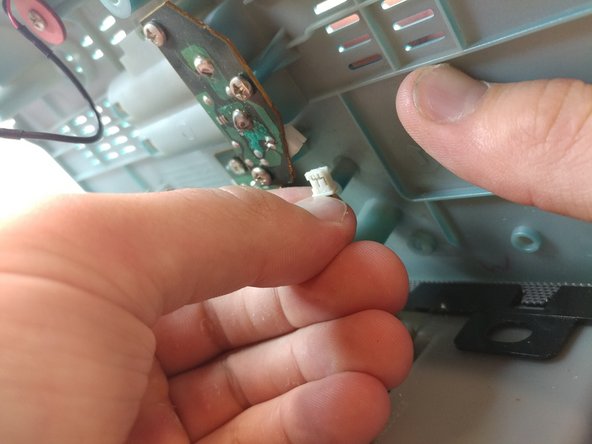
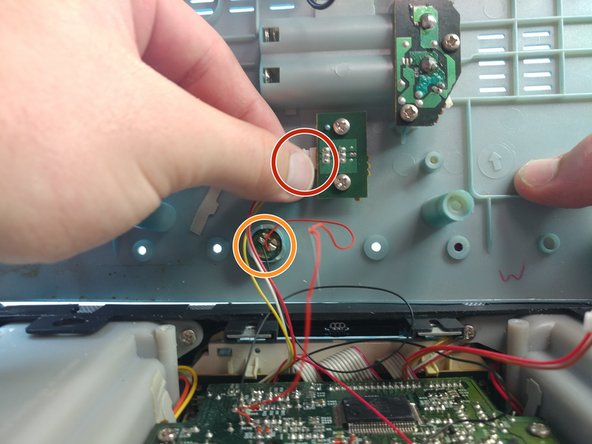
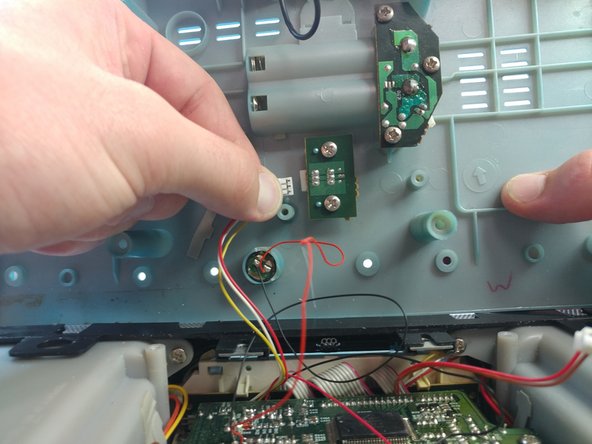
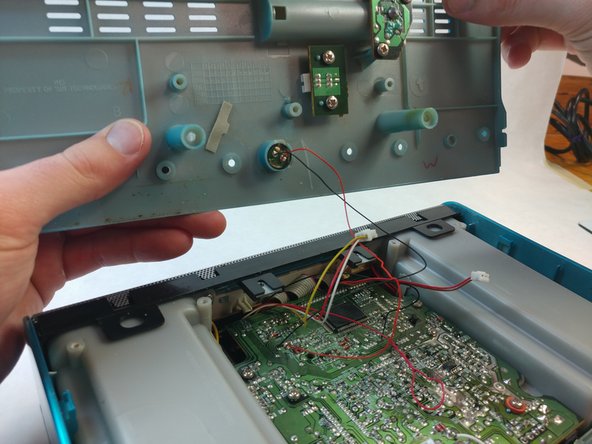
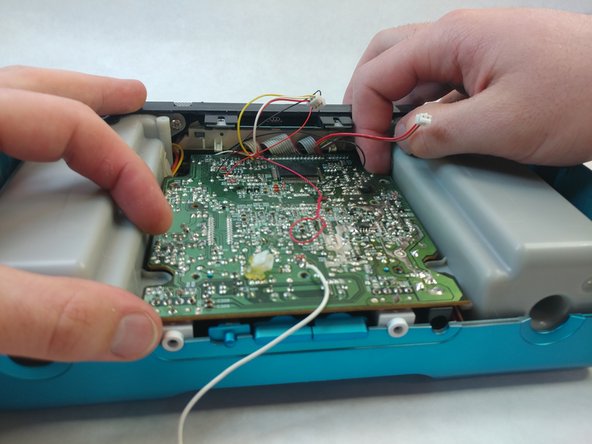
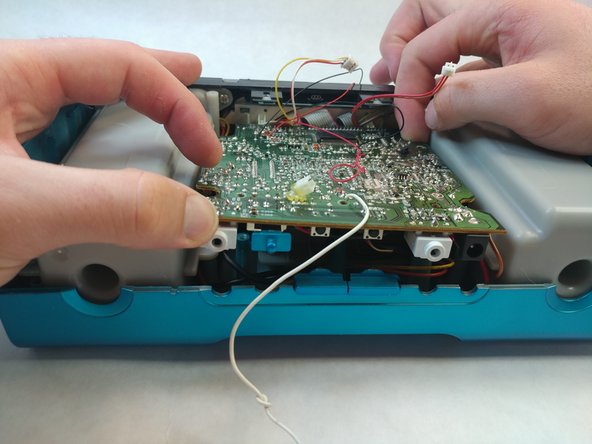
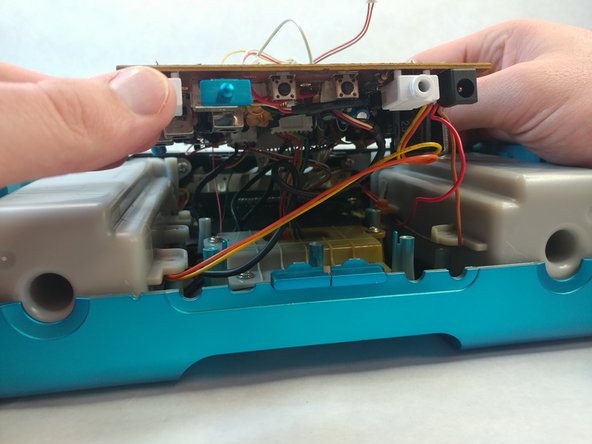
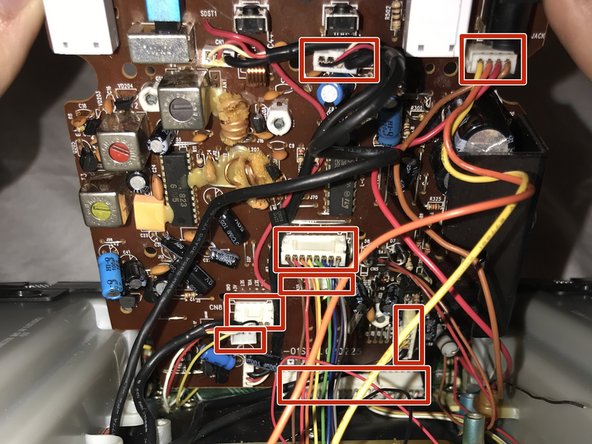
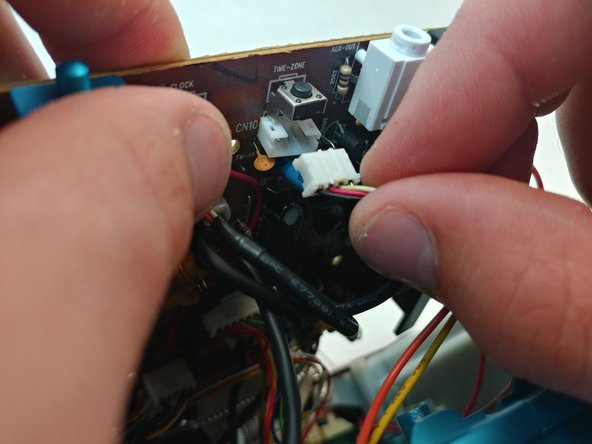
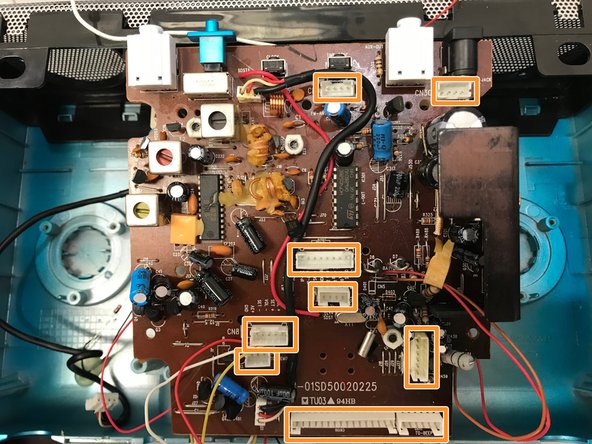
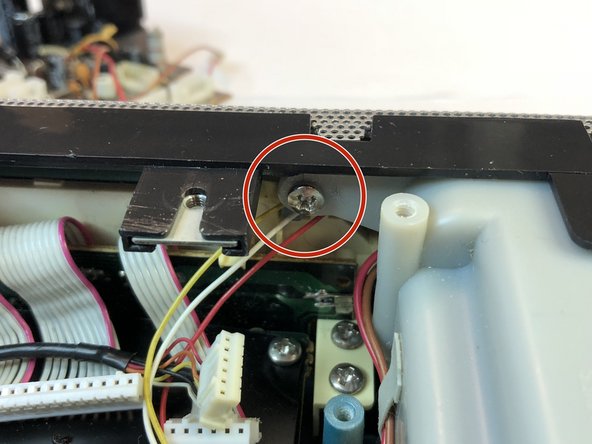
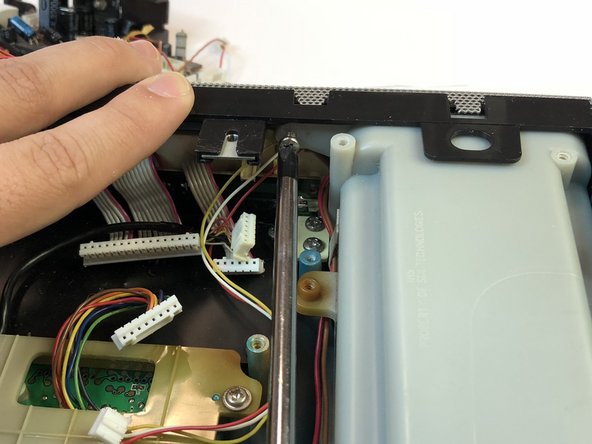
    • Disconnect the final connector pin series and carefully set your lid behind the body of the iHome.

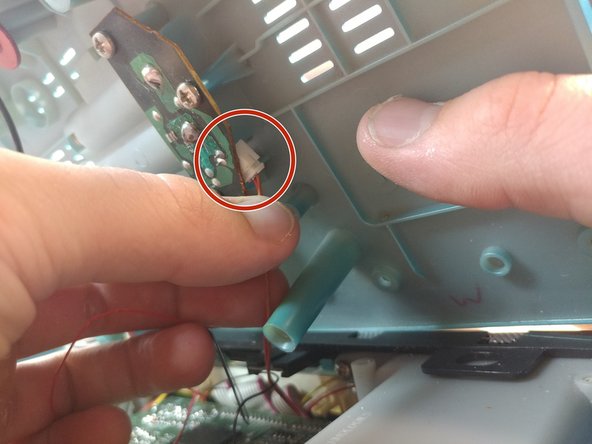
    • The tiny speaker will not be disconnected for this repair, but you can easily remove it from the lid by means of a paperclip from the outside. While not necessary, this can help prevent damage to your device.

  6. iHome iH3L Clock Buttons Replacement: 6 단계, 이미지 1/2 iHome iH3L Clock Buttons Replacement: 6 단계, 이미지 2/2
    • Remove the seven screws that are holding the motherboard in place:

    • Six 14 mm Phillips #2 screws.

    • One 14 mm Phillips #2 screw with two rubber washers on it.

  7. iHome iH3L Clock Buttons Replacement: 7 단계, 이미지 1/3 iHome iH3L Clock Buttons Replacement: 7 단계, 이미지 2/3 iHome iH3L Clock Buttons Replacement: 7 단계, 이미지 3/3
    • To remove the motherboard, gently lift up from opposite sides.

    • Be careful when lifting the motherboard. There are wires still connected to it on the backside.

  8. iHome iH3L Clock Buttons Replacement: 8 단계, 이미지 1/3 iHome iH3L Clock Buttons Replacement: 8 단계, 이미지 2/3 iHome iH3L Clock Buttons Replacement: 8 단계, 이미지 3/3
    • Carefully tilt the motherboard up from the front.

    • Disconnect the 8 connections by gently pulling on them. Starting from the front and work your way backwards.

    • All 8 connectors disconnected.

  9. iHome iH3L Clock Buttons Replacement: 9 단계, 이미지 1/2 iHome iH3L Clock Buttons Replacement: 9 단계, 이미지 2/2
    • Unscrew the screws holding the speakers onto the body. One on each side:

    • Two 14.3 mm Phillips #2 screws.

  10. iHome iH3L Clock Buttons Replacement: 10 단계, 이미지 1/3 iHome iH3L Clock Buttons Replacement: 10 단계, 이미지 2/3 iHome iH3L Clock Buttons Replacement: 10 단계, 이미지 3/3
    • To remove the speakers from the iHome, gently lift up the back of the speaker and pull towards you. These are very secure so minor shaking may help release the speaker.

    • Repeat for the other side.

    • Be careful yanking on them, the speakers are connected together.

  11. iHome iH3L Clock Buttons Replacement, Clock Adjustment Buttons: 11 단계, 이미지 1/1
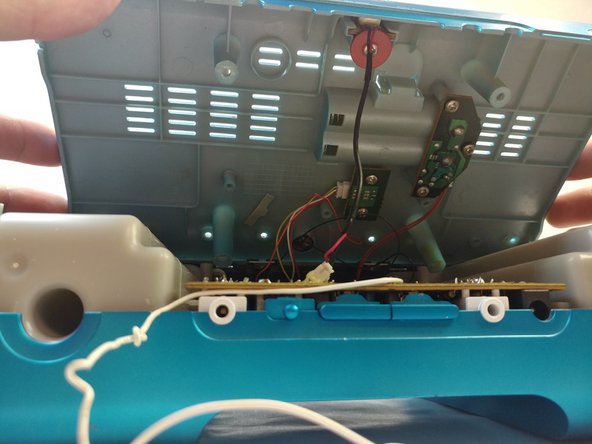
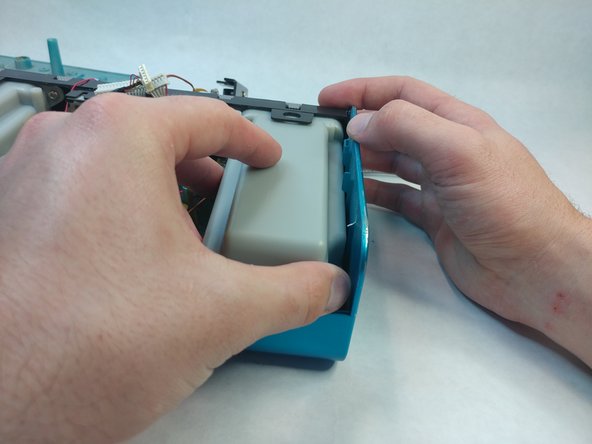
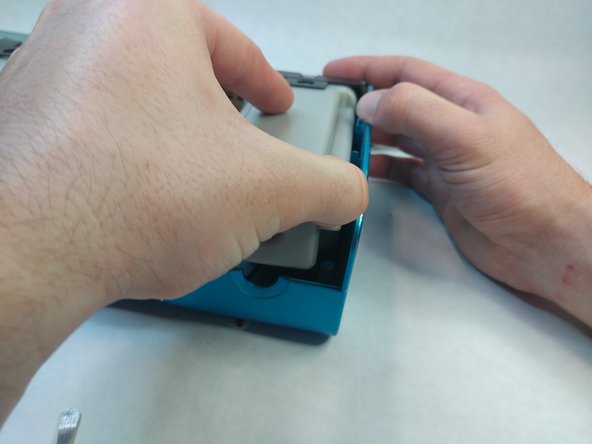
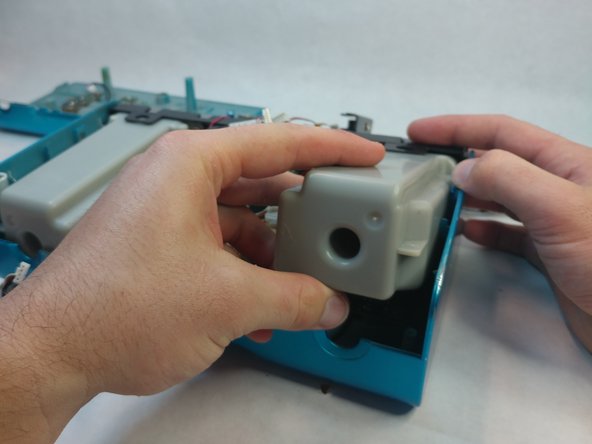
    • At this point the buttons should be free of obstruction and easily accessible.

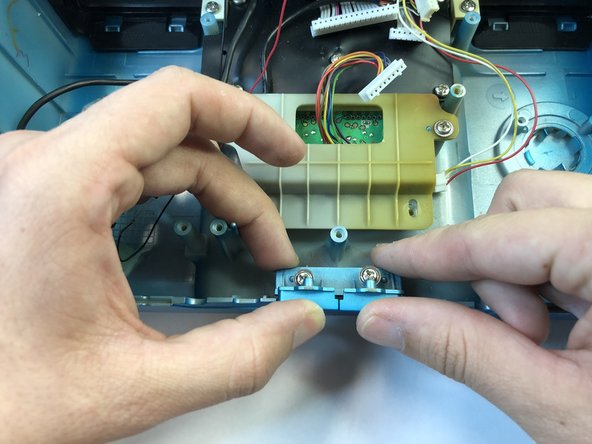
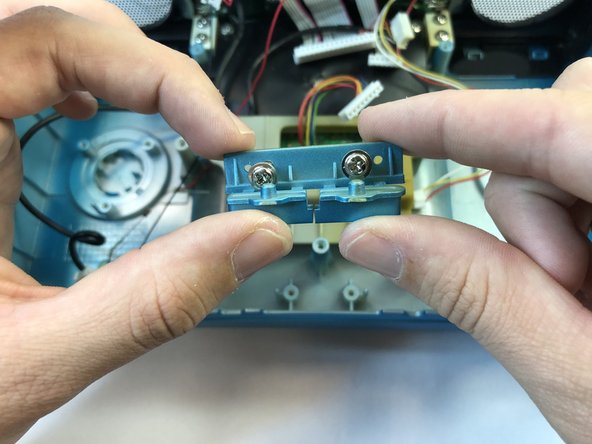
    • Unscrew the two 11.9 mm Phillips #2 screws that are holding the plastic buttons onto the body.

  12. iHome iH3L Clock Buttons Replacement: 12 단계, 이미지 1/2 iHome iH3L Clock Buttons Replacement: 12 단계, 이미지 2/2
    • Once the screws have been removed, simply lift the buttons up and out of their seat.

결론

To reassemble your device, follow these instructions in reverse order.

Brittany Holloway

회원 가입일: 08/31/18

654 평판

안내서 5개 작성하였습니다

댓글 0개

댓글 쓰기

조회 통계:

24 시간 전: 0

7일 전: 0

30일 전: 0

전체 시간: 145