소개
This guide details removing the logic board in a iMac Intel 21.5" EMC 3068 in order to remove or replace the RAM.
Some images in this guide use a 2015 iMac, which has minor visual differences. These differences do not affect the repair procedure.
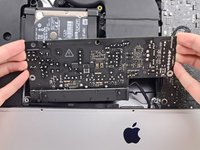
This guide is marked "potentially dangerous" because it requires you to handle a power supply that contains large capacitors. Unplug the iMac and hold the power button down for at least 10 seconds to help discharge the capacitors. Handle the board by the edges and do not touch surface components.
필요한 것
-
이 단계에 사용된 도구:iMac Intel 21.5" Cardboard Service Wedge$4.99
-
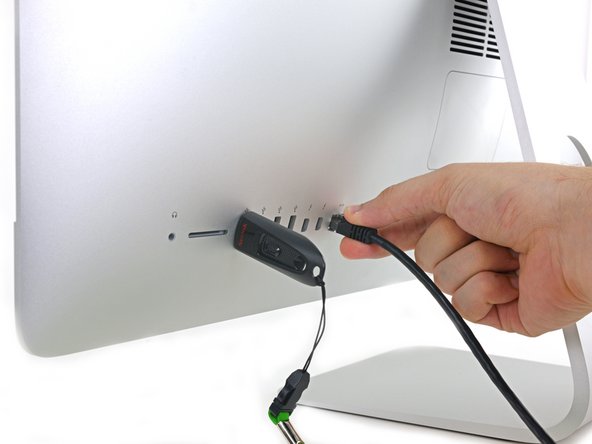
Before beginning any work on your iMac: Unplug the computer and press and hold the power button for ten seconds to discharge the power supply's capacitors.
-
-
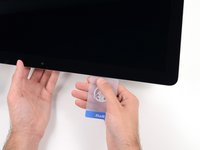
이 단계에 사용된 도구:Plastic Cards$2.99
-
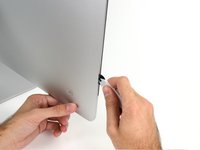
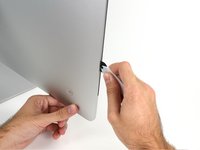
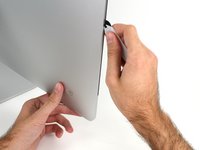
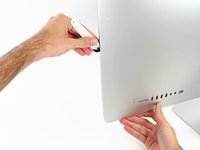
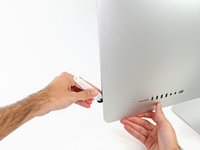
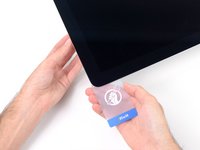
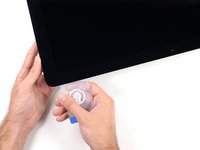
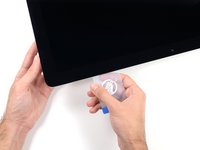
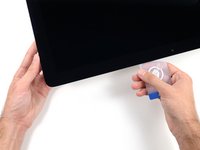
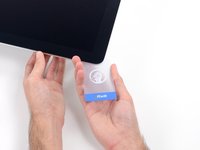
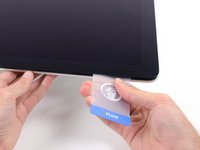
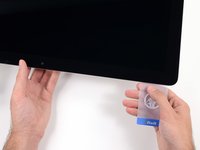
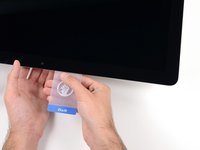
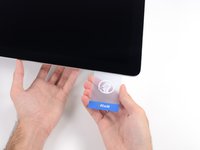
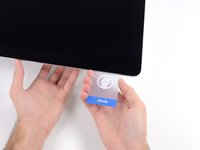
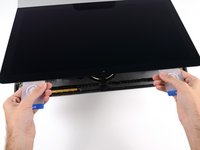
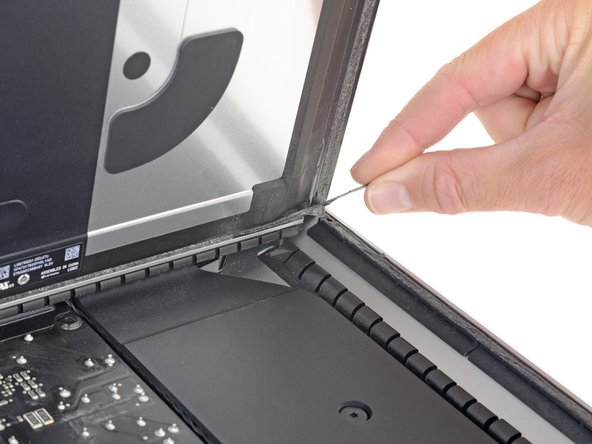
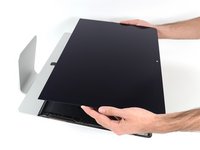
Starting from the top right corner of the iMac, wedge a plastic card between the display and frame.
-
-
-
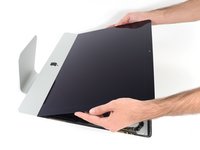
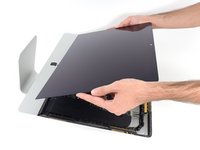
Hold the display with one hand while using your other hand to unplug the display power cable.
-
-
-
-
Remove the following five Phillips screws holding the lower support bracket in place:
-
Four 3.2 mm screws
-
One 1.7 mm screw
-
-
-
Remove the following T10 Torx screws securing the hard drive brackets to the iMac:
-
Two 21 mm screws
-
One 9 mm screw
-
One 27 mm screw
-
-
-
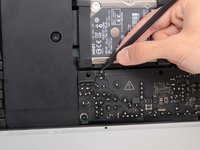
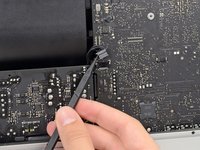
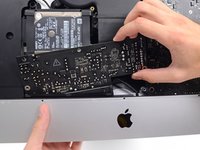
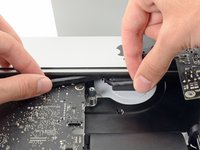
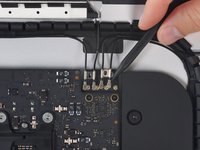
Use the tip of a spudger to push each side of the power button cable connector and gently walk it out of its socket.
-
-
-
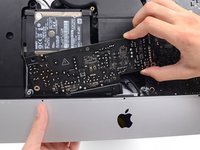
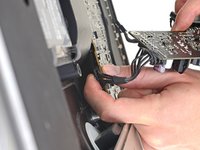
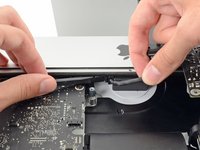
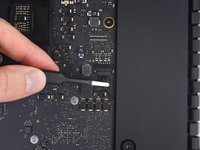
To disconnect the cable, squeeze the release clip on the back side of the connector, behind the logic board, and pull the connector straight out.
-
-
-
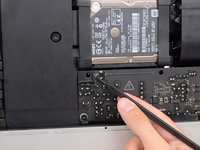
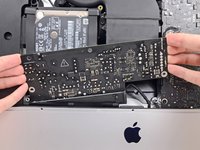
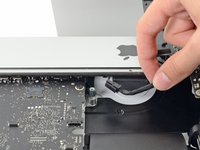
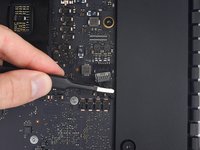
Use the flat end of a spudger to press the release clip on the side of the AC inlet cable connector inward.
-
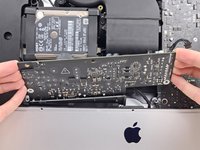
While pressing on the release clip with the spudger, grasp the AC inlet cable, and pull the connector straight out of its socket.
-
-
-
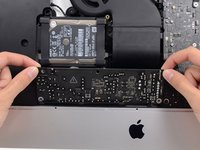
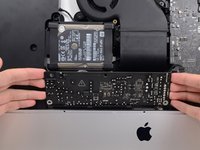
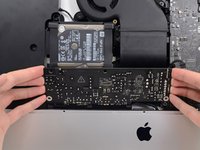
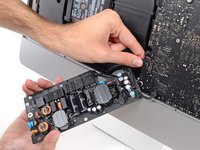
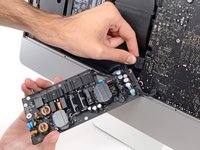
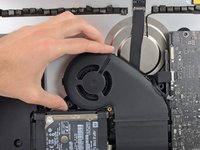
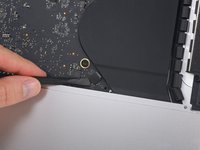
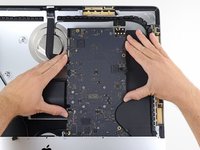
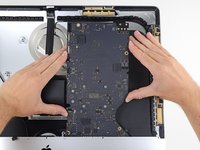
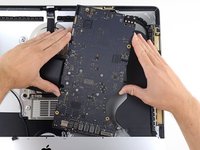
Lift the hard drive from the edge nearest the logic board and pull it slightly out of its recess.
-
-
-
Remove the 7.3 mm T8 Torx screw securing the hard drive tray to the rear enclosure.
-
-
-
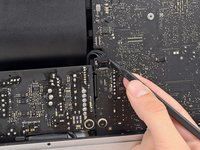
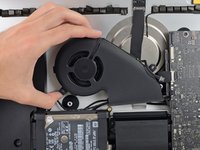
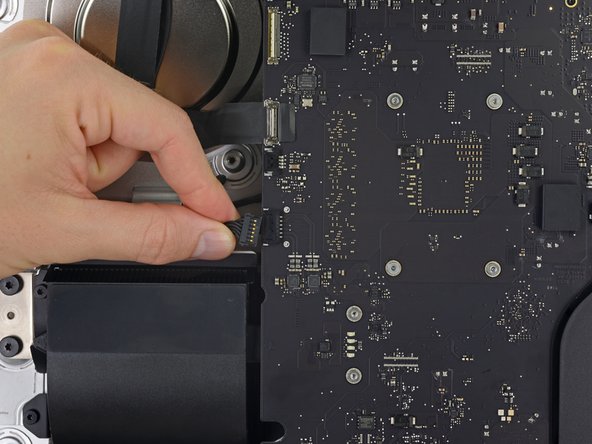
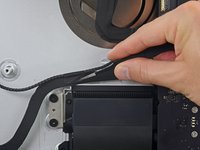
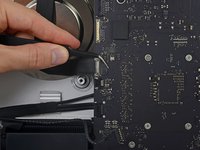
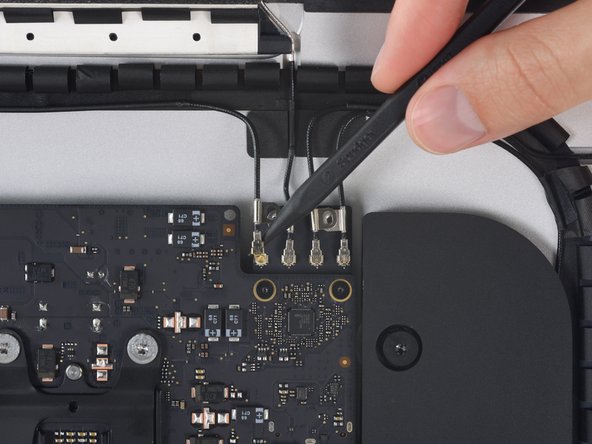
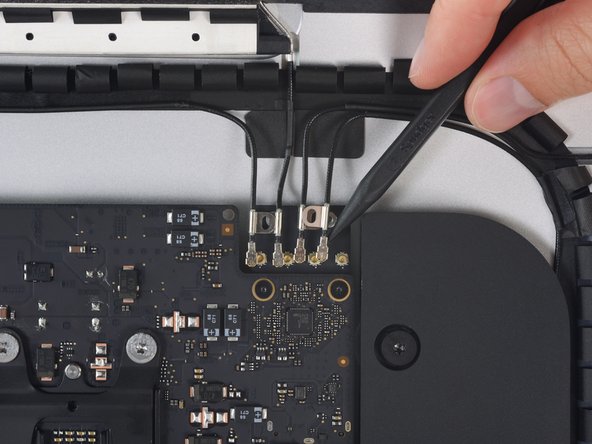
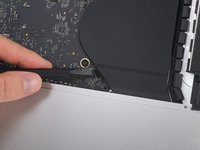
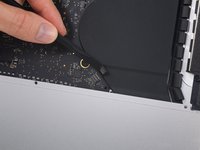
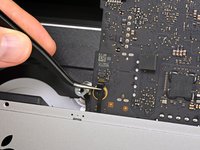
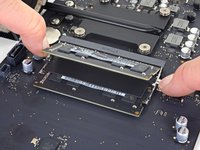
Gently pull the left speaker cable straight out of its socket on the logic board.
-
-
-
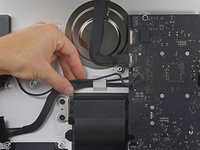
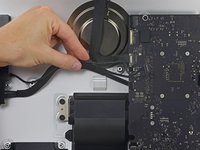
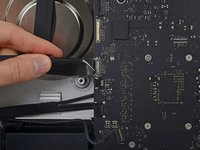
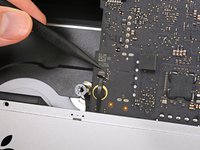
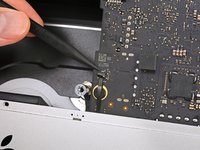
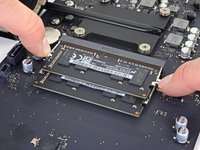
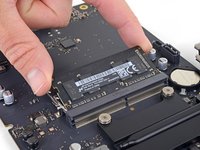
Use the tip of a spudger to flip open the retaining flap on the microphone ribbon cable ZIF socket.
-
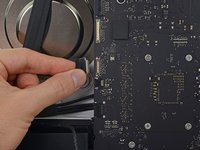
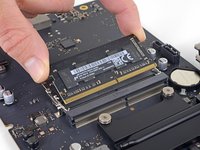
Gently pull the microphone ribbon cable straight out of its socket.
-


To reassemble your iMac, follow these instructions in reverse order.
To reassemble your iMac, follow these instructions in reverse order.
다른 30명이 해당 안내서를 완성하였습니다.

댓글 10개
Thought this was going to be extremely difficult but once I started with these instructions it actually wasn’t that bad, though it took me a slow and careful 3.5 hours. Was quite nervous handling that power supply though!
Excellent guide! It took me about 1.5 hours to complete the entire RAM+SSD installation. The iMac has massively improved and feels like a new computer: way way faster than before, with a 1TB Samsung SSD, 32GB of RAM and a brand new installation of macOS Catalina. Be very careful with the I/O ports, especially with the USB-C/Thunderbolt ones: the alignment is critical, as well as the correct position of the logic board in relation to the case. Even a slight misalignment can impede the USB-C plug from fully entering the port, making it hard or impossible to establish a connection.
Great guide… took a mediocre “unupgradable” iMac to 32 GB ram and new SSD HD (the other guide… but crosses with this). Excellent guidance. If you have to fix or upgrade anything else while changing out the RAM, this is the time and performed steps to do it with. Read the others to see the variations you need to do (like steps to clone the HD before changing, etc.) but as deep as you get into this machine, it exposes pretty much everything. Again, great work!
Wonderful guide! I was afraid that I am not going to make it since I don’t have a lot of experience in such things but following the steps carefully, paying attention to every detail, has led me to successfully upgrade my iMac 3086 with 1TB SSD and 32GB RAM. I was really afraid that this RAM upgrade probably won’t work because it’s been said on everymac.com that the maximum is 16GB and I’ve read somewhere about a person whose iMac didn’t even start after such intervention. I decided to purchase Crucial 2x16GB at 2400MHz, despite that the iMac has 2133Mhz bus. I trust this brand and I’ve already upgraded my MacBook Pro 15” mid-2012 with the same brand, again pushing the RAM beyond the official limits and it still works great. The SSD I put here is also from Crucial and I just turned on the iMac and it runs like never before! The whole procedure took me a bit over 2 hours. Thanks for the great work with this guide!!!
Hey Alex, I’m also worried about the compatibility of the Crucial RAM, so could you tell me which especific model did you use, please?