이 버전에는 잘못된 편집 사항이 있을 수 있습니다. 최신 확인된 스냅샷으로 전환하십시오.
필요한 것
-
-
iMac 작업을 시작하기 전에: 컴퓨터 플러그를 뽑고 전원 버튼을 10초 동안 눌러 전원 장치의 축전기를 방전하세요.
-
-
-
이 단계는 번역되지 않았습니다. 번역을 도와주십시오
-
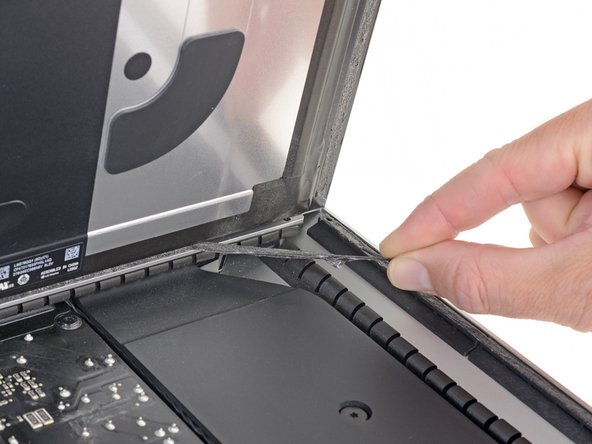
Grasp the small tab at the end of one of the bottom edge display adhesive strips and pull the adhesive toward the top of the iMac to remove it.
-
Repeat this step with the other adhesive strip and remove it.
-
-
이 단계는 번역되지 않았습니다. 번역을 도와주십시오
-
Lift the display up from the frame and remove it from the iMac.
-
It may be necessary to slowly lift from one side to peel against the remaining adhesive.
-
-
이 단계는 번역되지 않았습니다. 번역을 도와주십시오
-
Remove the following T10 Torx screws securing the hard drive brackets to the iMac:
-
Two 21 mm screws
-
One 9 mm screw
-
One 27 mm screw
-
-
이 단계는 번역되지 않았습니다. 번역을 도와주십시오
-
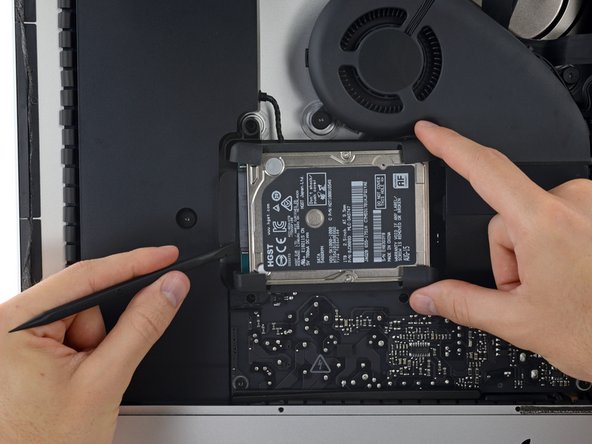
Lift the hard drive from the edge nearest the logic board and pull it slightly out of its recess.
-
-
이 단계는 번역되지 않았습니다. 번역을 도와주십시오
-
Use a spudger to disconnect the single SATA cable by prying it gently away from the hard drive.
-
Remove the hard drive assembly from the iMac.
-


다른 82명이 해당 안내서를 완성하였습니다.

댓글 35개
What type of SATA SSDs are compatible with iMac? I don't want to buy the kit because I have the necessary tools, but I'd like to know which brand of SSDs work the best.
>Will take any SATA SSD.
>On a mac with a fusion drive, it just removes the spinning drive from the mix, leaving you with a separate 28gig or 128 gig SSD drive that will appear on your desktop along with the newly installed SATA SSD.
>NO TEMPERATURE monitor is needed. This generation of iMacs has done away with the propietary temp sensor. It just relies on S.M.A.R.T. tech now.
Does the screen stick back on with the same adhesive or do you have to reapply new adhesive? If yes, does it come in the kit?
You have to apply new adhesive. Go slow and careful, it’s really not hard at all.