이 안내서에는 최근 변경 사항이 더 있습니다. 최신 비검증 버전으로 전환하십시오.
소개
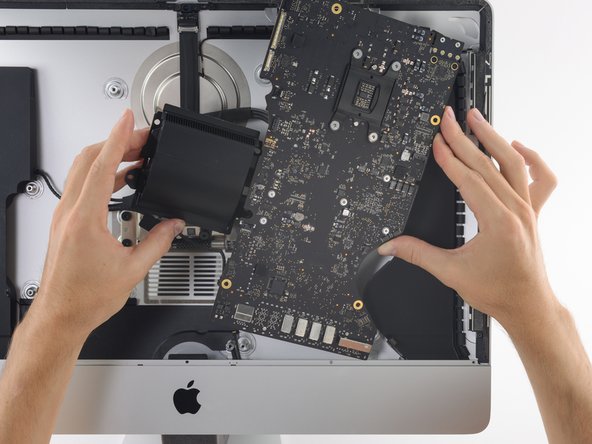
Prerequisite only guide for removing the logic board assembly from a 21.5" Retina 4K 2017 iMac.
필요한 것
-
-
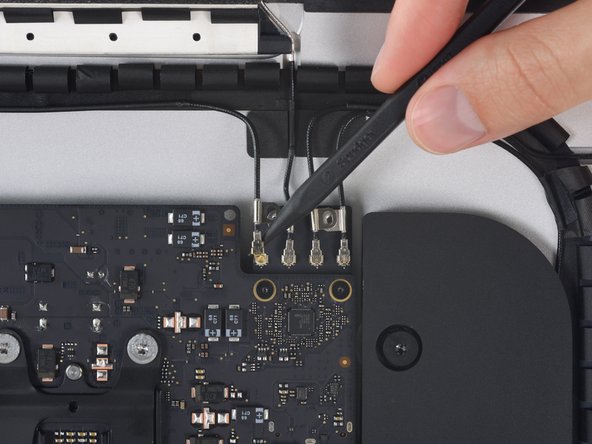
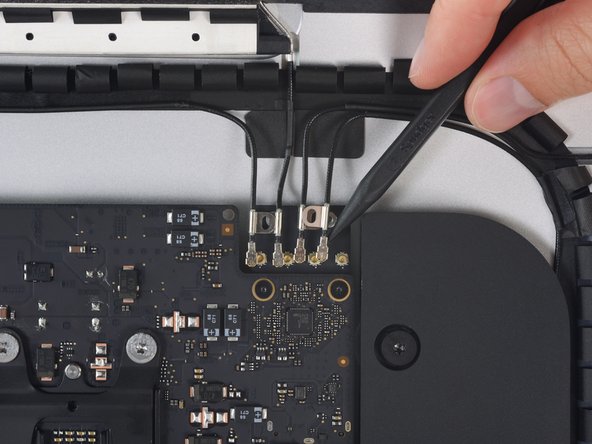
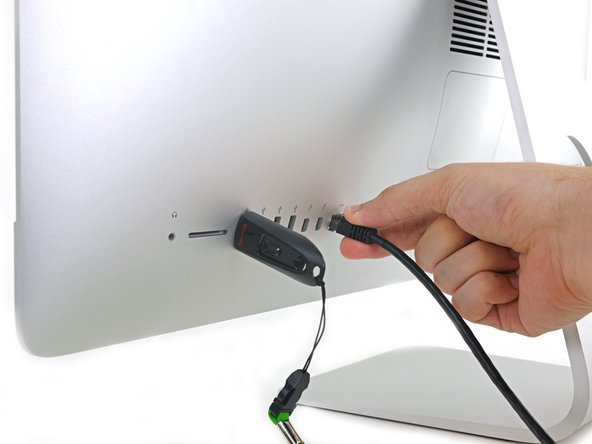
Gently pull the left speaker cable straight out of its socket on the logic board.
-
-
-
-
Use the tip of a spudger to flip open the retaining flap on the microphone ribbon cable ZIF socket.
-
Gently pull the microphone ribbon cable straight out of its socket.
-


거의 끝나갑니다!
To reassemble your device, follow these instructions in reverse order.
결론
To reassemble your device, follow these instructions in reverse order.
