이 버전에는 잘못된 편집 사항이 있을 수 있습니다. 최신 확인된 스냅샷으로 전환하십시오.
필요한 것
-
-
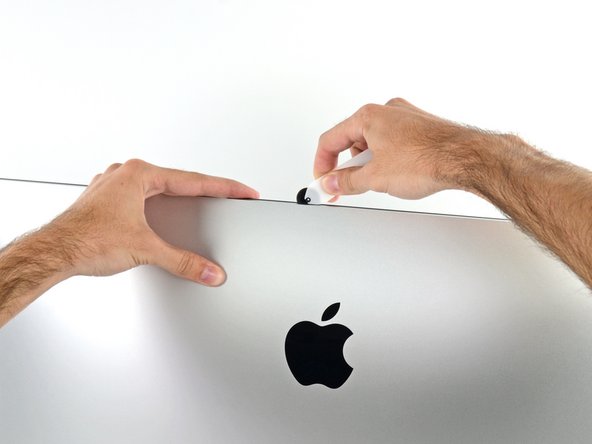
자유롭게 움직이는 힌지로 인한 iMac 불균형은 작업을 어렵게 합니다. iMac 서비스 웨지를 스탠드에 사용하여 iMac을 안정시키세요.
-
-
-
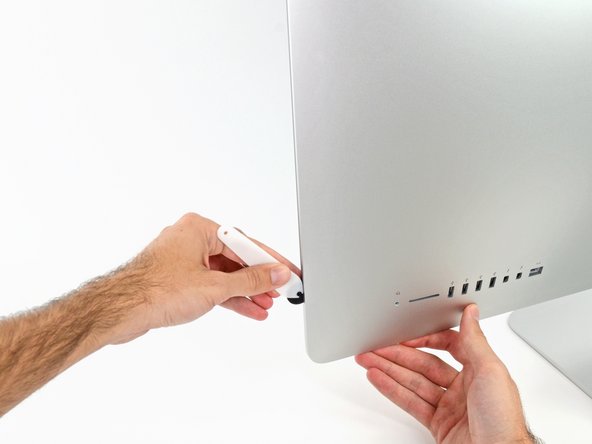
피자용 칼 같은 도구를 사용하여—틈을 따라 굴려, 프레임과 디스플레이 사이의 폼 접착제를 자르세요.
-
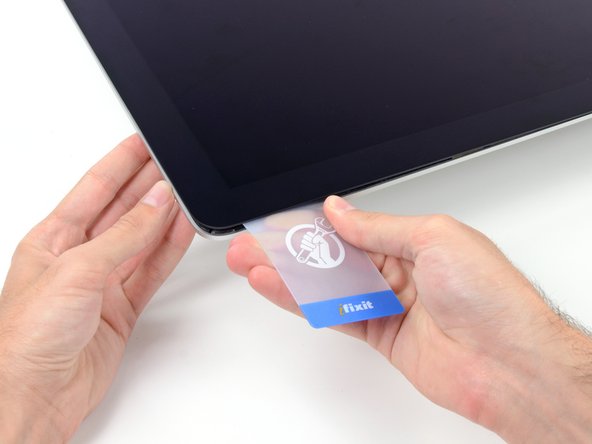
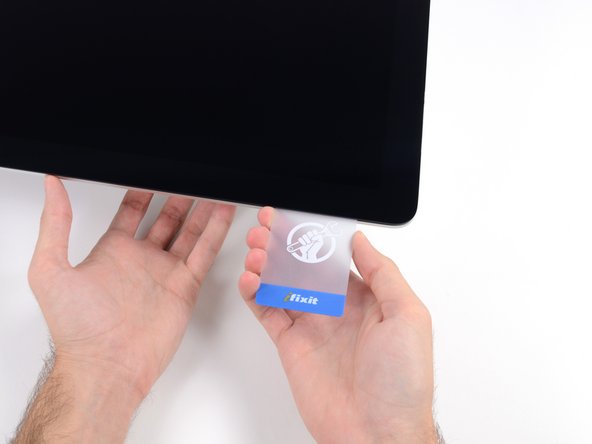
디스플레이 왼편을 따라 도구를 위로 미세요.
-
-
-
이 단계는 번역되지 않았습니다. 번역을 도와주십시오
-
Remove the following five Phillips screws holding the lower support bracket in place:
-
Four 3.2 mm screws
-
One 1.7 mm screw
-
-
이 단계는 번역되지 않았습니다. 번역을 도와주십시오
-
Remove the lower support bracket (a.k.a. "chin strap") from the iMac enclosure.
-
-
이 단계는 번역되지 않았습니다. 번역을 도와주십시오
-
Remove the following T10 Torx screws securing the hard drive brackets to the iMac:
-
Two 21 mm screws
-
One 9 mm screw
-
One 27 mm screw
-
-
이 단계는 번역되지 않았습니다. 번역을 도와주십시오
-
Use the tip of a spudger to push each side of the power button cable connector and gently walk it out of its socket.
-
-
이 단계는 번역되지 않았습니다. 번역을 도와주십시오
-
Use the tip of a spudger to push each side of the power supply control cable connector and gently walk it out of its socket.
-
-
이 단계는 번역되지 않았습니다. 번역을 도와주십시오
-
Remove the two 7.2 mm T8 Torx screws securing the power supply to the rear enclosure.
-
-
이 단계는 번역되지 않았습니다. 번역을 도와주십시오
-
Pull the power supply slightly up and out from the rear enclosure.
-
Rotate the power supply counterclockwise, lifting the right side up about an inch higher than the left.
-
-
이 단계는 번역되지 않았습니다. 번역을 도와주십시오
-
Slide the power supply to the right to clear the screw posts on the rear enclosure.
-
-
이 단계는 번역되지 않았습니다. 번역을 도와주십시오
-
Rock the power supply forward and remove it from its recess in the rear enclosure.
-
-
이 단계는 번역되지 않았습니다. 번역을 도와주십시오
-
To disconnect the cable, squeeze the release clip on the back side of the connector, behind the logic board, and pull the connector straight out.
-
-
이 단계는 번역되지 않았습니다. 번역을 도와주십시오
-
Use the flat end of a spudger to press the release clip on the side of the AC inlet cable connector inward.
-
While pressing on the release clip with the spudger, grasp the AC inlet cable, and pull the connector straight out of its socket.
-
-
이 단계는 번역되지 않았습니다. 번역을 도와주십시오
-
Gently pull the fan cable connector straight out of its socket on the logic board.
-
-
이 단계는 번역되지 않았습니다. 번역을 도와주십시오
-
Remove the three 10 mm T10 Torx screws securing the fan to the rear enclosure.
-
-
이 단계는 번역되지 않았습니다. 번역을 도와주십시오
-
Remove the 7.3 mm T8 Torx screw securing the hard drive tray to the rear enclosure.
-
-
이 단계는 번역되지 않았습니다. 번역을 도와주십시오
-
Remove the SATA cable from the clips on the back of the hard drive tray.
-
Remove the hard drive tray.
-
-
이 단계는 번역되지 않았습니다. 번역을 도와주십시오
-
Gently pull the left speaker cable straight out of its socket on the logic board.
-
-
이 단계는 번역되지 않았습니다. 번역을 도와주십시오
-
De-route the left speaker cable by pulling it straight up out of the retaining clip in the back of the rear enclosure.
-
-
이 단계는 번역되지 않았습니다. 번역을 도와주십시오
-
Similarly to the previous step, de-route the SATA and power cables by pulling the braid straight up out of the retaining clip.
-
-
이 단계는 번역되지 않았습니다. 번역을 도와주십시오
-
Peel up the piece of tape connecting the left speaker connector to the SATA power and data cables.
-
-
이 단계는 번역되지 않았습니다. 번역을 도와주십시오
-
Flip up the metal retaining bracket on the FaceTime camera cable connector.
-
Pull the iSight camera cable straight out of its socket on the logic board.
-
-
이 단계는 번역되지 않았습니다. 번역을 도와주십시오
-
Remove the two 4.0 mm T5 Torx screws securing the four AirPort/Bluetooth antenna connectors.
-
-
이 단계는 번역되지 않았습니다. 번역을 도와주십시오
-
Rotate the top of the AirPort/Bluetooth connector bracket away from the logic board, then lift the bracket straight up and remove it.
-
-
이 단계는 번역되지 않았습니다. 번역을 도와주십시오
-
Use the point of a spudger to pry all four antenna connectors straight up from their sockets and disconnect them from the AirPort/Bluetooth card.
-
-
이 단계는 번역되지 않았습니다. 번역을 도와주십시오
-
Use a pair of tweezers or your fingers to pull the right speaker cable connector straight down and out of its socket on the logic board.
-
-
이 단계는 번역되지 않았습니다. 번역을 도와주십시오
-
Use the flat edge of a spudger to pry the headphone jack cable connector from its socket on the logic board.
-
Push the cable slightly to the right to move it out of the way of the logic board.
-
-
이 단계는 번역되지 않았습니다. 번역을 도와주십시오
-
Remove the following T8 Torx screws securing the exhaust duct to the rear enclosure:
-
Two 6.2 mm screws
-
Two 4.7 mm screws
-
-
이 단계는 번역되지 않았습니다. 번역을 도와주십시오
-
Use the tip of a spudger to flip open the retaining flap on the microphone ribbon cable ZIF socket.
-
Use tweezers to gently pull the microphone ribbon cable straight out of its socket.
-
-
이 단계는 번역되지 않았습니다. 번역을 도와주십시오
-
Remove the four 7.3 mm T8 Torx screws securing the logic board to the rear enclosure.
-
-
이 단계는 번역되지 않았습니다. 번역을 도와주십시오
-
Tilt the top of the logic board away from the rear enclosure.
-
As you tilt the logic board, pull the right speaker connector to the right and out of the way of the board.
-
Lift the logic board straight up and out of the iMac.
-
-
이 단계는 번역되지 않았습니다. 번역을 도와주십시오
-
Use a USB flash drive and/or ethernet cable to keep the logic board seated correctly while you tighten the screws.
-


다른 한 분이 해당 안내서를 완성하였습니다.

댓글 2개
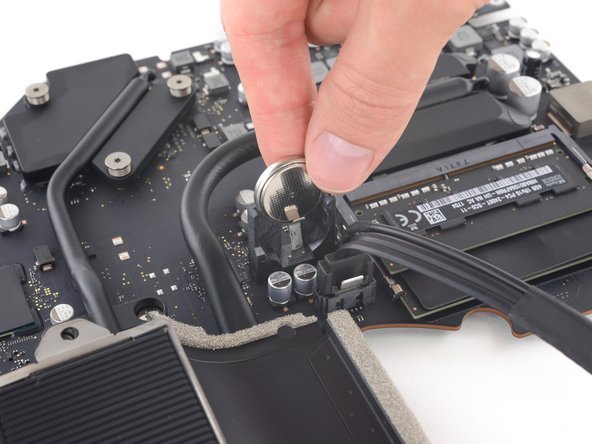
The Apple Repair Guide, 073-00161-A, shows a BR2032 battery but my iMAC was fitted with a BR1632 battery. As the BR1632 is smaller you can't fit a BR2032, so probably best to check before ordering the battery. The BR series aren't easy to find in the UK but RS stock them.