소개
이 안내서를 따라서 iMac의 하드 드라이브를 교체하세요. 하드 드라이브를 교체하려면 디스플레이를 분리하고 왼쪽 스피커를 옮겨야 합니다.
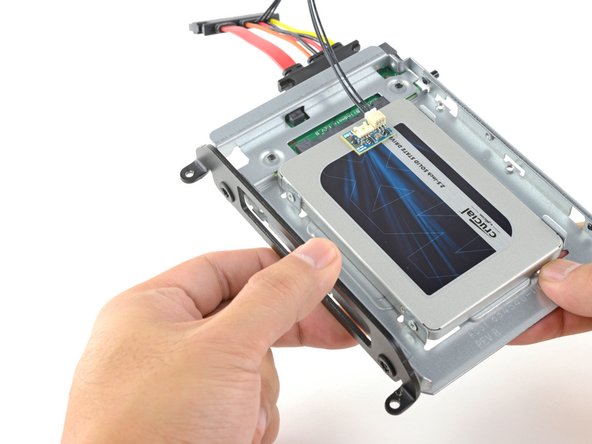
이 안내서는 iMac의 하드 드라이브를 SSD로 업그레이드하는 단계도 포함하고 있습니다. Mac의 팬이 올바른 속도로 작동할 수 있도록 SSD의 온도 센서를 설치하는 방법을 설명합니다.
iMac에 작업을 시작하기 전에:컴퓨터의 플러그를 뽑고 전원 버튼을 10초 동안 길게 눌러 전원 장치의 커패시터를 방전시키세요.
전원 장치 뒷면의 커패시터 리드 또는 노출된 납땜 조인트를 만지지 않도록 ‘’’매우 주의하세요.'''
필요한 것
동영상 개요
-
-
힌지가 자유롭게 움직이면 iMac의 균형이 맞지 않아 작업하기 어렵습니다. iMac을 눕힌 상태로 수리를 완료할 수 있지만, iMac 서비스 쐐기를 사용하면 더 빠르고 쉽게 수리할 수 있습니다.
-
iFixit 카드보드 서비스 쐐기를 사용하는 경우 다음 조립 지침을 따라 조립하세요.
-
-


기기를 재조립하려면 이 지침을 역순으로 따르고 접착 스트립 안내서를 사용하여 디스플레이 유리를 다시 부착하세요.
전자 폐기물을 R2 또는 e-Stewards 인증 재활용 센터로 가져가세요.
기기를 재조립하려면 이 지침을 역순으로 따르고 접착 스트립 안내서를 사용하여 디스플레이 유리를 다시 부착하세요.
전자 폐기물을 R2 또는 e-Stewards 인증 재활용 센터로 가져가세요.
다른 269명이 해당 안내서를 완성하였습니다.
다음 번역가들에게 특별히 감사 드립니다:
100%

Christian Kim님은 저희가 세상을 수리하는데 동참하신 분입니다! 기여하시겠습니까?
번역 시작하기 ›

댓글 54개
My experience in upgrading this unit to a Seagate 4TB hybrid ST4000DX001 went fine except for the fans running at a constant higher RPM. Using Macs Fan Control is solving my issue for now. As a tip, you do not need to remove the left speaker, you can loosen the two screws and angle it leaning to the left.
What setting do you change in Macs Fan Control? Im looking at getting a SSD fitted to my Late 2013 iMac by a certified repair centre who have said they will do it for me if I provide the SSD but they did mention that the fans would most likely speed up as there won't be a temp sensor in the SSD. Thanks.
Lewis -
I didn't have a fan problem, since the adapter comes with a temperature sensor, my problem was the adapter wasn't long enough.
Lewis: simply running the Macs Fan Control app will do it. Otherwise the fans run at full speed because they have no temperature measurement.
Max Fenton - 답글
I'm wondering what drive apple uses for the 1TB SSD version? Is it an OEM type PCIE Sandisk as well or a larger 2.5" drive?
I'm very tempted to upgrade my Fusion drive.