소개
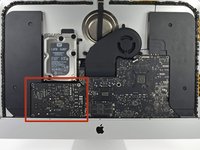
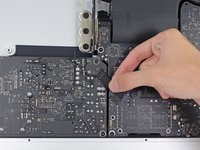
Before beginning any work on your iMac: Unplug the computer and press and hold the power button for ten seconds to discharge the power supply's capacitors.
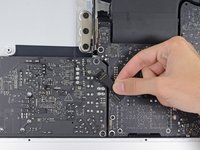
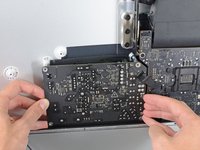
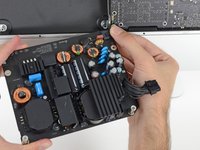
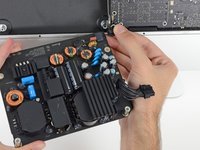
Be very careful not to touch the capacitor leads or any exposed solder joints on the back of the power supply. Only handle the board by the edges.
필요한 것
-
이 단계에 사용된 도구:iMac Intel 27" Cardboard Service Wedge$4.99
-
With the hinge free to move, the iMac will be unbalanced and hard to work on. Repairs can be completed with the iMac laying down, but are faster and easier with an iMac service wedge.
-
If you are using the iFixit cardboard service wedge, follow these assembly directions to put it together.
-
-
이 단계에 사용된 도구:Plastic Cards$2.99
-
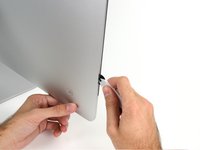
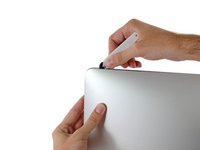
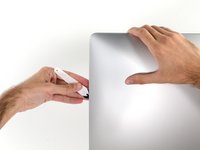
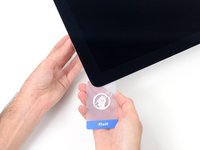
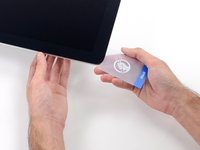
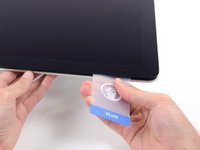
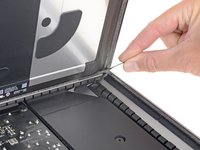
Set the iMac face-up on a table.
-
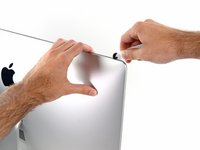
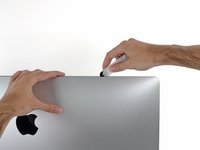
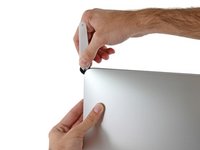
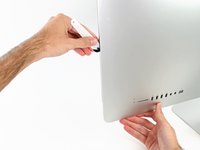
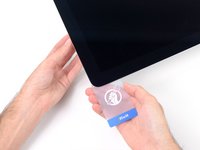
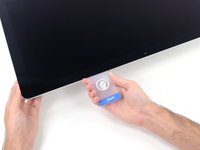
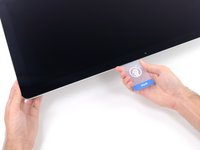
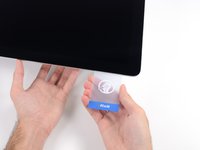
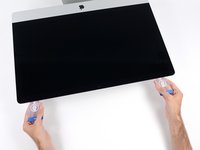
Starting from the top right corner of the iMac, insert a plastic card between the display and frame.
-
-
-
-
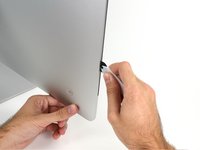
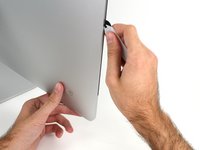
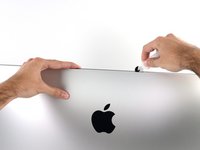
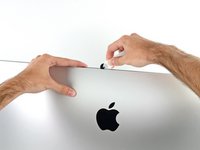
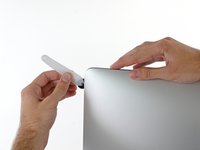
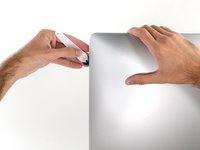
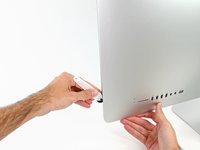
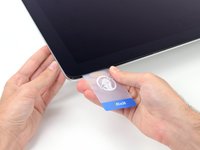
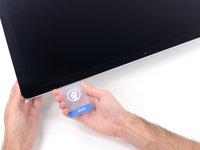
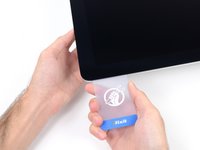
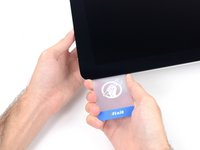
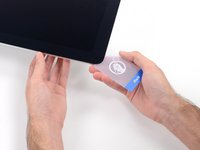
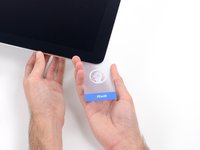
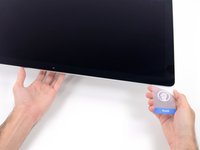
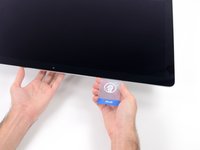
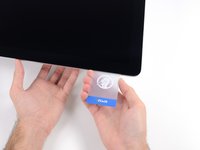
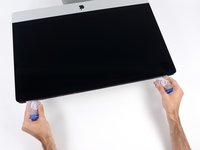
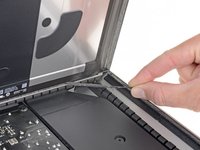
With the cards inserted as shown near the corners, gently twist the cards to increase the gap between display and case.
-
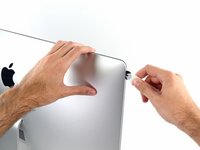
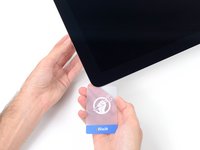
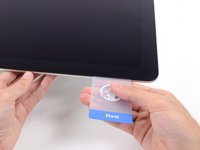
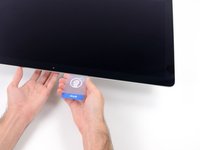
If there are any sections that seem to stick and won't separate, stop twisting and use one of the cards to cut the adhesive in the problem area.
-
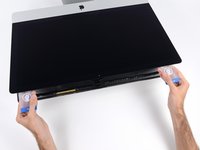
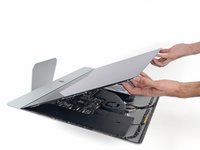
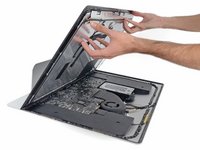
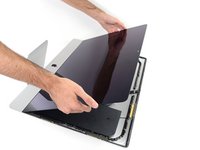
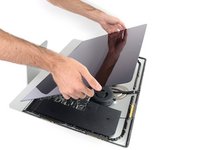
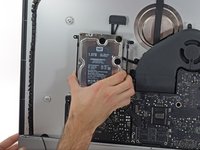
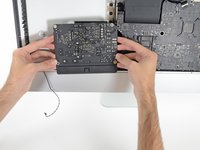
Begin to lift the top of the display up from the frame.
-
-
-
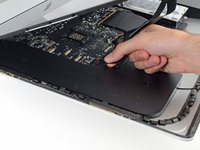
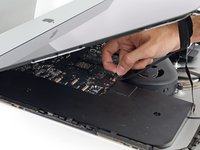
If there is a wire or cable underneath adhesive tape, always pull the tape off first.
-
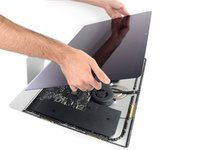
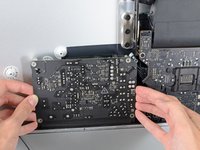
If the cable is glued to the chassis, use a heated iOpener or a hair dryer to soften the adhesive first. You can then slide an opening pick underneath the cable to loosen it. Never pull directly on the delicate connectors.
-
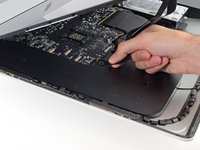
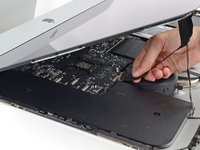
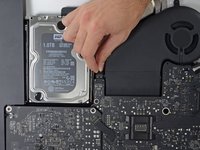
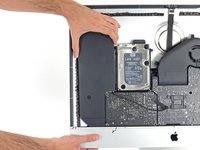
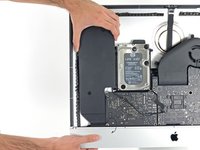
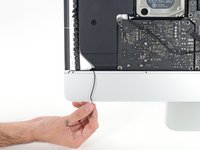
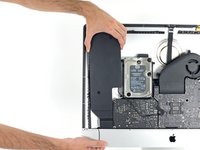
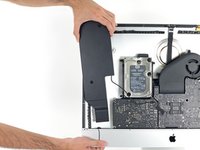
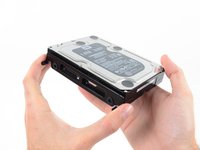
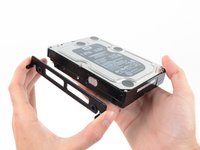
Slide an opening pick underneath the foam cushion pieces to separate them from the display, and gently pull them off. You may need some double sided tape to re-attach them to the new display.
-
-
-
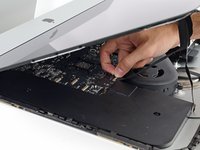
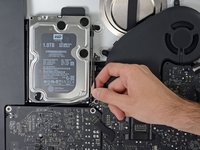
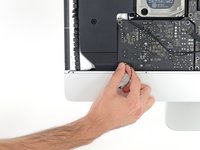
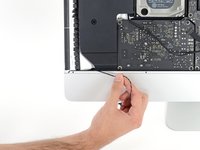
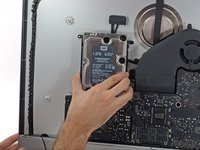
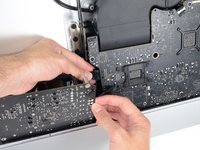
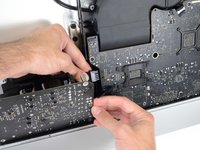
Pull straight up on the SATA data/power cable to disconnect it from the drive.
-


To reassemble your device, follow these instructions in reverse and use our Adhesive Strips Guide to reattach the display glass.
Take your e-waste to an R2 or e-Stewards certified recycler.
Repair didn’t go as planned? Try some basic troubleshooting, or ask our Answers community for help.
To reassemble your device, follow these instructions in reverse and use our Adhesive Strips Guide to reattach the display glass.
Take your e-waste to an R2 or e-Stewards certified recycler.
Repair didn’t go as planned? Try some basic troubleshooting, or ask our Answers community for help.
다른 58명이 해당 안내서를 완성하였습니다.

댓글 10개
Hi, great in instructions.. I've had the power supply out for inspection...all looks good. I have NO LED's at all, Is there a way to test the power supply..?
Hi, great instructions thx, I've had the power supply out for inspection all LOOKS good, I have NO LED's at all, is there a way to test the PSU before I order one ans also how would I test the on / off switch just in case.? thx for ANY help
Why isn't there a power supply replacement part for this repair? Need a PSU for this exact machine. Is it because they used the same PSU for a few different years?
Hey Kramek did you find your power supply, I'm looking for the exact same part? Any ideas where I can find one?
This just ended my love affair with Apple. This is the second PSU fault on 2 machines over a 5 year period and in both cases, the machines have (or, in this case, will have to) return to Apple for repair. I'm thankful that Linux has finally reached the point where I can use it daily without having to worry too much. I have a fairly heavy investment in Apple software but that's just going to have to wait until the company makes user-serviceable machines again... right now, Hackintosh looks the way to go for that. I can't abide having a machine that I can't reasonably service with commonly available parts.
Marc Draco - 답글