주요 콘텐츠로 건너뛰기

필요한 것

해당 분해도는 수리 안내서가 아닙니다. iPad ClamCase 수리는 저희 서비스 설명서를 사용하십시오.

  1. iPad ClamCase, iPad ClamCase: 1 단계, 이미지 1/2 iPad ClamCase, iPad ClamCase: 1 단계, 이미지 2/2
    • You can skip the first 2 steps if you don't want to detach the upper and keyboard covers from each other.

    • Open the case and unpeel the 2 black stickers in the top corners of the keyboard.

    • This will reveal the 6 screws that attach the upper cover to the keyboard cover.

  2. iPad ClamCase: 2 단계, 이미지 1/2 iPad ClamCase: 2 단계, 이미지 2/2
    • Use the T9 Torx screwdriver to unscrew the 2 bigger screws in the middle of each side.

    • Use the T6 Torx screwdriver to unscrew the remaining 4 screws.

  3. iPad ClamCase: 3 단계, 이미지 1/2 iPad ClamCase: 3 단계, 이미지 2/2
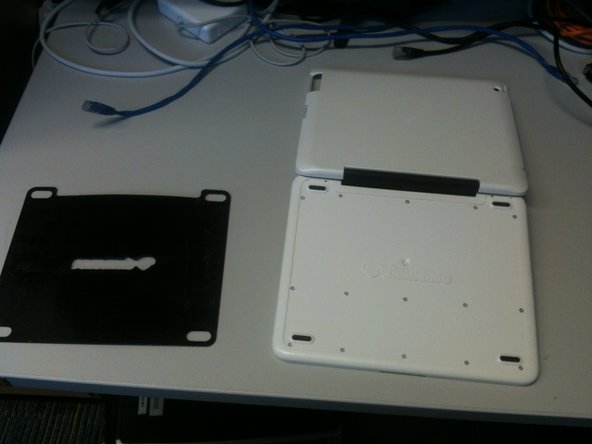
    • Turn the keyboard cover over so the bottom is facing up. Manually remove the thin black covering that is attached to the bottom.

    • Be patient, the thin black covering might be really stuck to the bottom.

  4. iPad ClamCase: 4 단계, 이미지 1/1
    • Once the thin black covering is removed, you will see 15 screws.

    • Use the T6 Torx screwdriver to remove the screws.

  5. iPad ClamCase: 5 단계, 이미지 1/1
    • Once the screws are removed, lift off the bottom panel to access the keyboard and battery.

  6. iPad ClamCase: 6 단계, 이미지 1/1
    • You are done.

Izmet Barranco

회원 가입일: 12/12/12

213 평판

안내서 1개 작성함

댓글 2개

Awesome! I used this guide to disassemble my clam case and repair some nonfunctional keys. Thanks!

justin duff - 답글

Thanks for the dis-assembly guide. Justin, what did you have to do to fix the keys that were not working. I have on with a few keys not working, not even intermittently.

dick haynes - 답글

댓글 쓰기

조회 통계:

24 시간 전: 0

7일 전: 1

30일 전: 5

전체 시간: 7,725