소개
Follow the steps in this guide to replace the display assembly in an iPad mini 4 Wi-Fi.
Note that if you would like to maintain Touch ID functionality or your replacement part does not include a home button, you should follow the screen and digitizer replacement guide, which includes removing and transferring your home button to the new display panel.
필요한 것
-
-
-
Leave the opening pick in the iPad slightly past the front-facing camera.
-
Take a second pick and insert it to the left of the camera, where the first pick just was. Slide it back to the corner to completely cut any remaining adhesive.
-
Leave the second pick in place to prevent the corner adhesive from re-sealing as it cools.
-
-
-
Remove the four 1.2 mm Phillips screws over the battery/display connector bracket.
-
-
-
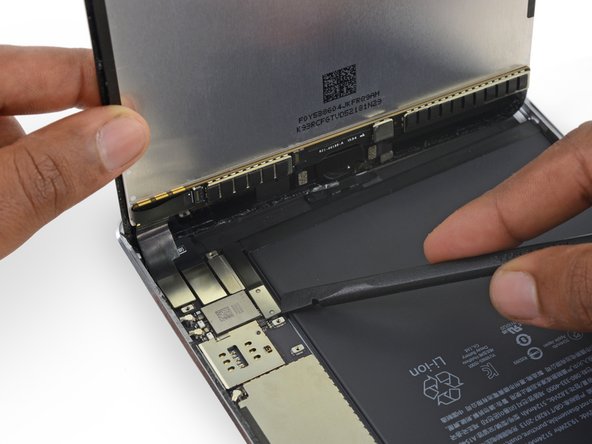
Use the flat tip of a spudger to disconnect the display data connector from its socket on the logic board.
-
Disconnect the digitizer cable connector from its socket on the logic board.
-


To reassemble your device, follow these instructions in reverse order.
To reassemble your device, follow these instructions in reverse order.
다른 34명이 해당 안내서를 완성하였습니다.

댓글 2개
why after replacement power button doesn’t lock screen, where is those smart cover sensor are located?
nyestyerov - 답글
great guide but u dont discuss reapplying the adhesive strips .. which is very important.