이 버전에는 잘못된 편집 사항이 있을 수 있습니다. 최신 확인된 스냅샷으로 전환하십시오.
필요한 것
-
-
분해를 시작하기 전에 iPhone 전원을 끄세요.
-
Lightning 포트 양 옆에 위치한 3.4mm Pentalobe/펜타로브/별나사 두 개를 풀어주세요.
-
-
-
파란색 핸들을 뒤로 당겨 Anti-Clamp의 팔을 풀어 주세요 .
-
Anti-Clamp의 팔을 iPhone의 왼편 또는 오른편 가장자리로 밀어 주세요.
-
흡입 컵을 iPhone의 홈 버튼 바로 위 하단 가장자리 근처에 배치하세요—전면에 하나, 후면에 하나.
-
흡입 컵을 함께 눌러서 원하는 부위에 흡입하세요.
-
-
-
이 단계는 번역되지 않았습니다. 번역을 도와주십시오
-
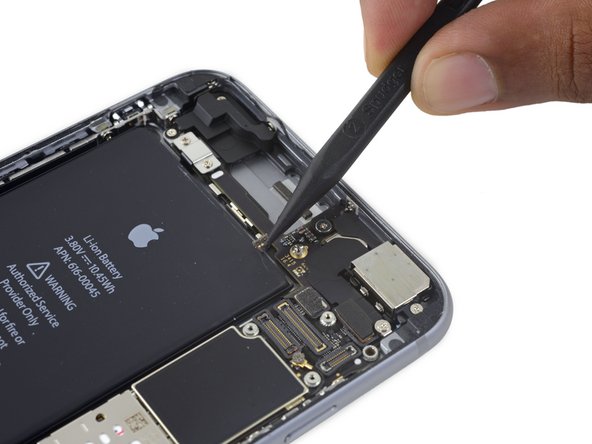
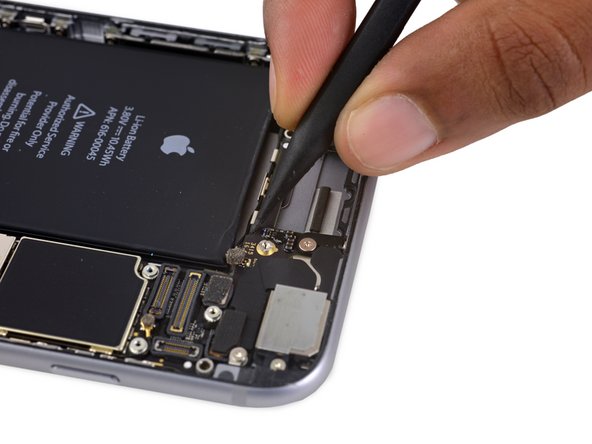
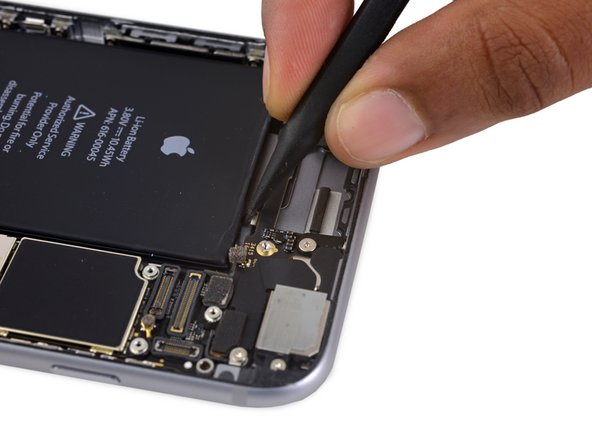
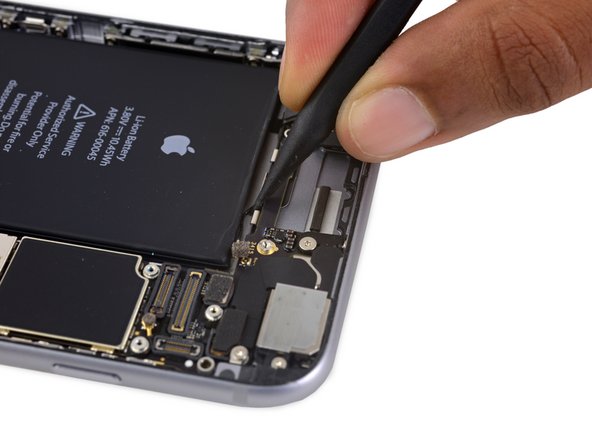
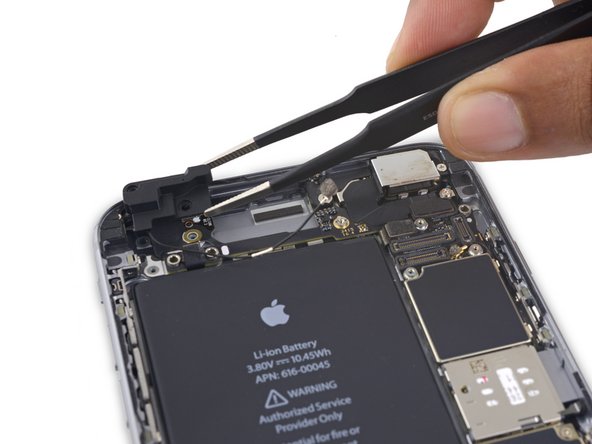
Use the pointed end of a spudger to disconnect the top left antenna cable from the logic board.
-
-
이 단계는 번역되지 않았습니다. 번역을 도와주십시오
-
Remove the sticker covering the third screw securing the top left antenna to the rear case.
-
-
이 단계는 번역되지 않았습니다. 번역을 도와주십시오
-
Remove the following five Phillips screws:
-
Three 2.7 mm screws
-
One 1.3 mm screw
-
One 1.7 mm screw
-
-
이 단계는 번역되지 않았습니다. 번역을 도와주십시오
-
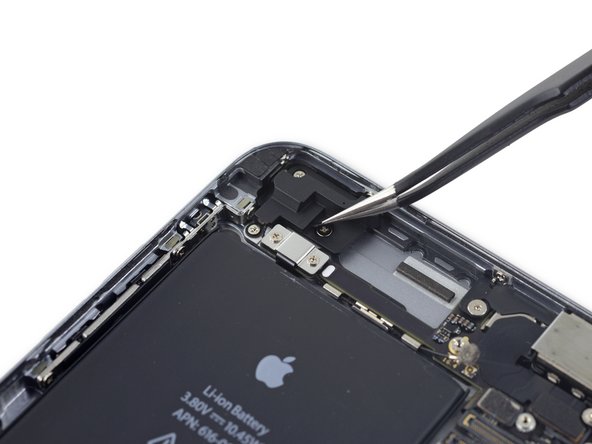
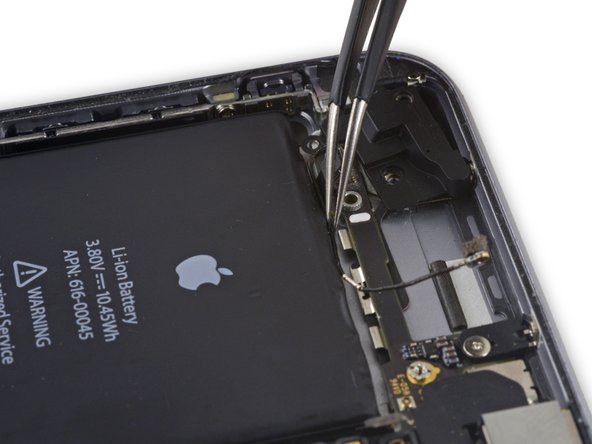
Use the pointed end of a spudger to gently nudge the top left antenna cable out from under the rightmost clip on the logic board.
-
-
이 단계는 번역되지 않았습니다. 번역을 도와주십시오
-
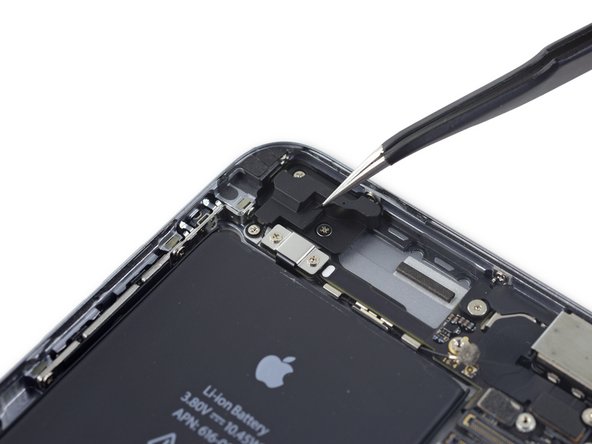
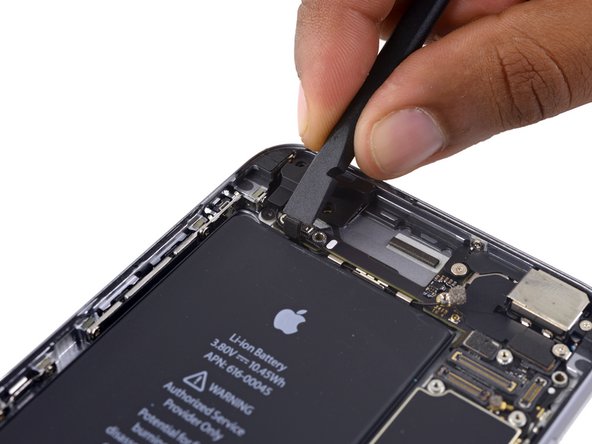
Continue derouting the top left antenna cable from the second and third logic board clips.
-


다른 24명이 해당 안내서를 완성하였습니다.
