주요 콘텐츠로 건너뛰기

iPod Touch 4th Generation Logic Board Assembly Replacement

단지 전제 조건
이 안내서는 다른 가이드의 선행 작업으로 사용하기 위한 것입니다. 그 자체로는 불완전합니다.

필요한 것

  1. iPod Touch 4th Generation Logic Board Assembly Replacement, Logic Board Assembly: 1 단계, 이미지 1/3 iPod Touch 4th Generation Logic Board Assembly Replacement, Logic Board Assembly: 1 단계, 이미지 2/3 iPod Touch 4th Generation Logic Board Assembly Replacement, Logic Board Assembly: 1 단계, 이미지 3/3
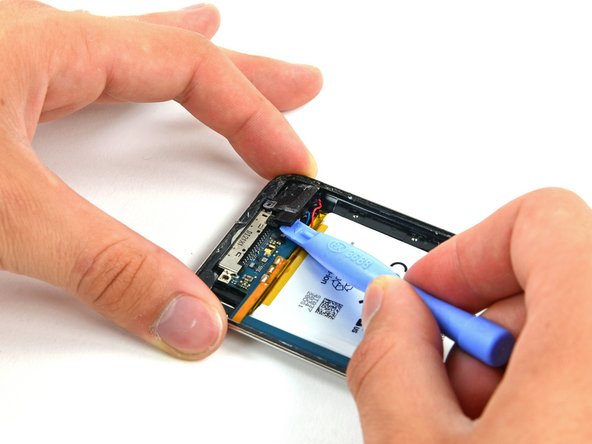
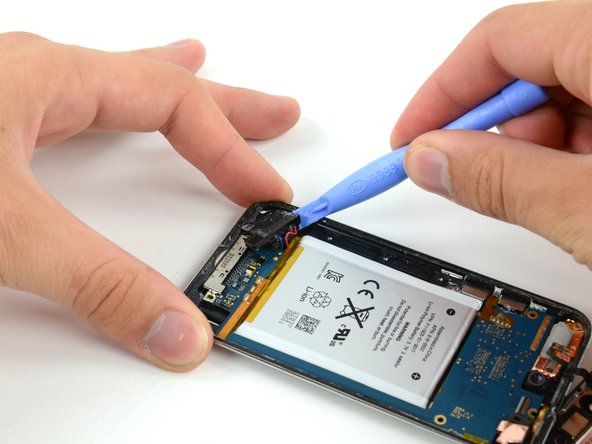
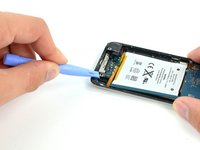
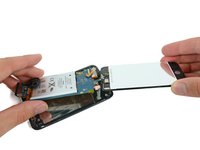
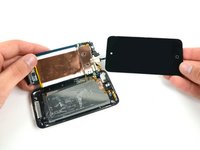
    • With a plastic opening tool, gently pry the iPod's speaker out of its recess in the outer case.

    • Do not try to completely remove the speaker. It is still soldered to the underside of the logic board.

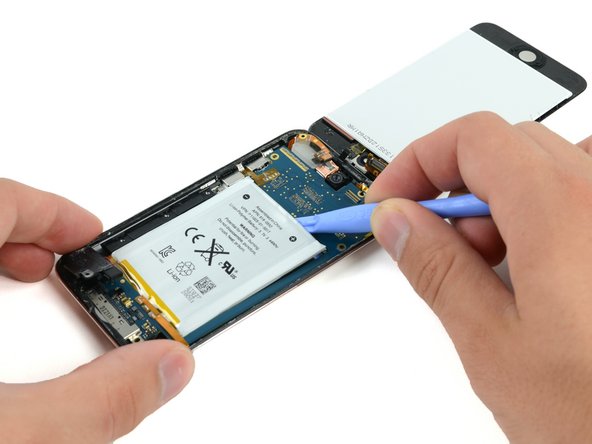
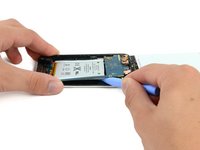
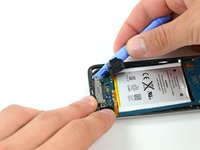
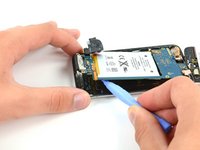
    • Allow the speaker to rest above the battery so that you can proceed with battery installation.

  2. iPod Touch 4th Generation Logic Board Assembly Replacement: 2 단계, 이미지 1/3 iPod Touch 4th Generation Logic Board Assembly Replacement: 2 단계, 이미지 2/3 iPod Touch 4th Generation Logic Board Assembly Replacement: 2 단계, 이미지 3/3
    • In the next few steps, you will loosen the adhesive from underneath the battery, the logic board, and the frame under the battery. Do this slowly, carefully, and evenly. Take care not to puncture the battery or bend the logic board.

    • Use a plastic opening tool to pry up the adhesive around the three exposed edges of the battery.

    • Do not try to pry the battery out, just start loosening the adhesive.

  3. iPod Touch 4th Generation Logic Board Assembly Replacement: 3 단계, 이미지 1/2 iPod Touch 4th Generation Logic Board Assembly Replacement: 3 단계, 이미지 2/2
    • After the edges of the battery are loosened, begin prying up the edge of the logic board. Start at the top and work your way down the side of the board.

    • To prevent bending/breaking the logic board, do not try to remove the logic board, yet. The dock connector is still embedded in the frame. Again, you are only trying to loosen more of the adhesive.

  4. iPod Touch 4th Generation Logic Board Assembly Replacement: 4 단계, 이미지 1/2 iPod Touch 4th Generation Logic Board Assembly Replacement: 4 단계, 이미지 2/2
    • With a plastic opening tool, carefully push the dock connector out of its outer case recess. Work each corner evenly until the connector comes free.

    • Since the dock connector is attached to the logic board, pushing it out of the case may cause the logic board to begin to flex. Take extra care not to permanently warp the board.

  5. iPod Touch 4th Generation Logic Board Assembly Replacement: 5 단계, 이미지 1/3 iPod Touch 4th Generation Logic Board Assembly Replacement: 5 단계, 이미지 2/3 iPod Touch 4th Generation Logic Board Assembly Replacement: 5 단계, 이미지 3/3
    • Once all of the adhesive is freed from under the logic board/battery assembly, lift the assembly up from the side and carefully rotate it over to access the underside of the battery.

    • The logic board is still attached to the rear case. Do not try to completely separate the assembly, or you will rip this ribbon cable.

결론

To reassemble your device, follow these instructions in reverse order.

Jake Devincenzi

회원 가입일: 04/18/11

117,207 평판

안내서 57개 작성하였습니다

댓글 0개

댓글 쓰기

조회 통계:

24 시간 전: 0

7일 전: 0

30일 전: 0

전체 시간: 144