주요 콘텐츠로 건너뛰기

iRobot Roomba 4210 battery Replacement

필요한 것

  1. iRobot Roomba 4210 battery Replacement, getting ready: 1 단계, 이미지 1/2 iRobot Roomba 4210 battery Replacement, getting ready: 1 단계, 이미지 2/2
    • Make sure Roomba is powered off.

    • make sure Roomba is unplugged

    • If your battery is bad Powering off Roomba shouldn't be a problem.

  2. iRobot Roomba 4210 battery Replacement, flip Roomba over: 2 단계, 이미지 1/1
    • Carefully flip Roomba over.

  3. iRobot Roomba 4210 battery Replacement, remove the battery: 3 단계, 이미지 1/3 iRobot Roomba 4210 battery Replacement, remove the battery: 3 단계, 이미지 2/3 iRobot Roomba 4210 battery Replacement, remove the battery: 3 단계, 이미지 3/3
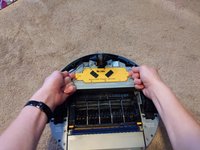
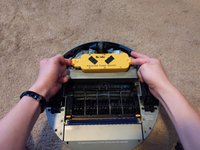
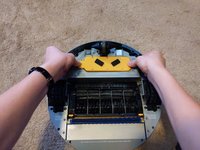
    • Depress side clips and lift up.

    • you may need to use moderate force to remove the battery.

  4. iRobot Roomba 4210 battery Replacement, battery is out: 4 단계, 이미지 1/1
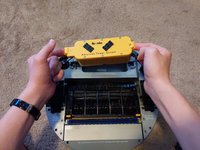
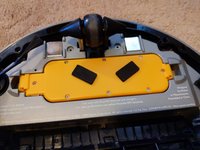
    • The battery is now removed.

    • The battery slot is where the serial number is located

  5. iRobot Roomba 4210 battery Replacement, Inserting The battery: 5 단계, 이미지 1/3 iRobot Roomba 4210 battery Replacement, Inserting The battery: 5 단계, 이미지 2/3 iRobot Roomba 4210 battery Replacement, Inserting The battery: 5 단계, 이미지 3/3
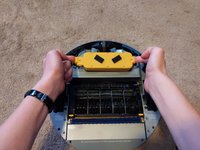
    • Slide new battery Into the slot.

    • make sure that the clips snap into place on BOTH sides.

  6. iRobot Roomba 4210 battery Replacement, Complete!: 6 단계, 이미지 1/1
    • flip over Roomba.

    • Put Roomba on charge for 16 hours then run on MAX cycle to condition the battery.

결론

Remember to condition your battery

Austin Walter

회원 가입일: 01/16/23

1,001 평판

안내서 5개 작성하였습니다

댓글 0개

댓글 쓰기

조회 통계:

24 시간 전: 1

7일 전: 4

30일 전: 12

전체 시간: 82