주요 콘텐츠로 건너뛰기

iRobot Roomba 655 Pet Series Display Replacement

필요한 것

  1. iRobot Roomba 655 Pet Series Display  Replacement, Front Face Plate: 1 단계, 이미지 1/2 iRobot Roomba 655 Pet Series Display  Replacement, Front Face Plate: 1 단계, 이미지 2/2
    • Remove the dust bin by pushing on the button for the dust bin removal

    • Pull the dust bin out

  2. iRobot Roomba 655 Pet Series Display  Replacement: 2 단계, 이미지 1/2 iRobot Roomba 655 Pet Series Display  Replacement: 2 단계, 이미지 2/2
    • Pull up on the silver handle to release the top protectant plastic

    • Remove the top plastic carefully

  3. iRobot Roomba 655 Pet Series Display  Replacement, Front Bumper: 3 단계, 이미지 1/2 iRobot Roomba 655 Pet Series Display  Replacement, Front Bumper: 3 단계, 이미지 2/2
    • Remove the ten 11mm screws that hold the front bumper to the plastic bumper protector with your Phillips #1 screwdriver.

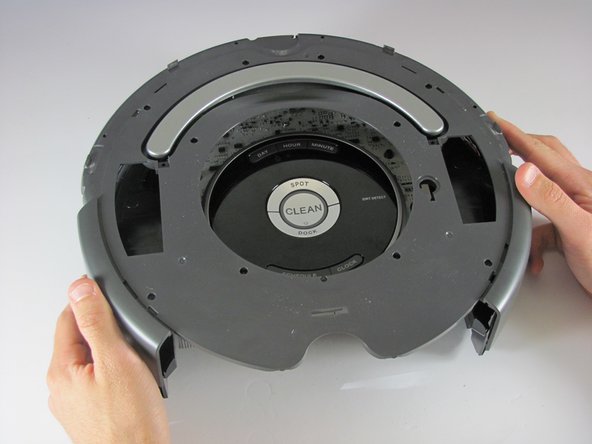
    • Pull the plastic bumper protector up and off of the bumper.

  4. iRobot Roomba 655 Pet Series Display  Replacement: 4 단계, 이미지 1/3 iRobot Roomba 655 Pet Series Display  Replacement: 4 단계, 이미지 2/3 iRobot Roomba 655 Pet Series Display  Replacement: 4 단계, 이미지 3/3
    • Flip the Roomba back over, so you are viewing the top.

    • Pull up on the front bumper to remove it.

    • Be careful not to pull too hard because there is wiring attached to the bumper.

    • Remove the two 7mm screws with your Phillips #1 screwdriver, holding the wire sensors in place to the front bumper.

  5. iRobot Roomba 655 Pet Series Display  Replacement, Internal Faceplate: 5 단계, 이미지 1/3 iRobot Roomba 655 Pet Series Display  Replacement, Internal Faceplate: 5 단계, 이미지 2/3 iRobot Roomba 655 Pet Series Display  Replacement, Internal Faceplate: 5 단계, 이미지 3/3
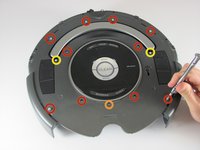
    • The outside six - 10mm screws and the inside set of four - 10mm screws are the same here, use your Phillips head #2 to remove them

    • Use your Phillips head #0 to remove the one - 7mm bottom center screw

    • Use your Phillips head #2 to remove the two - 8mm screws by the handle

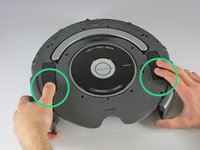
    • Push down the two release points to pull the plastic piece up

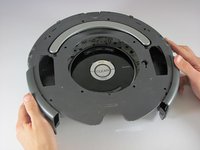
    • Pull the plastic piece up

  6. iRobot Roomba 655 Pet Series Display  Replacement, Display: 6 단계, 이미지 1/3 iRobot Roomba 655 Pet Series Display  Replacement, Display: 6 단계, 이미지 2/3 iRobot Roomba 655 Pet Series Display  Replacement, Display: 6 단계, 이미지 3/3
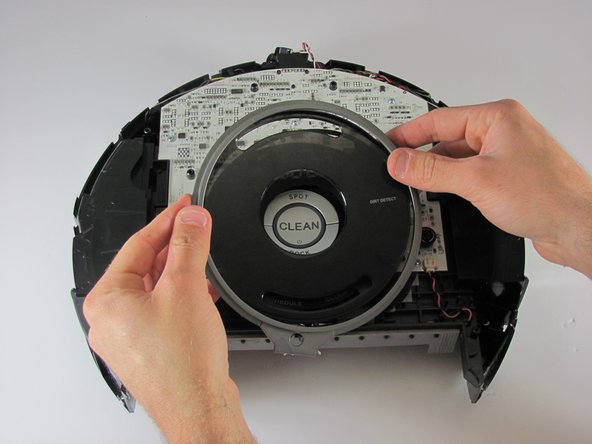
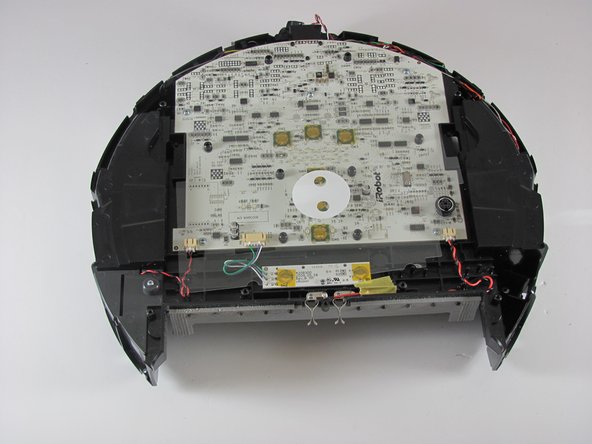
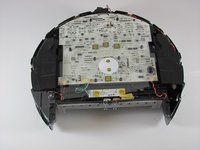
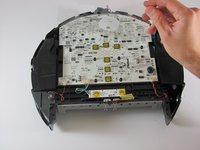
    • Pull the silver tab, and clear tinted display off

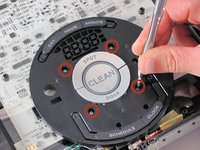
    • Remove the 4 - 9mm screws holding the display with your Phillips head #0

  7. iRobot Roomba 655 Pet Series Display  Replacement: 7 단계, 이미지 1/3 iRobot Roomba 655 Pet Series Display  Replacement: 7 단계, 이미지 2/3 iRobot Roomba 655 Pet Series Display  Replacement: 7 단계, 이미지 3/3
    • Remove the display

    • Remove the plastic protectant film from the motherboard

결론

To reassemble your device, follow these instructions in reverse order.

다른 한 분이 해당 안내서를 완성하였습니다.

Rhett

회원 가입일: 01/22/15

1,329 평판

안내서 7개 작성하였습니다

Cal Poly, Team 21-20, Maness Winter 2015 Cal Poly, Team 21-20, Maness Winter 2015 회원

CPSU-MANESS-W15S21G20

4 회원들

안내서 14개 작성하였습니다

댓글 0개

댓글 쓰기

조회 통계:

24 시간 전: 0

7일 전: 1

30일 전: 4

전체 시간: 853