주요 콘텐츠로 건너뛰기

ilo 1Gb Mp3 Player ilo 1 Gb Mp3 Player Motherboard Replacement

필요한 것

  1. ilo 1Gb Mp3 Player ilo 1 Gb Mp3 Player Motherboard Replacement, Belt Clip: 1 단계, 이미지 1/2 ilo 1Gb Mp3 Player ilo 1 Gb Mp3 Player Motherboard Replacement, Belt Clip: 1 단계, 이미지 2/2
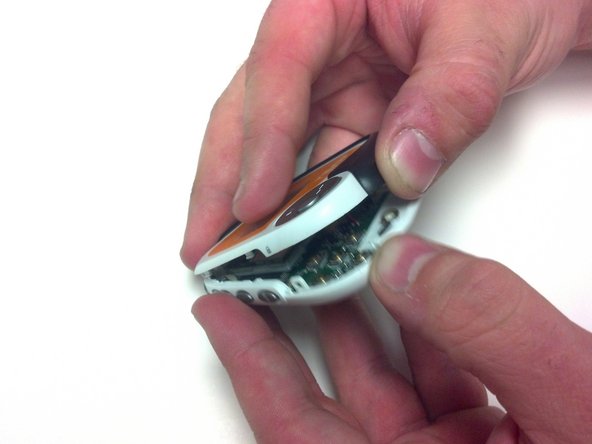
    • Remove the belt clip by pulling the clip casing up and away from the device starting at the top over the slightly protruding headphones jack.

  2. ilo 1Gb Mp3 Player ilo 1 Gb Mp3 Player Motherboard Replacement, Battery Cover: 2 단계, 이미지 1/3 ilo 1Gb Mp3 Player ilo 1 Gb Mp3 Player Motherboard Replacement, Battery Cover: 2 단계, 이미지 2/3 ilo 1Gb Mp3 Player ilo 1 Gb Mp3 Player Motherboard Replacement, Battery Cover: 2 단계, 이미지 3/3
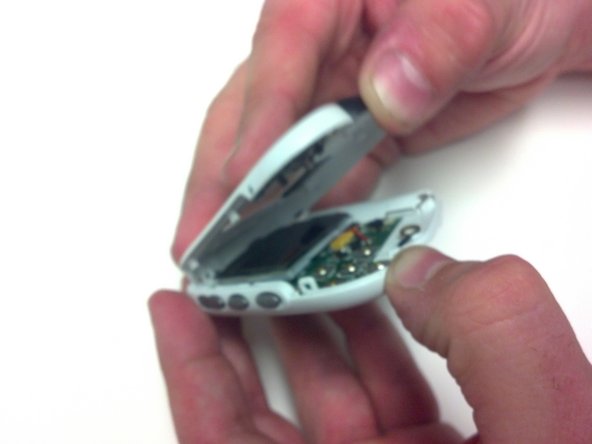
    • Remove the battery cover by gently pushing inward on the arrow on the cover.

    • While maintaining pressure push the cover upward.

  3. ilo 1Gb Mp3 Player ilo 1 Gb Mp3 Player Motherboard Replacement, Battery: 3 단계, 이미지 1/2 ilo 1Gb Mp3 Player ilo 1 Gb Mp3 Player Motherboard Replacement, Battery: 3 단계, 이미지 2/2
    • Remove the Battery from the socket

    • When installing the battery take note of the signs displayed in the socket to determine which direction the negative and positive ends should be.

  4. ilo 1Gb Mp3 Player ilo 1 Gb Mp3 Player Motherboard Replacement, ilo 1 Gb Mp3 Player Motherboard: 4 단계, 이미지 1/2 ilo 1Gb Mp3 Player ilo 1 Gb Mp3 Player Motherboard Replacement, ilo 1 Gb Mp3 Player Motherboard: 4 단계, 이미지 2/2
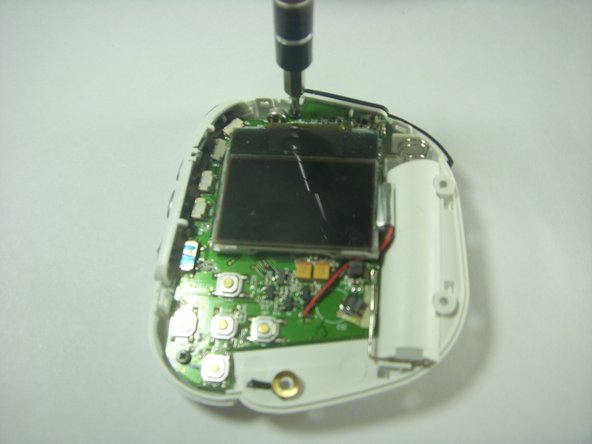
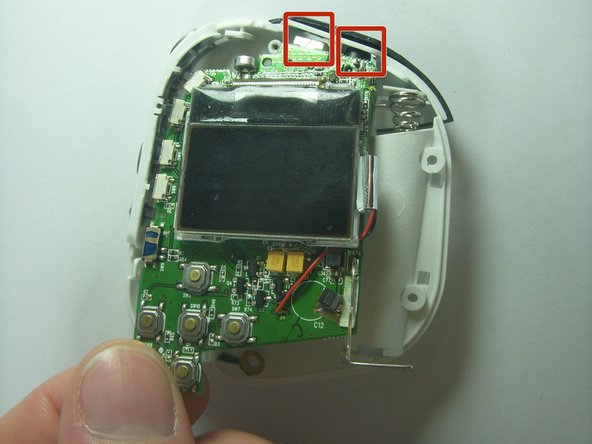
    • Under the cover you will find Three (3) 5mm screws that will need to be removed. For this you will need to use the PH00 screw tip included in your iFixit kit. Make sure to keep track of these screws as they will need to be reinserterd during the reassembly of your device.

    • These screws are different from the two other screws from the interior

  5. ilo 1Gb Mp3 Player ilo 1 Gb Mp3 Player Motherboard Replacement: 5 단계, 이미지 1/3 ilo 1Gb Mp3 Player ilo 1 Gb Mp3 Player Motherboard Replacement: 5 단계, 이미지 2/3 ilo 1Gb Mp3 Player ilo 1 Gb Mp3 Player Motherboard Replacement: 5 단계, 이미지 3/3
    • Separate the front housing from the back housing using your thumbs. Carefully pry around the edge of the bottom of device then be sure to unhook the clip inside just below the hold switch.

  6. ilo 1Gb Mp3 Player ilo 1 Gb Mp3 Player Motherboard Replacement: 6 단계, 이미지 1/2 ilo 1Gb Mp3 Player ilo 1 Gb Mp3 Player Motherboard Replacement: 6 단계, 이미지 2/2
    • Once you have removed the front housing and exposed the internal board and screen locate and Remove the Two (2) 4mm PH00 screws on the board.

    • One is located in the top middle above the screen and the other is located at the bottom left between the Stop and Back buttons.

  7. ilo 1Gb Mp3 Player ilo 1 Gb Mp3 Player Motherboard Replacement: 7 단계, 이미지 1/2 ilo 1Gb Mp3 Player ilo 1 Gb Mp3 Player Motherboard Replacement: 7 단계, 이미지 2/2
    • Once those screws are removed, gently remove the board from the rear casing.

    • When installing the motherboard into the case be especially careful with the headphone and USB jacks located at the top of the motherboard. These should be slid into their sockets first.

결론

To reassemble your device, follow these instructions in reverse order.

다른 한 분이 해당 안내서를 완성하였습니다.

tjkurt01

회원 가입일: 06/04/13

306 평판

안내서 3개 작성하였습니다

댓글 0개

댓글 쓰기

조회 통계:

24 시간 전: 0

7일 전: 0

30일 전: 1

전체 시간: 578