소개
This guide is an easy to follow, step-by-step walkthrough to remove and replace the speaker from the ring Indoor Cam. You might need to replace the speaker if it is faulty or there is no audio output at all.
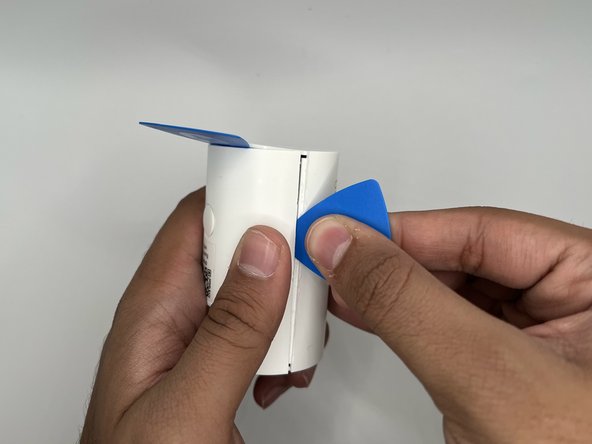
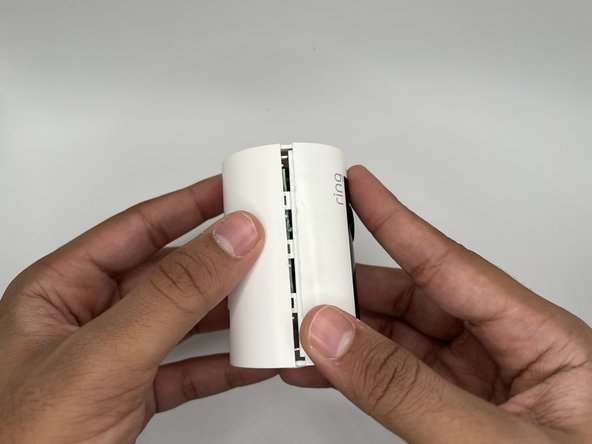
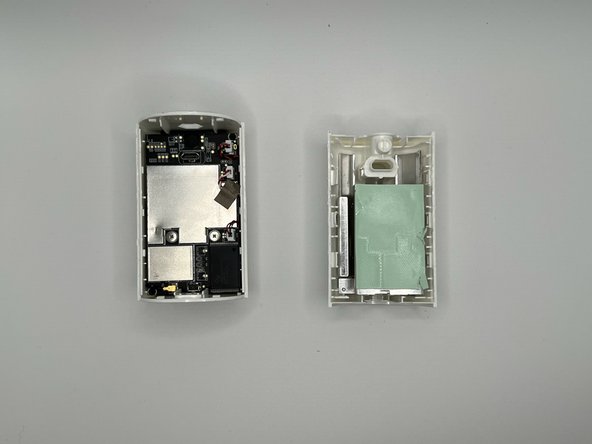
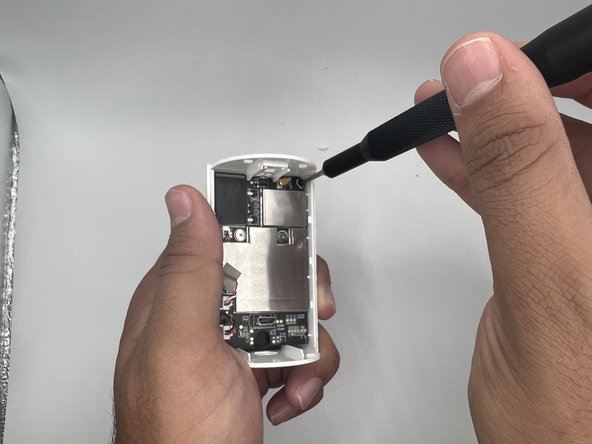
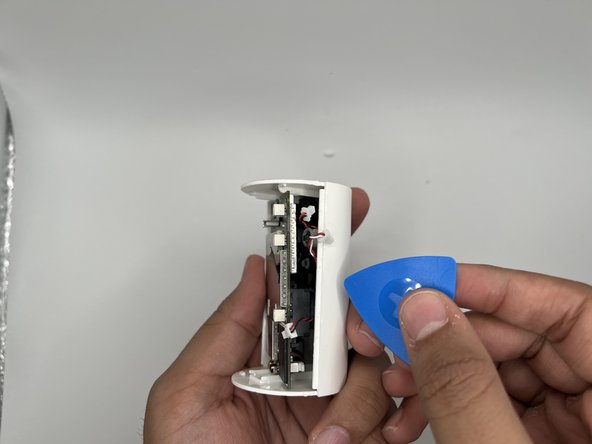
As you will be working with electrical wires and components, make sure the device is not connected to power and use ESD-safe tools to avoid electrical injuries. Be sure to handle the motherboard delicately to avoid damaging the small electrical components as you will need to remove it to reach the speaker.
필요한 것
-
-
-
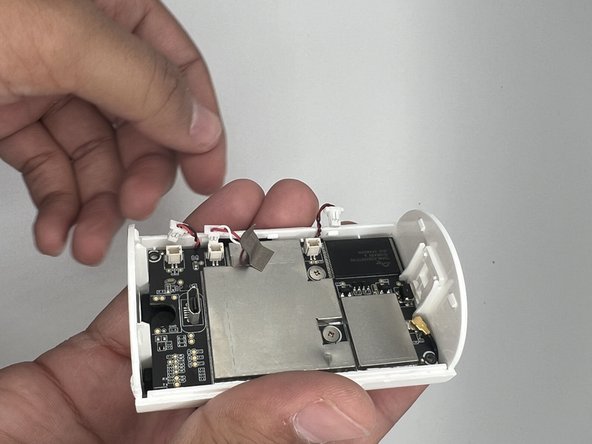
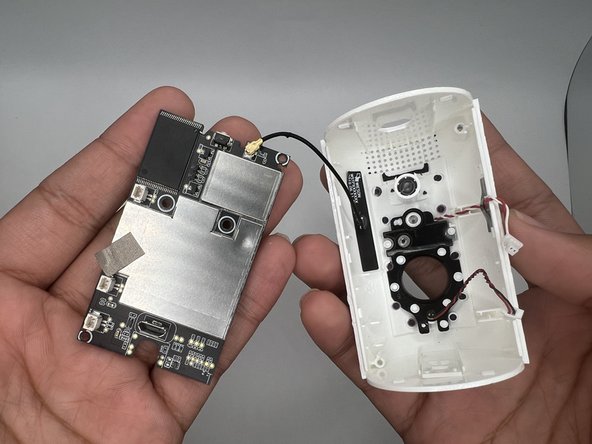
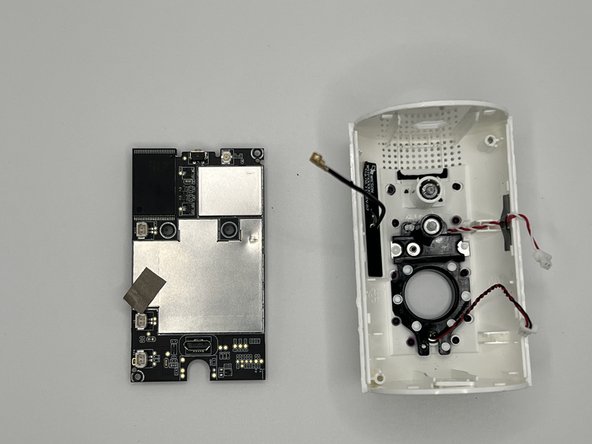
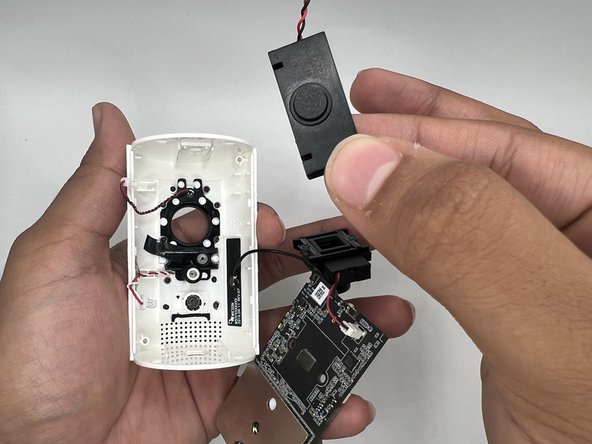
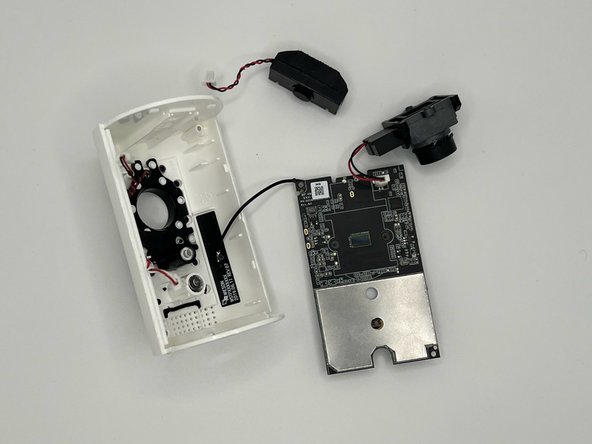
Gently remove the three white leads from their sockets on the top of the motherboard.
-


To reassemble your device, follow these instructions in reverse order.
To reassemble your device, follow these instructions in reverse order.

팀

University of North Texas, Team 4-13, Harold Fall 2023 University of North Texas, Team 4-13, Harold Fall 2023 회원
UNT-HAROLD-F23S4G13
4 회원들
안내서 4개 작성하였습니다