주요 콘텐츠로 건너뛰기

Asus Zenbook UX32VD Teardown

15 단계
Asus Zenbook UX32VD Teardown: 0 단계, 이미지 3개 중 1개 Asus Zenbook UX32VD Teardown: 0 단계, 이미지 3개 중 2개 Asus Zenbook UX32VD Teardown: 0 단계, 이미지 3개 중 3개
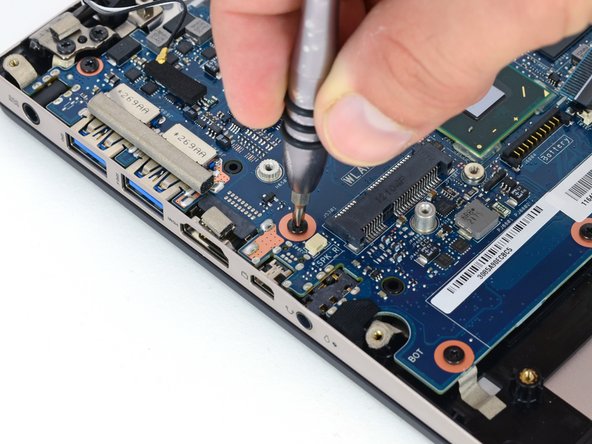
  • Motherboard removal and replacement is fairly easy with the inclusion of labeled connectors on the board.

  • Though they're not technically "instructions," labeling sockets and connectors is extremely helpful when reassembling a machine. Thanks Asus!

  • Off come some standard connectors and screws, and the motherboard is free.

여기에 번역 삽입

여기에 번역 삽입

여기에 번역 삽입

귀하의 기여는 오픈 소스 Createive Commons 라이선스 하에 허가되었습니다.