19 단계 번역중
19 단계


-
In addition to a couple Phillips screws, each side of the display assembly was held to the upper case with a 4 mm hex nut. Asus may try as they like, but with our 54-bit driver kit in hand, no fastener is secure for long.
-
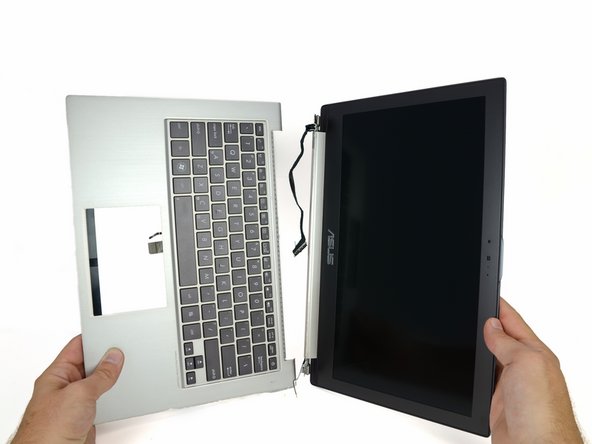
The display assembly comes off pretty easily and we're left with the upper case that houses the backlit keyboard.
-
Just like the unibody MacBooks, the keyboard in the Zenbook cannot be removed from the upper case, which means the two must be replaced simultaneously.
귀하의 기여는 오픈 소스 Createive Commons 라이선스 하에 허가되었습니다.