주요 콘텐츠로 건너뛰기

Huawei Mate 20 Vervanging van het LCD en de digitizer

영어
네덜란드어
5 단계
Huawei Mate 20 LCD & Digitizer Replacement: 0 단계, 이미지 2개 중 1개 Huawei Mate 20 LCD & Digitizer Replacement: 0 단계, 이미지 2개 중 2개
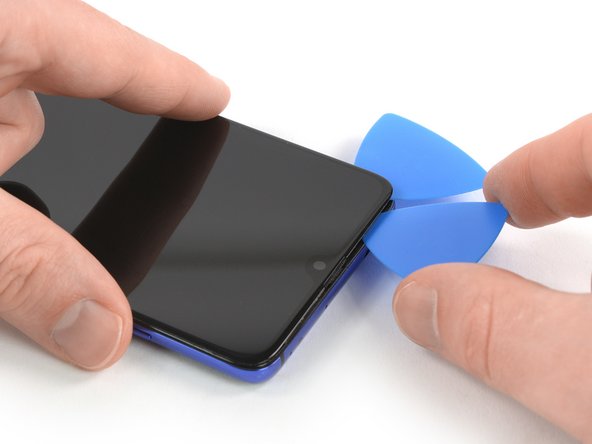
  • Insert a fourth opening pick at the top left corner.

  • When nearing the front facing camera, only work with the tip of the opening pick to avoid damaging or smearing the camera.

  • Slide the opening pick along the top edge of the phone to cut the adhesive. Leave the pick in the top right corner of the screen to prevent the adhesive from resealing.

Steek een vierde openingsplectrum in de telefoon, in de linker bovenhoek.

Werk, bij het naderen van de naar voren gerichte camera, enkel met de punt van je plectrum om te voorkomen dat je de camera beschadigt.

Schuif je openingsplectrum langs de bovenkant van de telefoon om de lijm door te snijden. Laat je plectrum in de rechter bovenhoek zitten om te voorkomen dat de lijm zich opnieuw gaat hechten.

귀하의 기여는 오픈 소스 Createive Commons 라이선스 하에 허가되었습니다.