알림: 귀하는 선행 작업 안내서를 편집하고 계십니다. 변경된 사항들은 이 선행 작업 단계를 사용하는 안내서에 영향을 미칩니다.
4 단계 번역중
4 단계

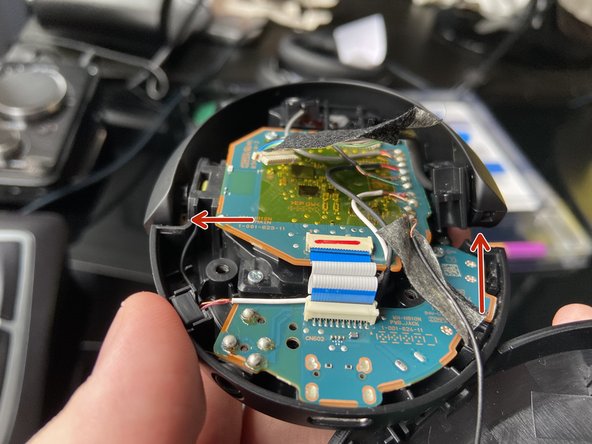


Tilt and push the Left Speaker hinge
-
On the rear hinge, gently lift up the hinge as much as is comfortable while at the same time, gently tugging on the front hinge outwards. You should be able to create a small shift in where the hinge is sitting, which is important for the next part.
귀하의 기여는 오픈 소스 Createive Commons 라이선스 하에 허가되었습니다.